Following the defeat at High Hold, the Royalist retreat has turned into a rout. Forward supply bases have been captured by the advancing Chopwell Reds and their pursuit has been reinforced and turned into a concerted push towards the outskirts of Durham.
The situation has become desperate as they advance up the previously impregnable defences up Lowes Barn Bank near Neville’s Cross. If they can cross the road and capture Potter’s Bank the Communists could well have an open route into Durham itself.
At that crossroads Lord Lambton’s top General (and old friend), Sir Arthur Morley-Lustworth had set up a senior command HQ in the Duke of Wellington public house. Badly wounded by an artillery shell that burst outside the ‘Wellie’ and destroyed his vehicle (nobody knows who fired the shell), Sir Arthur is unable to move and is trapped with his staff and command intelligence documents. If these fell into the hands of the Reds it would be a disaster!
The Duke of Wellington is however defended by a ragtag collection of Lambton troops who have hastily rallied around their commander’s position. Up at Neville’s Cross there’s also a BUF muster point under the command of Captain Harold ‘Blackie’ Blackman that has managed to restore some order, and gather up a decent force of stragglers, including a small contingent of BUF regulars. Their pickets have reported the advance of Reds towards the Duke of Wellington, and Captain Blackie is keen to ‘get a bit of action’ (having missed out on the High Hold debacle). He’s also keen to support the BUF’s Lambton ‘ally’.
For the Reds, Comrade-Lieutenant Leonard Parkin is in charge of a strongly reinforced attack group and has been given clear orders to secure the Duke of Wellington pub and open the way down Potter’s Bank. His scouts report that locals say a Lambton ‘big wig’ is at the public house. Observation appears to confirm this although the place looks like it’s taken a shelling. Parkin is highly suspicious of this as he isn’t aware of any Chopwell artillery deployed in his sector.
The battle begins at 10.30am and the stakes couldn't be higher. Can the Reds ‘kick in the door’ to Durham. Or will the Royalist Alliance stop the Commies at the Duke…?
The battlefield at dawn...


The Duke of Wellington stands in the centre of the crossroads, and just to the east lies the shellhole that injured the General.
Hearing of the approach of the Reds, General Morley-Lustworth orders his men to dig in and barricade in preparation.

 |
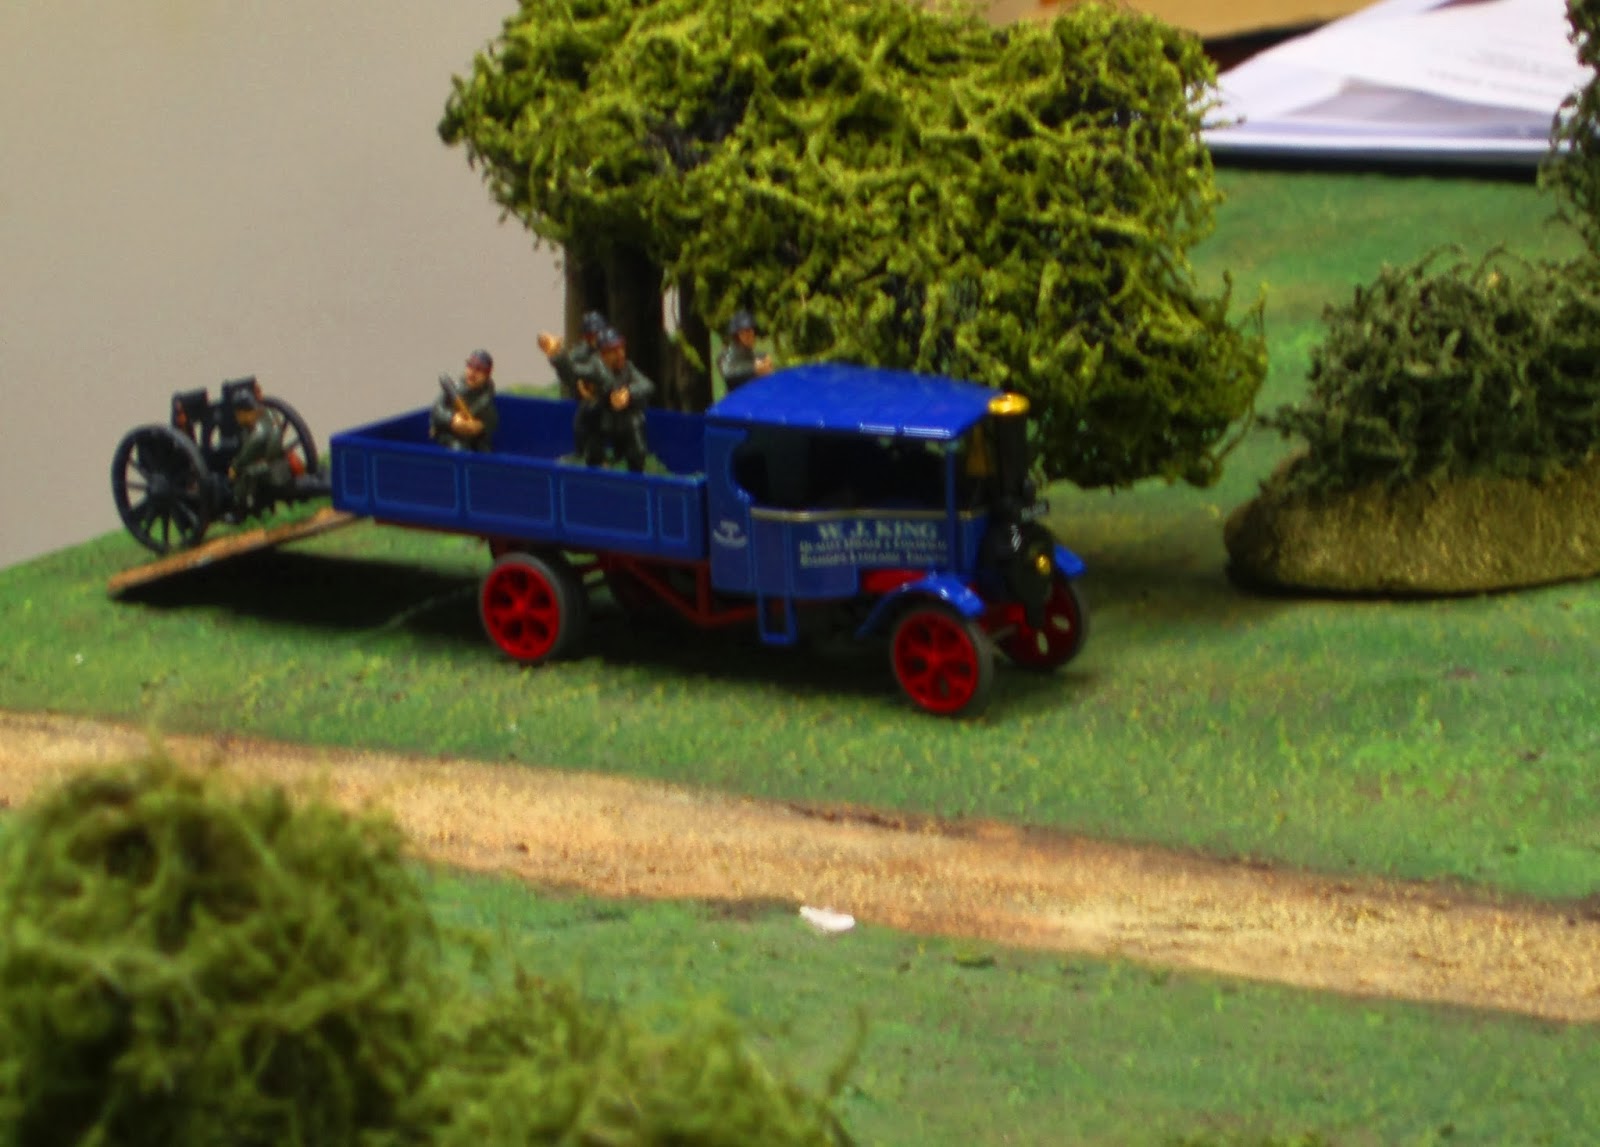
| Lambton's 'Hounds' are resplendent in their blue and mustard livery. |
Blackie Blackman's BUF arrive from the north and mill about, awaiting the action.

The final preparations are laid, with Lambton's men defending the Duke of Wellington and the territory to the south. The BUF set up to the north east, down Potter's Bank. Just in time too and an ominous, squeaking rumble can be heard approaching from the west.
 |
| Lambton forces ensconce around the Duke of Wellington and the buildings down Potter's Bank; the BUF hokd positions behing the hedges. |
At 10.30am, the Reds arrive. North of Lowes Barn Bank road, Lieutenant Parkin's platoon advances at the double, careful to avoid the gardens and property of the local civilians. His Vickers Mk.III and armoured car support trundle up the road itself. Parkin's men will be taking the hard yards directly up the road to assault the Duke of Wellington.


Ensconced on the upper floor of the pub, General Morley-Lustworth opens the action for the day. The pub has a working telephone connected to a battery of Lambton artillery to the rear. The General brings down a heavy shell on the Vickers Mk.III. It bursts off-target, but damages the tank's tracks slowing it down considerably. Windows shatter up and down the road and the screams of the cowering civilians can be heard over the shell crack.
 |
| 'Hawa Merv, tha' wa' clurse. Had on, a think the drive chain's knacked like'. |
To the north, Parkin's men deploy a Vickers gun to cover the platoon advance, while a herd of cows wander by, bemused at all the noise.
 |
| Moo. Moo. A Communist Vickers team sets up to cover Parkin's advance, watched by a herd of British Whites. |
Parkin's right flank is immediately compromised by a group of Lambton irregulars in ambush. They open fire to telling effect.
 |
| Sneaky Lambton militia made up of gamekeepers. Unconscionable behaviour , hiding in the woods and springing an ambush. It was painful for the Reds they caught in the open too... |

Their rifle fire was amply supported by a sneakily concealed BUF field gun, hidden in the hedgeline to the north east. It opened on the Chopwell infantry with vicious shrapnel shells and the burst shredded an entire Communist section.
 |
| The BUF gun (seen through a fug of local ale). This field piece caused untold damage to Lt Parkin's advance and laid many Reds low with some highly disciplined and effective rapid fire with shrapnel shells. |
The BUF infantry immediately advanced with a cheer! The stunned and panicked Reds were in disarray and Blackie Blackman ordered his men to take advantage and get up to the ridge to take advantage and 'give those Pinkos Hell'.


 |
| Some BUF, taking the whole war far too seriously. Apparently, the chaps up in Gateshead have been buying in German kit from that nice Mr Hitler. |
 |
| The Reds impetus stalls at the hedgeline. |
Some progress was made however, and the tanks set up a firing line and attempted to dig out the well defended Lambton troops.

General Morley-Lustworth, once again made use of his available artillery and skillfully screened off his positions with smoke rounds.

 |
| The Wellie appears unassailable given its excellent defence. |

He also brought down more heavy shellfire in an attempt to destroy Parkin's advancing armour; again without managing to destroy the fighting vehicles.
 |
| 'Mind yer 'ead Bert.' |
As the BUF pushed in, Parkin's platoon diverted their advance through the alleyways and onto Lowes Barn Bank road itself. They took heavy casualties from the BUF Lewis gun and rifles, but managed to get through in sufficient numbers for their main task (capturing the pub; all this fighting is thirsty work after all).


Sensing the Red attack was coming in, Morley-Lustworth brings down a mass of smoke to cut off the armoured fire base and orders the advance of his prized Rolls Royce armoured car to cover the road.

It doesn't quite work as planned and as the wind takes the smoke to the south west, the Vickers main gun opens up and gives the Rolls Royce six of the best, trousers down style. The car brews up in an almighty explosion! Lord Lambton will not be happy; his fleet of Rollers is his pride and joy.
 |
| You were only supposed to blow the bloody doors off. |
To the south Baywater's platoon is stymied, but finally a group of Cossacks are shamed into getting forwards into the action. They are predictably gunned gown to a man. Well done chaps!
 |
| 'Tally ho chaps!' |
The BUF press hard south in an attempt hit the flank of Parkin's attack. They also redeploy their field gun to resist the Chopwell armour.

Parkin orders his armour to block the alleyways and hold off the BUF, which they duly do.


Giving Parkin's men time to kick in the back door of the Duke of Wellington and try to take the building. General Morley-Lustworth's guards fight back valiantly though and the Reds are forced to retreat in disarray.
 |
| 'Bar's open lads'. |
 |
| Your name's not down, you're not coming in. |
General Morley-Lustworth telephones Lord Lambton to inform him that all is well at the Duke of Wellington and he'll be back at the manor house as soon as he can rustle up a car.
Meanwhile...
 |
| 'Hawa man Sid, d'ya fancy a geet bit 'o beef f'ye bait the neet?' |
So, it was a hard fought battle in which the Chopwell Communists failed to coordinate a decent attack on the Royalist positions. They did manage to get a belated assault in on the pub but by then, the BUF had successfully folded the northern flank, and Lambton's men had made an excellent defence of the main positions. In particular the use of artillery was well done and really helped the victory. Lt Baywater's platoon refusing to advance for most of the battle also helped!
The battle was fought using our conversion of the Dux Bellorum rules and once again they worked very well, giving a simple, exciting game. We felt the suppression rules needed a tweak but other than that, no worries!
Oh, and the battlefield today?
 |
| As seen from the north and the BUF positions |
Sounds like a good time was had by all - bravo!
ReplyDeleteVery nice batrep, I enjoyed it a great deal, well done.
ReplyDeleteExcellent report as always Steve. I look forward to the further exploits of Sir Arthur.
ReplyDelete