Our recent foray back into the classic gaming archives with the Warhammer Historical: Legends of the Old West (LotOW) game got me thinking about the tips and tactics that help achieve success in the game. With our revival we have new players and they ask a lot of questions about how to do certain things, and what will work better, so I thought I’d put a few thoughts together on this.
These tips are focussed on campaign play for LotOW and come from my personal observations and opinions about what I’ve seen work, and not work.
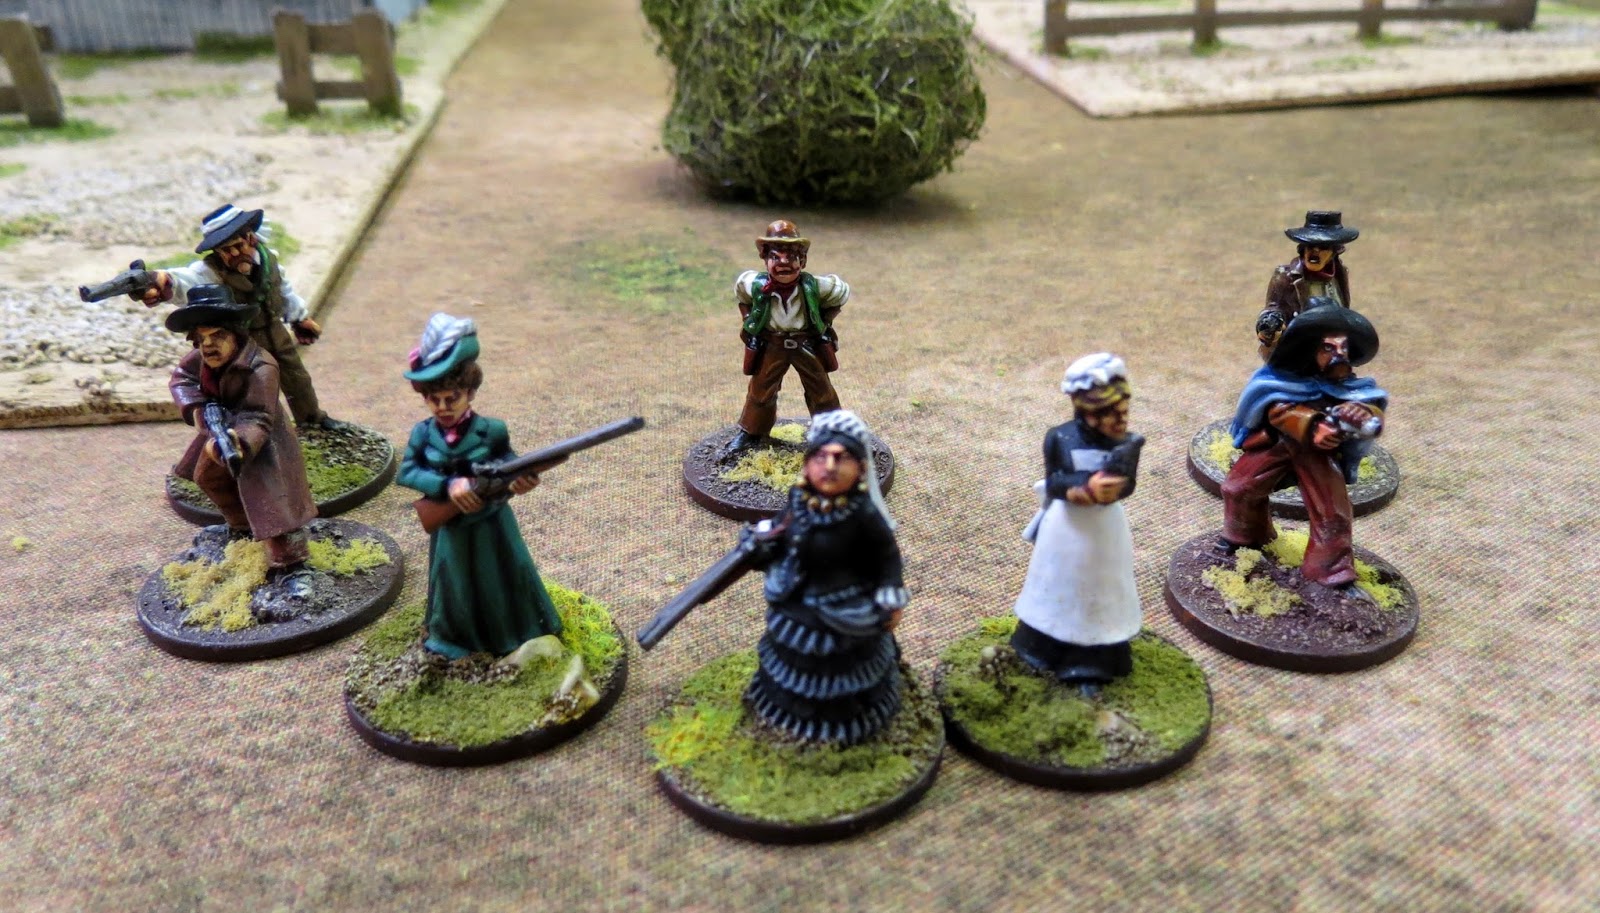
Gatherin’ the Posse
This is of course the starting point, and the first choice is around which posse you should choose. Really, the only correct choice is the one you like the look of and that you think you’ll enjoy playing. That said there are some specific points for certain options worth noting.
“Easy Mode” – The Texas Rangers
This posse is very forgiving for a new player. All the fighters are good shots, and tough with a high Grit. The can also reroll failed “dive for cover” and “fearsome rep” tests so they are skilled, durable, and resilient. You pay for it though, so you’ll be pushing it to field 8 figures, but its a solid posse to choose if you’re new to the game.
“Challenge Mode” – US Cavalry, Mountain Men, Chinese Tong
These three posses offer some interesting “non standard” options and each have real challenges to playing them successfully.
The US Cavalry are all mounted on horses, and most are armed with rifles. This is a powerful combination but VERY expensive. It means that you’re only likely to have 4-5 fighters in your posse. This can be a real challenge as being outnumbered means you may struggle to achieve some scenario objectives, and will be outshot by more standard posses.
The Mountain Men are a real thematic favourite of mine, but its a tough posse to play. They only really have access to antique weapons (flintlock pistols and muskets), which means they have little tactical mobility, and are halving their shooting (having to reload after every shot). They do have some advantage in melee, and their Heroes can get into town to pick up some sixguns from the local store, but they’re a challenge to play.
I love the theme of the Chinese Tong and they’re so tempting to play! Go for it. However, be aware that the posse is optimised for melee fighting, which is a tough thing to do well in a shooting game. If you can get them into melee, you’re then into the randomness of knife fighting – but at least they have cool swords to help out with that.
“Feathers”
Then there are the Native American posses. These are really interesting and a lot of fun with some unique fighters (Dog Soldiers, Shamans etc.) not available to other posses. They can also be well equipped with primitive ranged weapons like bows, so can go toe to toe with most posses, and they also have tomahawks which allow your to combine shooing and melee into one action! But you do need to be aware that you’ll probably lose a lot more games with them as they have a much lower threshold at which they risk “heading for the hills”. They value the lives of their warriors above winning!
Really though the three core book posses (cowboys, outlaws, and lawmen) are all good choices with their own pros and cons, and you’ll do well with any of these.
Here are some things to consider, no matter which posse you choose.
More is more
Numbers matter, so try to field at least 8 fighters; more if you can. The more shooters you have, the more chances you have to put your opponents down. But also, you’ll be playing scenarios, and usually there will be several things your need to do. Doing those will be easier with more fighters to assign to the tasks.
Heroes
Take the maximum number of heroes as these are the core of your posse. They fight better (usually *glares at the cowboy posse’s Greenhorns*), have better advancement options, and crucially gather money after each battle and open up the option of taking off-list equipment and weapons.
The gun that won the West
Take as many sixguns as you can; they are the core firearm of the game and you need lots of them. It may be tempting to take other weapons like rifles and heavy pistols but these are support weapons, and you shouldn’t have more than 2-3 at most in an eight fighter strong posse.
Here’s a rundown of some of the common choices you’ll have.
Six-guns are effective, and allow your fighter to move and shoot which is essential. In a bind they can also “fan fire” up close, but this is usually not worth it (unless your fighter is a “Mexican Bandido” (festooned with pistols), or the Unknown Gunfighter (fan firing hits on a 5+!)
Heavy pistols look attractive and are useful against fighters with higher Grit (4-5). In a static shootout with sixguns, they have the edge in range, but their “half move” restriction severely limits your fighter’s mobility. This is a serious issue. I’d never include more than one of these, and if I did, I’d give the fighter a sixgun backup as soon as possible.
Rifles have range, but you can’t move and fire them, and they have to be reloaded after every shot, so in a 6-turn game you’ll get three shots at most. The only real advantage of the rifle is its range (24”, or 30” if you manage to track down a scope). It can be made a viable weapon, but it requires the fighter using it to have a good shooting (at least 3+) and some special skills to enhance the weapon.
Repeating rifles are in my view a better option, but they are usually more expensive. They halve the fighter’s move but can shoot every turn, so probably make the best “long arm” option for your posse.
Shotguns actually work differently to how you might think they should. Shotguns are essentially a variant of a heavy pistol. They work basically the same, but are more powerful within 6” (and less powerful over this). They also suffer from having to reload after two shots (or one if you “give them both barrels”). On balance, I think the Heavy pistol is a better all-round option that the shotgun, but I can see the appeal of both. The sawn-off shotgun however is a very different animal. It uses a template when it fires and so potentially can take out several enemy fighters with a single shot. It is however, slow, close ranged, and tactically it seems best used as a defensive weapon against enemies intent on charging into melee.
I’d think twice about taking more than one or two rifles or repeating rifles in a posse, but to prevent your fighters being outranged, and to give them options (like shooting the rope in the Hang ‘em high scenario) you should consider taking at least one if you can.
In a starting posse of eight fighters, six with six-guns, and two with repeating rifles is a good balance.
Hired Guns
The first decision is whether you’re going to include a hired gun in your starting posse. These fighters provide you with a real boost from the get go, but they come with downsides too. Firstly, cost; most hired guns have a high cost to purchase, which leaves you with less money to spend on other troops. they also have an ongoing “retainer” cost, which you have to pay or they’ll leave your posse never to return! So if you take one you have to hope that you can pay their wage or all that investment will be lost! Of course you can always add a hired gun or two (if you’re brave!) in as the campaign progresses and you accrue money, but the right hired gun from the start can really help.
Assuming you decide to take a hired gun, which are the best ones to choose from? Again, this will depend on you, and how you plan to fight. For me though there are some outstanding options.
The Free Trapper: this chap is a really good starting choice. Firstly he’s cheap, costing little more than your average hero! For this money you get a strong, tough fighter, clearly used to wrestling bears, and able to fulfil a variety of roles. He’s also a wilderness expert and can move through rough terrain easily. His main downside is his poor shooting skill and the fact that he’s armed with a musket. However, this is only a temporary setback, and for a $6 wage he’s super easy to retain. He comes into his own as he develops, as he offers the possibility of a cheap buffalo gun. this monster weapon is an exception to the rifle rules above in that its more like an artillery piece! If you can boost the free trapper’s Shooting skill, he can dominate any battlefield.
The Gunslinger: aside from being frankly iconic, this hired gun is a serious risk but in my view one worth taking. he’s expensive to buy at $30 (a huge chunk out of your starting $200 budget), and is very risky as his retainer is $10 per battle. Not only is this risky, but it also commits you to overall gaining far less money throughout a campaign. This is often a reason to avoid hired guns in the first place! However, with the gunslinger you get a LOT of bang for your buck. He’s an excellent gunfighter, and has high Fame and Fate, but he also has a quickfire skill that means he’s always able to steal the drop and shoot first. Shooting first and hitting on 3+ is a monster of an ability! He comes with two sixguns, but can’t use both unless you luck out on the skill advances. However, it does mean you can fan fire with one and still have a pistol to shoot. Although 1 shot at 3+ is always better than 6 shots at 6+ in my view.
A couple of honourable mentions include:
The Soiled Dove. Since she can’t be attacked until she attacks, she can be very useful for simply marching into banks and jails, and she also makes a good moving shield for the less scrupulous gunfighters out there.
The explosives expert is a rather fun option. He lacks firearms but does have an extensive supply of dynamite! If he doesn’t blow himself up first, he can throw these at the enemy, blasting whole groups to pieces, and he’s very useful for scenarios like Jailbreak, where blowing a hole in the jail wall is an option!
If you’re going for a melee posse, the knife fighter or prize fighter are good choices.
And what’s not to love about the Mexican Bandido! He’s festooned with pistols so fan firing his sixguns is pretty much a must. He’s like a firecracker version of the gunslinger!
From Showdown, the Unknown gunfighter is interesting. He’s extremely expensive, but his fan firing hits on a 5+ rather than a six.
Whichever you go for (if you do), a hired gun will add some interesting and powerful abilities to your posse.
Pig Sticking
LotOW is a gunfight game for sure, but in almost every battle you’ll have at least one melee encounter. In my view, a hand weapon is an essential buy for each of your fighters. Everyone should be carrying a knife for those moments when its tactically better to charge into melee. Typically, this will be when, for example, you have a lone fighter facing multiple close ranged enemies – far better to risk even an outnumbered melee than stand off and get shot down! The odds switch in your favour if your lone fighter has a Bowie knife and the enemies don’t!
Get along little bronco
Most posses will have access to a horse of some kind. Horses are very expensive, often 2-3 times the cost of a Henchman! For a starting posse, in general I’d avoid it (even the Cowboys “wrangler” henchman) and go for numbers. However, as your tournament progresses and your posse brings in extra cash, its a viable choice to mount one or two of your fighters. Horses (and Appaloosa for the Native Americans) give you excellent mobility which is useful for scenarios like Bank Robbery, and also gives the fighter a potential boost to his survivability. In my experience though horses are rarely seen on the tabletop as they’re so darned expensive.
In the heat of battle
Shoot and scoot
LotOW is a game of mobility; in most situations you’ll want your fighters to be able to move and shoot. Gunfighting from a static position is rare given the nature of the scenarios and victory conditions; and generally it’ll be your riflemen setting up on a rooftop somewhere to give a bit of “top cover” to his friends. Of course the weapons you’ve equipped your fighters with will affect this, which is why sixguns are so important.
Spacing
Spacing, or the distance between your fighters, and between them and the enemy, is very important and its worth taking care and practicing placement to ensure you maximise your chances of a win. Between your fighter’s there’s are three main considerations; leader bubble, panic, and in the way problems.
The leader bubble refers to the 6” radius area over which your posse leader exerts their command influence. Within the area, your fighters can use the leader’s improved Pluck value for “dive for cover” tests. So placing your fighters well here can keep them in the fight rather than losing their shooting opportunity by diving into the nearest cover.
In tension against this is the 3” panic range whereby fighters have to take dive for cover tests when a friend is taken out of action. As this can affect multiple fighters, this can be a serious detriment so you’ll often want to ensure your fighters are more than 3” apart! Resolving this is a matter for how you prefer to play.
Perhaps the more pressing issue is the inability to shoot through your friendly fighters, and it can be very annoying if you mess up your placement and block your own shots! Of course, fighters in contact can shoot over their friend’s shoulder so making sure to secure those contacts, especially when shooting around the corner of buildings or other cover can increase your volume of fire. Yu’ll also want to look at placement, in order to try to get clear shots on the enemy (avoiding in the way tests).
Spacing between you and the enemy is also really important and you should consider this when moving your fighters. Let’s look at the sixgun as an example. A sixgun has a range of 10”, and your fighter typically can move 6”, so the threat range and spacing for that fighter is 16” from the enemy. What are your key spacing milestones there? I refer to it as the “10 to 7” rule, in that the optimum gunfight range for a sixgun is between 10” and 7” from the opponent, and I can get there from 16” away (6” move plus 10” range). This will therefore inform me of where I need my fighters when I plan to approach an enemy. So at 16” starting distance I can reach the 10” shooting range for the sixgun. As I don’t want to enter melee, I don’t want to get closer than 7” (as charge range is 6”), so by staying in this 10-7” space I can maintain the gunfight without risk of a melee developing. In reality you’ll probably have to close within the 6” but you need to be aware of the risk of melee starting. Of course if you want to get into melee then you’ll need to consider the above from the opposite point of view; how are you going to close through those threat ranges?
This interplay between movement and weapon range is the key to getting your spacing right, and the principles above apply to other weapons too.
Duck and cover
The effective use of cover and obstacles (including other fighters and innocent bystanders) and of course the Soiled Dove hired gun!) can be the difference between winning and losing. The more stuff you can put in the way of the enemy’s shots the better! Its important not to get tied down to a piece of cover though and maintain mobility, while keeping things in the way is something to consider. if you can have your fighters hop from cover to cover, you’ll be able to put pressure on your opponent more effectively.
The flipside of that coin of course is that if your fighters are forced to dive for cover by enemy firing, you lose your chance to shoot. If already in cover the fighter goes down, which can help protect him further (it adds a spotting test), but seriously limited his mobility next turn.
So use cover well, but don’t be tied to it, and try not to get pinned down behind it.
Stay on target
it can be tempting to simply try to blast the opponent’s posse off the board in a hail of bullets! This is certainly a viable tactic if you can achieve it, but your campaign or tournament games are going to have scenario victory conditions. In the long run, winning the scenarios will really benefit you, so “staying on target” is vital to realise those benefits.
Be clear what you need to do to win the scenario, and then concentrate on how to do that with the minimum losses. so, for example, if you’re playing the attacker in the Jailbreak scenario, your objective is to get the prisoner out and away. To win you near a clear route into the Jail, a strike team to get the prisoner free, and a protected line of retreat. so you may wish to deploy riflemen on rooftops to keep the enemy pinned down, while your strike team forgoes shooting (or carries sixguns so they can move and shoot) as they head directly (via a safe route) to the jail. concentrate on clearout out the enemy fighters that are near the jail. Once the prisoner’s free you should then be able simply to flee along the same route you came in on. A swift win can be had with minimal losses, simply by focussing on the victory conditions of the scenario!
Know when to quit
In a tournament, its vital to conserve your forces. Its rarely wise to go all “Butch and Sundance” and stick around until all your fighters are lying on the ground. You can “head for the hills” at any time, so assess the situation each turn; are you going to lose too much? Is it better to lose the battle but prevent further losses?
Basically, know when you’re taking a beating and head for the hills instead of taking unnecessary losses.
Let the heroes be heroes
Your posse will be made up of three types of fighter; the hero, the henchman, and the hired gun. The most important type are your heroes. Why?
Heroes survive wounds better
Heroes have the best potential advancements
Heroes have Fame and Fate
Heroes increase the cash you gather after a battle
Heroes give you access to off-list gear, rare items, and if you’re so inclined Legendary fighters
So your heroes are the core of your posse. Their generally better skills and access to Fame and Fate means that they can typically succeed where your henchmen won’t and in most cases you’ll want them in the thick of the fighting. Not only does this increase your chances of victory, but you want to try to ensure its your heroes racking up experience for taking enemy fighters out of action. henchmen come and go and have limited use for experience, but your heroes are on the path to become legends!
Don’t forget the Fame & Fortune
Tied to the above, its very easy to forget that your heroes have access to Fate (to keep them alive) and Fame (to increase their abilities, and to undertake the heroic actions (Yeehaw!, Quickdraw, and Time for a Whuppin’).
Do not forget these, as they can really turn the tide of a game when used at the right moment. Quickdraw in particular can be amazing if you’re able to steal a shooing phase drop on the opponent, especially if you got your spacing right and there are a lot of friendly fighters within 6” who can also shoot! I’ve won more than one game on taking this action against an opponent with the drop who was depending on shooting first!
Fisticuffs
OK, so, let’s talk about melee. LotOW is a sixgun game, and when it comes to fighting in close combat, its really just a roll off on the dice. It’s super random; you roll a d6 and so does your opponent and the higher result wins. unarmed fighters, or those relying on improvised weapons are disadvantages, and ganging up can give you an edge, but ultimately its a crap shoot. Personally, I always ensure my fighters have knives so they can hold their own in the inevitable melees, and in most cases I avoid melee if at all possible.
If melee’s your thing though, there are some things to think about. take melee specialists; the Chinese Tong are your posse for this, as are many Native American tribes (especially those with Dog Soldiers). anyone can take a Prize Fighter hired gun though.
If you are getting into melee go in mob-handed. Get as many fighters in as you can (your spacing will help with this), and get doubled up if possible. A useful tactic can be to double-team a fighter with a knife (to win the fight), and another with a two handed weapon (to maximise the damage for the win). the Chinese Tong also get useful weapons to help with this dog pile tactic too.
Try to trap an opponent if you can – it multiplies your chances of a knock out if the opponent can’t retreat.
So yes, melee is a viable choice, but to be successful there’s a fair bit you need to do to stack the odds in your favour.
After the battle
So there are a few things to consider during the after-battle phase, when typically you’ll be picking up the pieces, gathering cash and looking for new purchases.
Firstly, replace your losses. Eventually you’ll be losing henchmen – they typically have a 33% of dying if taken out. if you’re unlucky, you’ll lose the odd hero. Replace them as soon as you can, especially the heroes. Depending on how your house rules are set for the campaign, if you’re down to 6 or less fighters, you may want to retire the posse and start afresh.
Secondly, don’t forget that your heroes can get out and about and buy things that aren’t on their posse list. Common items are always available but they can also go looking for rare items and Legendary fighters (you’ll need a big pot of cash for them though!). There are a few noteworthy items to consider.
Boilerplate is useful as its a cheap boost to the wearer’s Grit, but it comes with a trade off of -1” move. That said, if you give it to a rifleman whose role is to sit on a rooftop and not move much, it’s a viable option. As an alternative, heavy furs are good, but they can be lost.
Consider a horse or two. You don’t have to use them, but they can be handy for certain scenarios (Open Range for example).
If you have a hero with the card sharp special skill, marked cards can help with your long term income generation, which can be a good way to offset a hired gun’s retainer.
Heroes can start to degrade as a result of injuries so its always worth taking a trip to the doc (or the riskier “elixir of life”) to try to patch things up.