After a long hiatus while Field of Glory took the global tournament scene from DBM, and DBMM languished largely unused, the DBx stable of games looks to be making a nascent revival with the current beta-test release of the revamped DBA v3 rules. With these in hand we dug out our old 15mm stalwarts once more for a tried out DBA v3 with a historical battle; Magnesia.
In 192 BC, incited by the Aitolians, Antiochus III, King of Seleucid Asia, invaded Greece. The exasperated Romans dispatched a consular army to deal with him, which led to Antiochus' defeat at Thermopylae, and his flight from Europe. To his surprise, in late 190 BC the Romans crossed over into Asia, where Antiochus was gathering his forces, for the first time.
The Roman army was under the nominal command of the inexperienced consul, Lucius Cornelius Scipio, but actually led by Publius Scipio Africanus, the conquerer of Hannibal. At the request of Eumenes, King of Pergamon, whose capital was under seige by the Seleucids, Scipio boldly advanced on Antiochus' position.
Despite his overwhelming numbers, Antiochus, knowing the power of the legions, was loath to fight, staying in a strongly fortified camp on Mount Sipylos near the town of Magnesia on the Hermos river. Africanus fell ill, and command devolved to his adjutant Gnaeus Domitius.
Domitius repeatedly offered battle while Antiochus refused it. After a week, Antiochus, perhaps seeing that his men were becoming demoralized by his lack of action in the face of such a small opposition force, finally came out to fight.
Antiochus III, 'the Great' led a fierce cavalry charge that broke the legion opposed to him, and pursued it as far as the Roman camp, which was stoutly defended by the tribune Aemilius. His pursuit, as at Raphia 27 years before, was over-long, and by the time he returned to the centre of the battlefield, his cause was lost.
Eumenes had routed the Seleucid wing opposed to him, and the elephants intermingled with the formidable Seleucid phalanx had been panicked by the Roman light troops, allowing the legions to conduct their bloody execution amongst the Seleucid infantry.
So we set out to re-fight this battle. Using the DBA v3 rules we expected a bit of difference as the Seleucid elephants were unlikely to devastate their pike phalanxes as they did historically. Here are our rosters.
Seleucids
Right Vanguard (11 Elements: Break 4)
1x PK Mendes (Sub General)
5x PK Phalanx
1x PS Cyrtians
2x PS Elymain Archers
1x LH Dahae
1x SCh Expendable Scythed Chariots
Right Wing (13 Elements: Break 5)
1x KN Antiochus (Commander in Chief)
4x BW Mysian Archers
1x EL Elephant and Escorts
1x KN Agema, silver shielded horse of Livy
2x KN Cataphracts
2x WB Galatians
2x AX Mercenaries
Camp (with Temporary Fortifications)
Center (19 Elements: Break 7)
1x PK Philippos (Sub General)
15x PK Phalanx
1x EL Elephants and their escorts
2x PS Levy skirmishers
Left Wing (15 Elements: Break 6)
1x KN Seleucus (Sub General)
2x WB Galatians
2x AX Cappadocians and Mercenaries
2x HD Mixed levies
2x KN Cataphracts
1x KN Companions
1x EL Elephants and their escorts
4x AX Peltasts from Cilicia, Lycia, etc.
Left Vanguard (10 Elements, Break 4)
1x KN Zeuxis (Sub General)
1x SCh Expendable Scythed Chariots
1x LH Tarantines
1x CV Galatians
2x PS Cretans
1x PS Cyrtians
1x PS Trallians
2x BW Elymain archers
Romans and their allies
Allied Left Wing (10 Elements, Break 4)
1x CV Marcus Aemilius (Sub General)
2x PS Velites
4x BD Hastatii and Principes
1x SP Triarii
2x AX Volunteers (Camp Guard)
Camp (with Temporary Fortifications)
Roman Left (8 Elements, Break 3)
1x SP Tiberius Sempronius Gracchus (Sub General)
2x PS Velites
4x BD Hastatii and Principes
1x SP Triarii
Roman Right (9 Elements, Break 3)
1x SP Lucius Cornelius Scipio (Sub General)
2x PS Velites
4x BD Hastatii and Principes
1x SP Triarii
1x EL African Elephants
Allied Right (11 Elements, Break 4)
1x CV Gnaeus Domitius (Commander in Chief)
2x PS Velites
4x BD Hastatii and Principes
1x SP Triarii
3x CV Equites
Pergamene Allies (8 Elements, Break 3)
1x KN Eumenes (Ally General)
1x PS Cretans
1x PS Masdyenes
1x PS Trallians
1x KN Xystophoroi
1x CV Galatians
2x AX Thureophoroi
Achaean Allies (6 Elements, Break 2)
1x KN Diophanes of Megalopolis (Ally General)
1x PS Peltasts
4x AX Thureophoroi
Both armies set up roughly in what we think were their historical deployment positions.

We debated for quite some time the position and significance of the river on the flank of the battlefield, as the sources seem to differ about whether it played a part in the battle. In the end we placed it in a position where any of the possible conflicting accounts was possible. The Seleucid player decided to deploy some medium forces across the river engaging the possibility that, as some sources say, 'the Romans defended the river bank'.


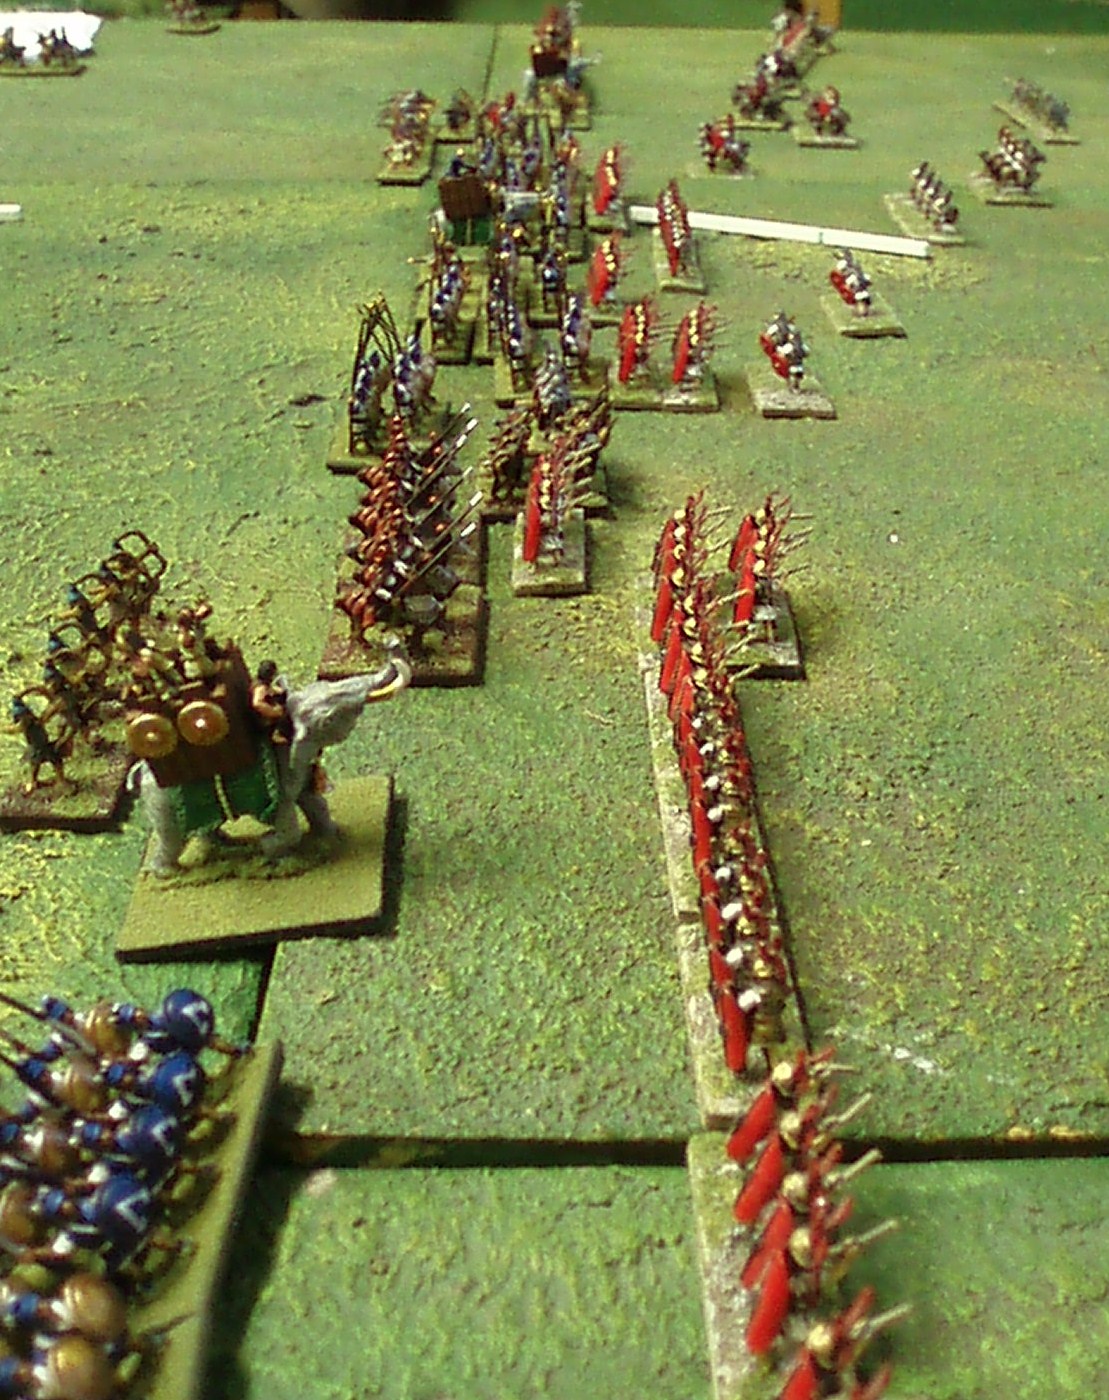
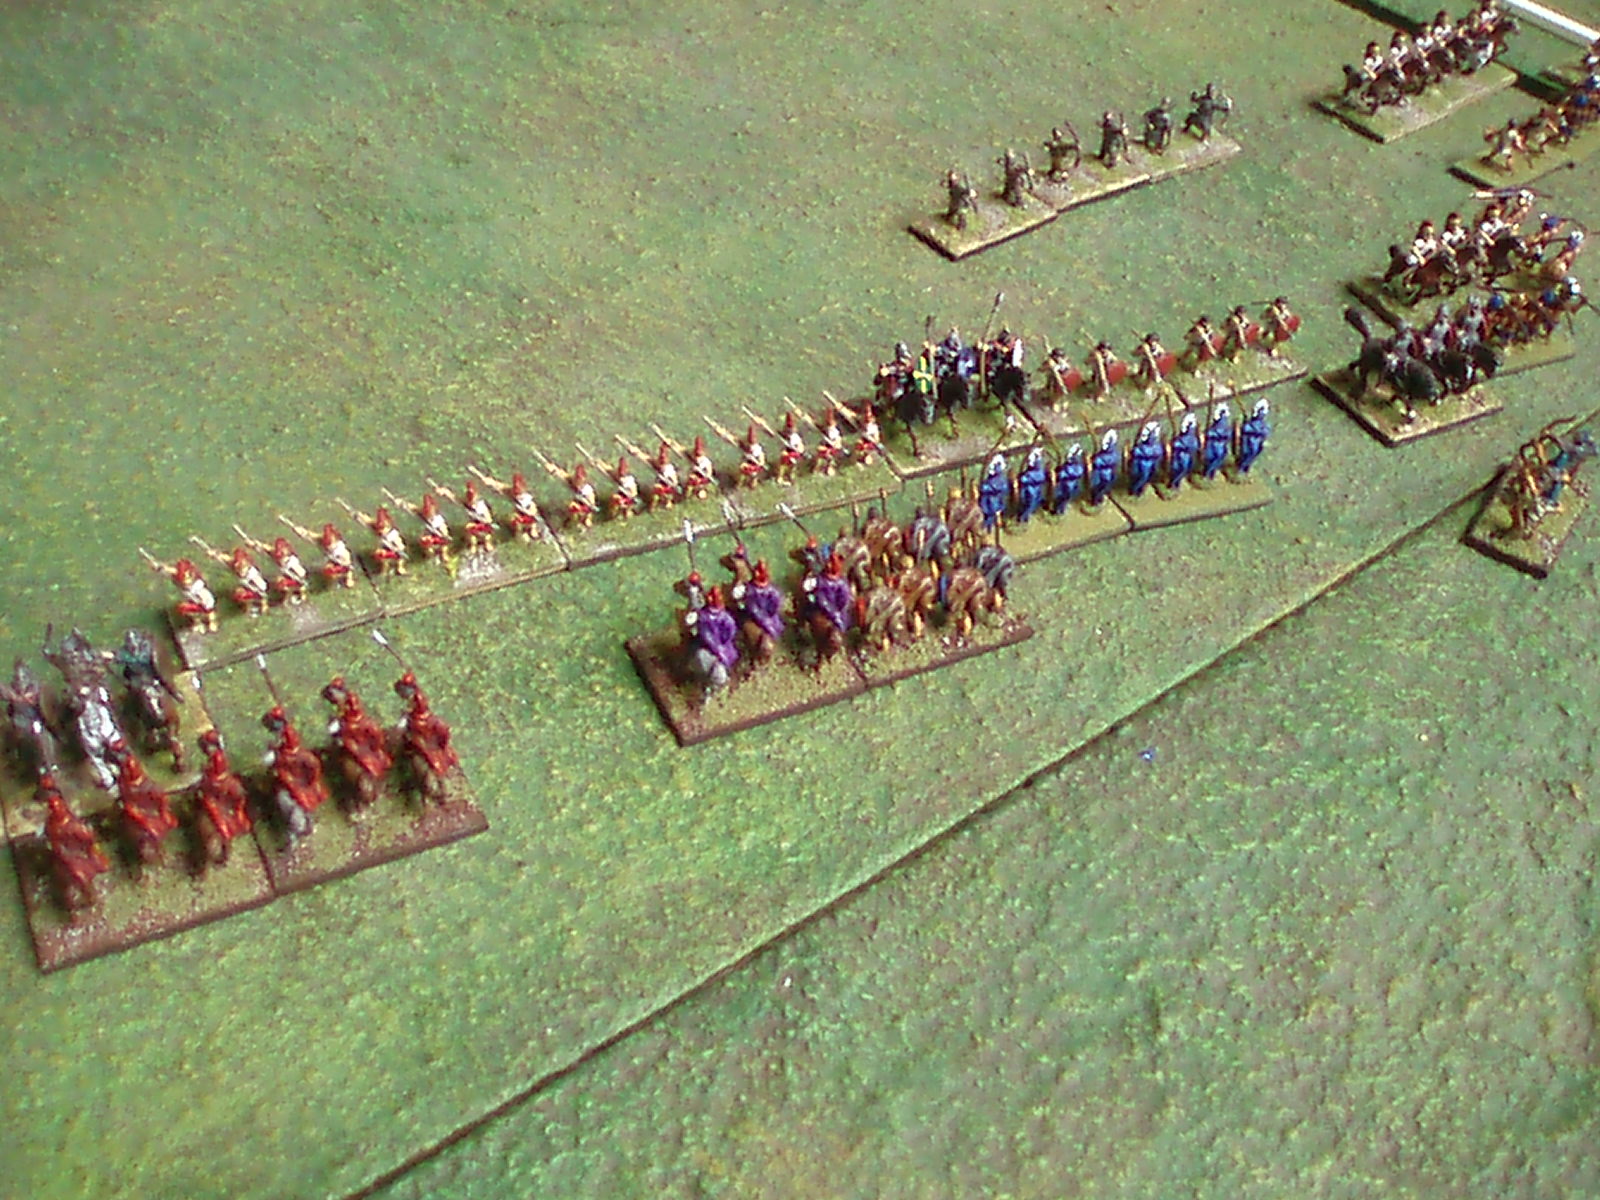
The Seleucids arrayed their serried ranks of heavy cavalry, elephants, and massed pike phalanxes opposite the fearsome wall of disciplined heavy Legions of the Romans and in the foggy, morning light both armies contemplated the bloodshed to come.

Hostilities opened on the inland flank with Seleucus and Zeuxis driving their light troops and scythed chariots forwards towards the Roman cavalry and the allied forces of Eumenese. The Seleucid skirmishers throw themselves into the fray in an apparently suicidal engagement.

While many of the skirmishers lost their life, they managed to draw out the allied general Eumenes, and the Seleucid scythed chariots leapt forwards smashing into the allied general and bringing him down in a swirling mass blades and frenzied horses.

The Roman flank fell into paralysis by the loss of their ally, although they were able to mount local responses that broke the Seleucid vanguard. The fighting in this area died down as the main battle lines steadily closed on each other.


The Seleucids struggled to advance along the river, causing their line to lead in from the left, while the Romans, with rather more discipline established a solid wall of shields.

Along the river, the Selucids advanced to try and turn the Roman flank. The river istelf was paltry although still fairly tricky to cross, and the Romans secured their line with a small force who moved to defend the riverbank.


Back over on the other flank, the Romans establish a battleline and wait for the Seleucid heavy cavalry to attack.


Finally in the centre both forces get to grips with each other. The stoic Roman legions grind forwards into the forest of stabbing pikes, and the elephants on both sides smash their way into the enemy.

The vicious fighting descends into a confused melee and neither side is sure how the battle is going...

But the relentless pressure on the legions starts to tell and the Legions begin to crumble. Even the triarii thrown into the fray are cut down.


The battle spreads to the flanks in earnest and along the river the Roman position also crumbles.


On the other flank, the Romans finally advance and their medium foot do unexpectedly well against the Seleucid cavalry, repelling the mounted warriors with some loss.
It was too little too late though and with most of the Roman commands broken, the legions began to take flight leaving the Seleucids victorious on the field!

History was reversed and the rise of Rome in the east faltered at the hands of the Seleucid phalanx!
It was a cracking bash, and the DBA v3 rules are very promising. they play for more like Hordes of the Things than the previous version of DBA, or indeed DBM. I suspect we'll be using them fairly often from now on.