Its been a funny old year 2024. I've been focussed on non-photogenic gaming for the most part, roleplaying and boardgames, so my wargames have been bumping along quietly in the background. Its meant I've not posted much at all this year.
Anyway, this evening we broke out the One Page Rules again and I took my orc raiders against a marvellous Human Defence Force army, modelled using Turnip28 miniatures. This was the first outing for my opponent's freshly minted Turnip army and it was gloriously splendid!
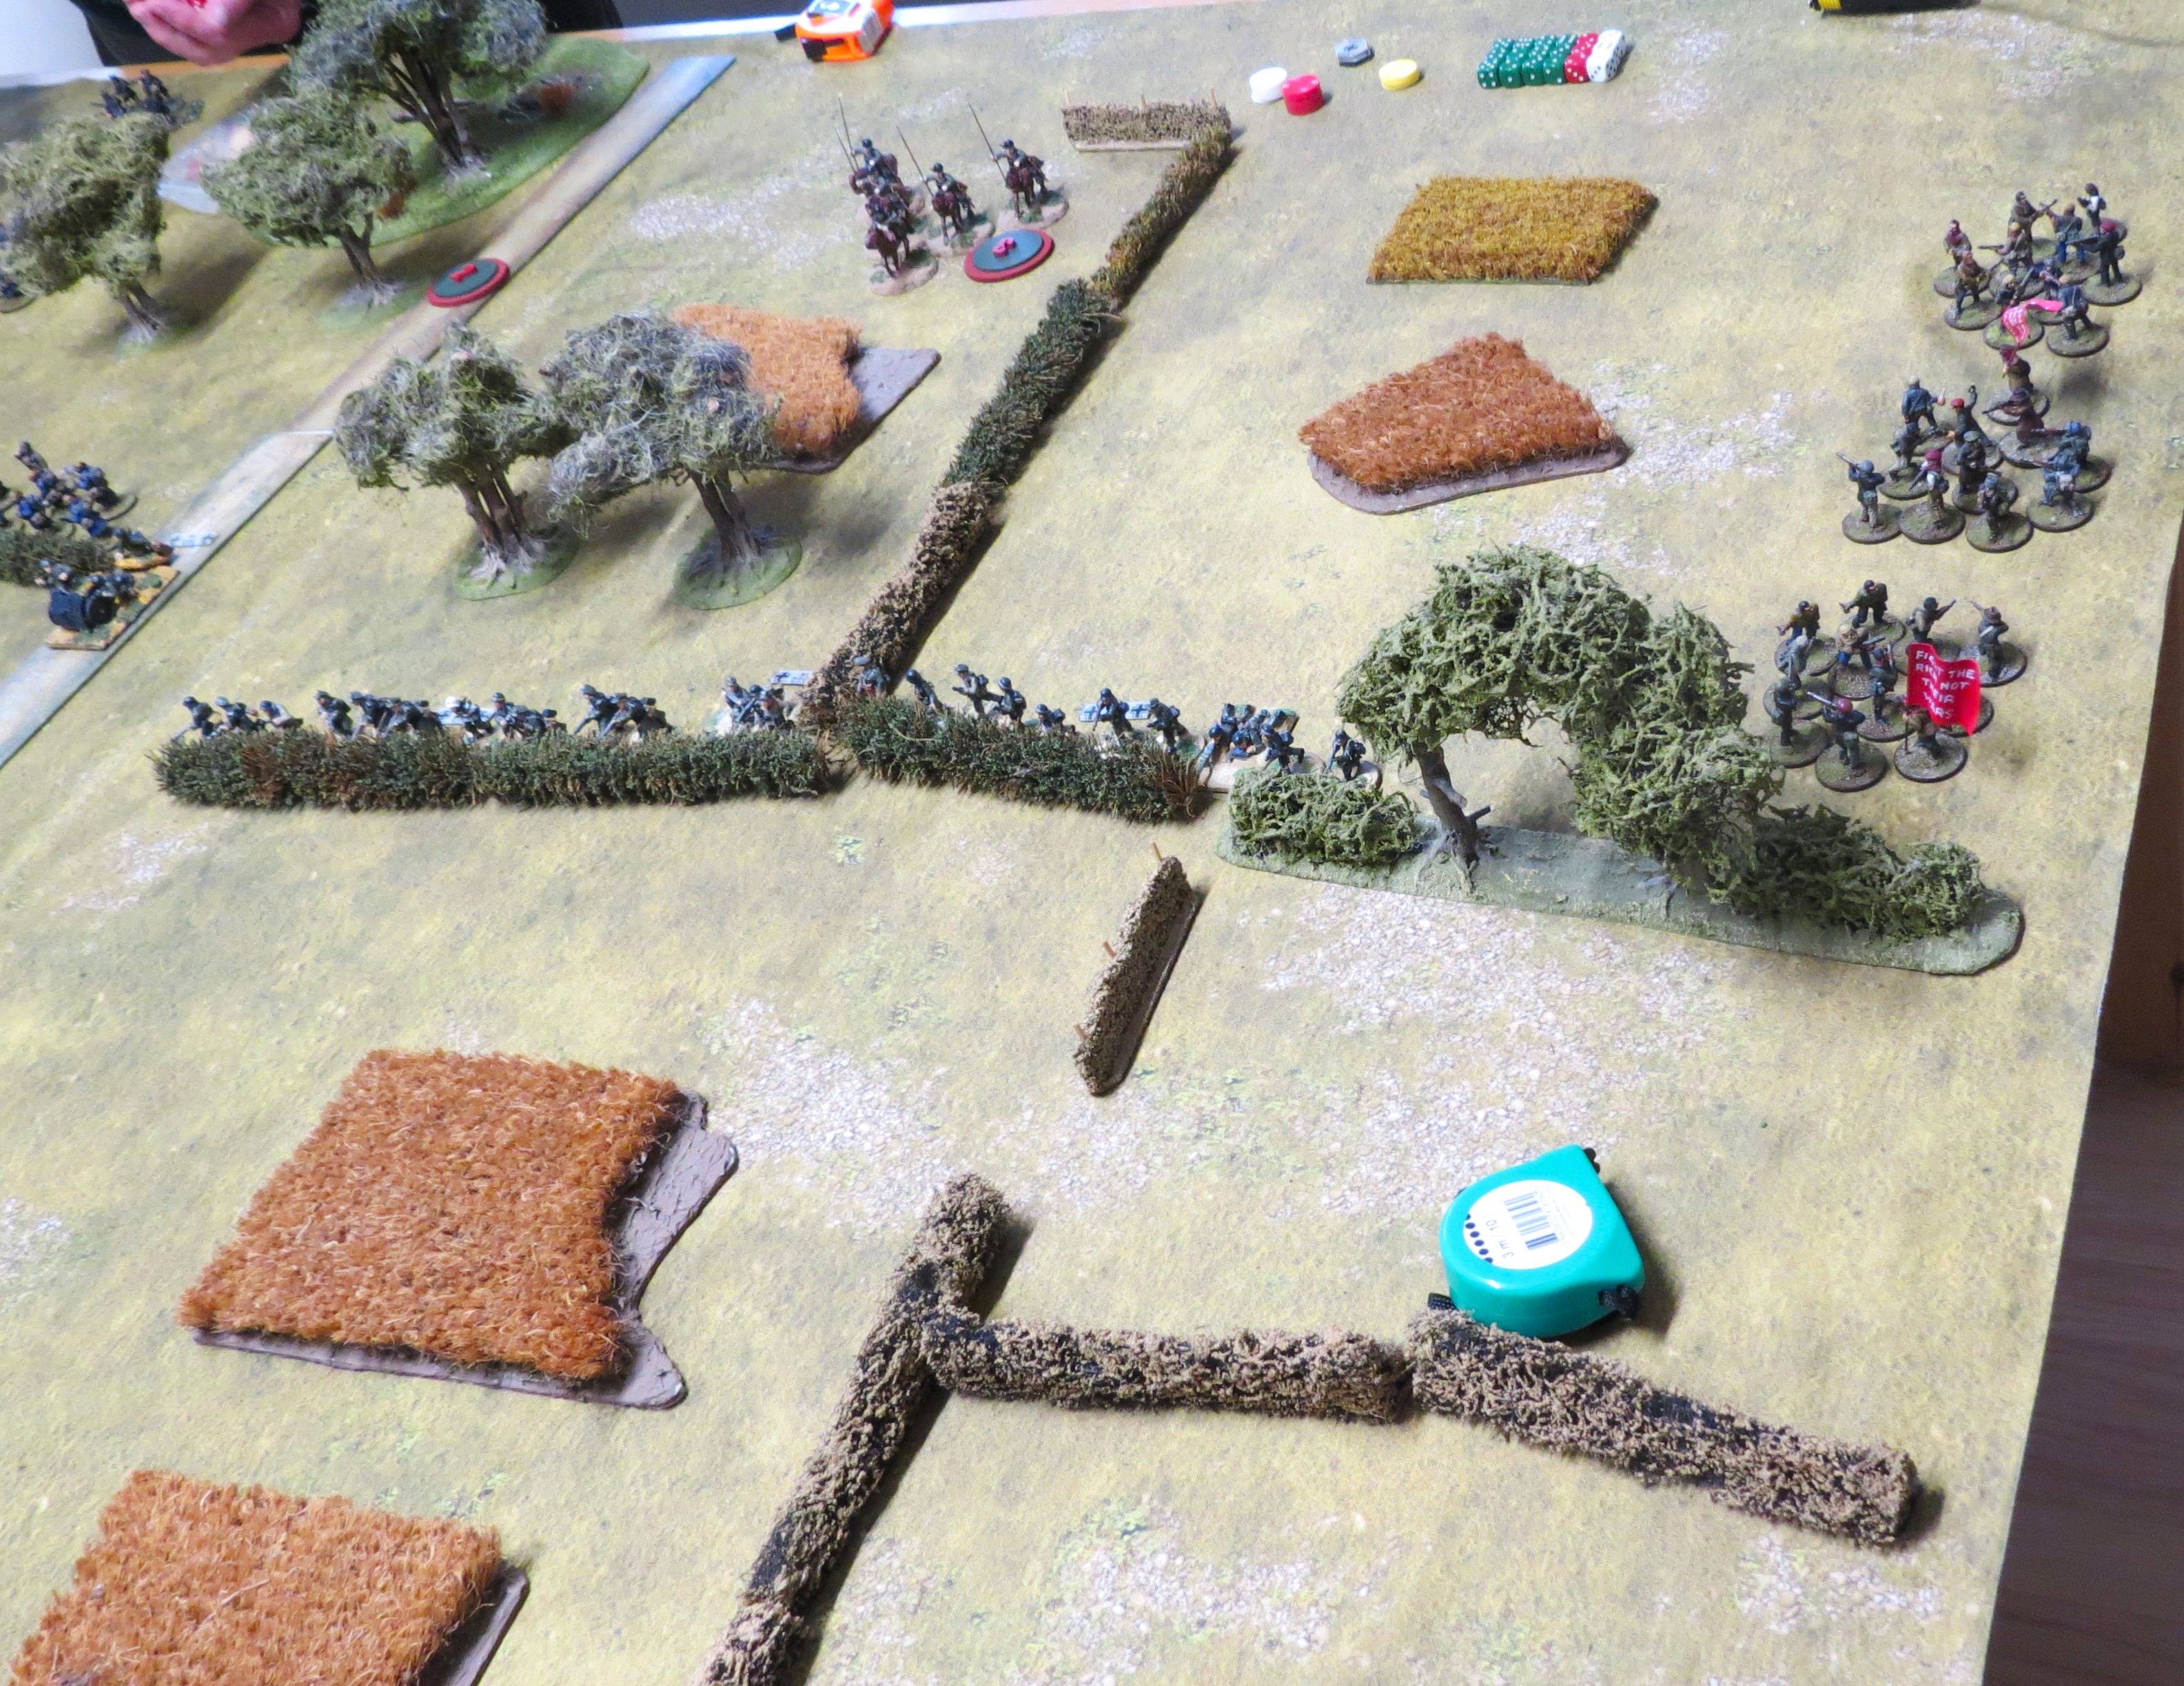
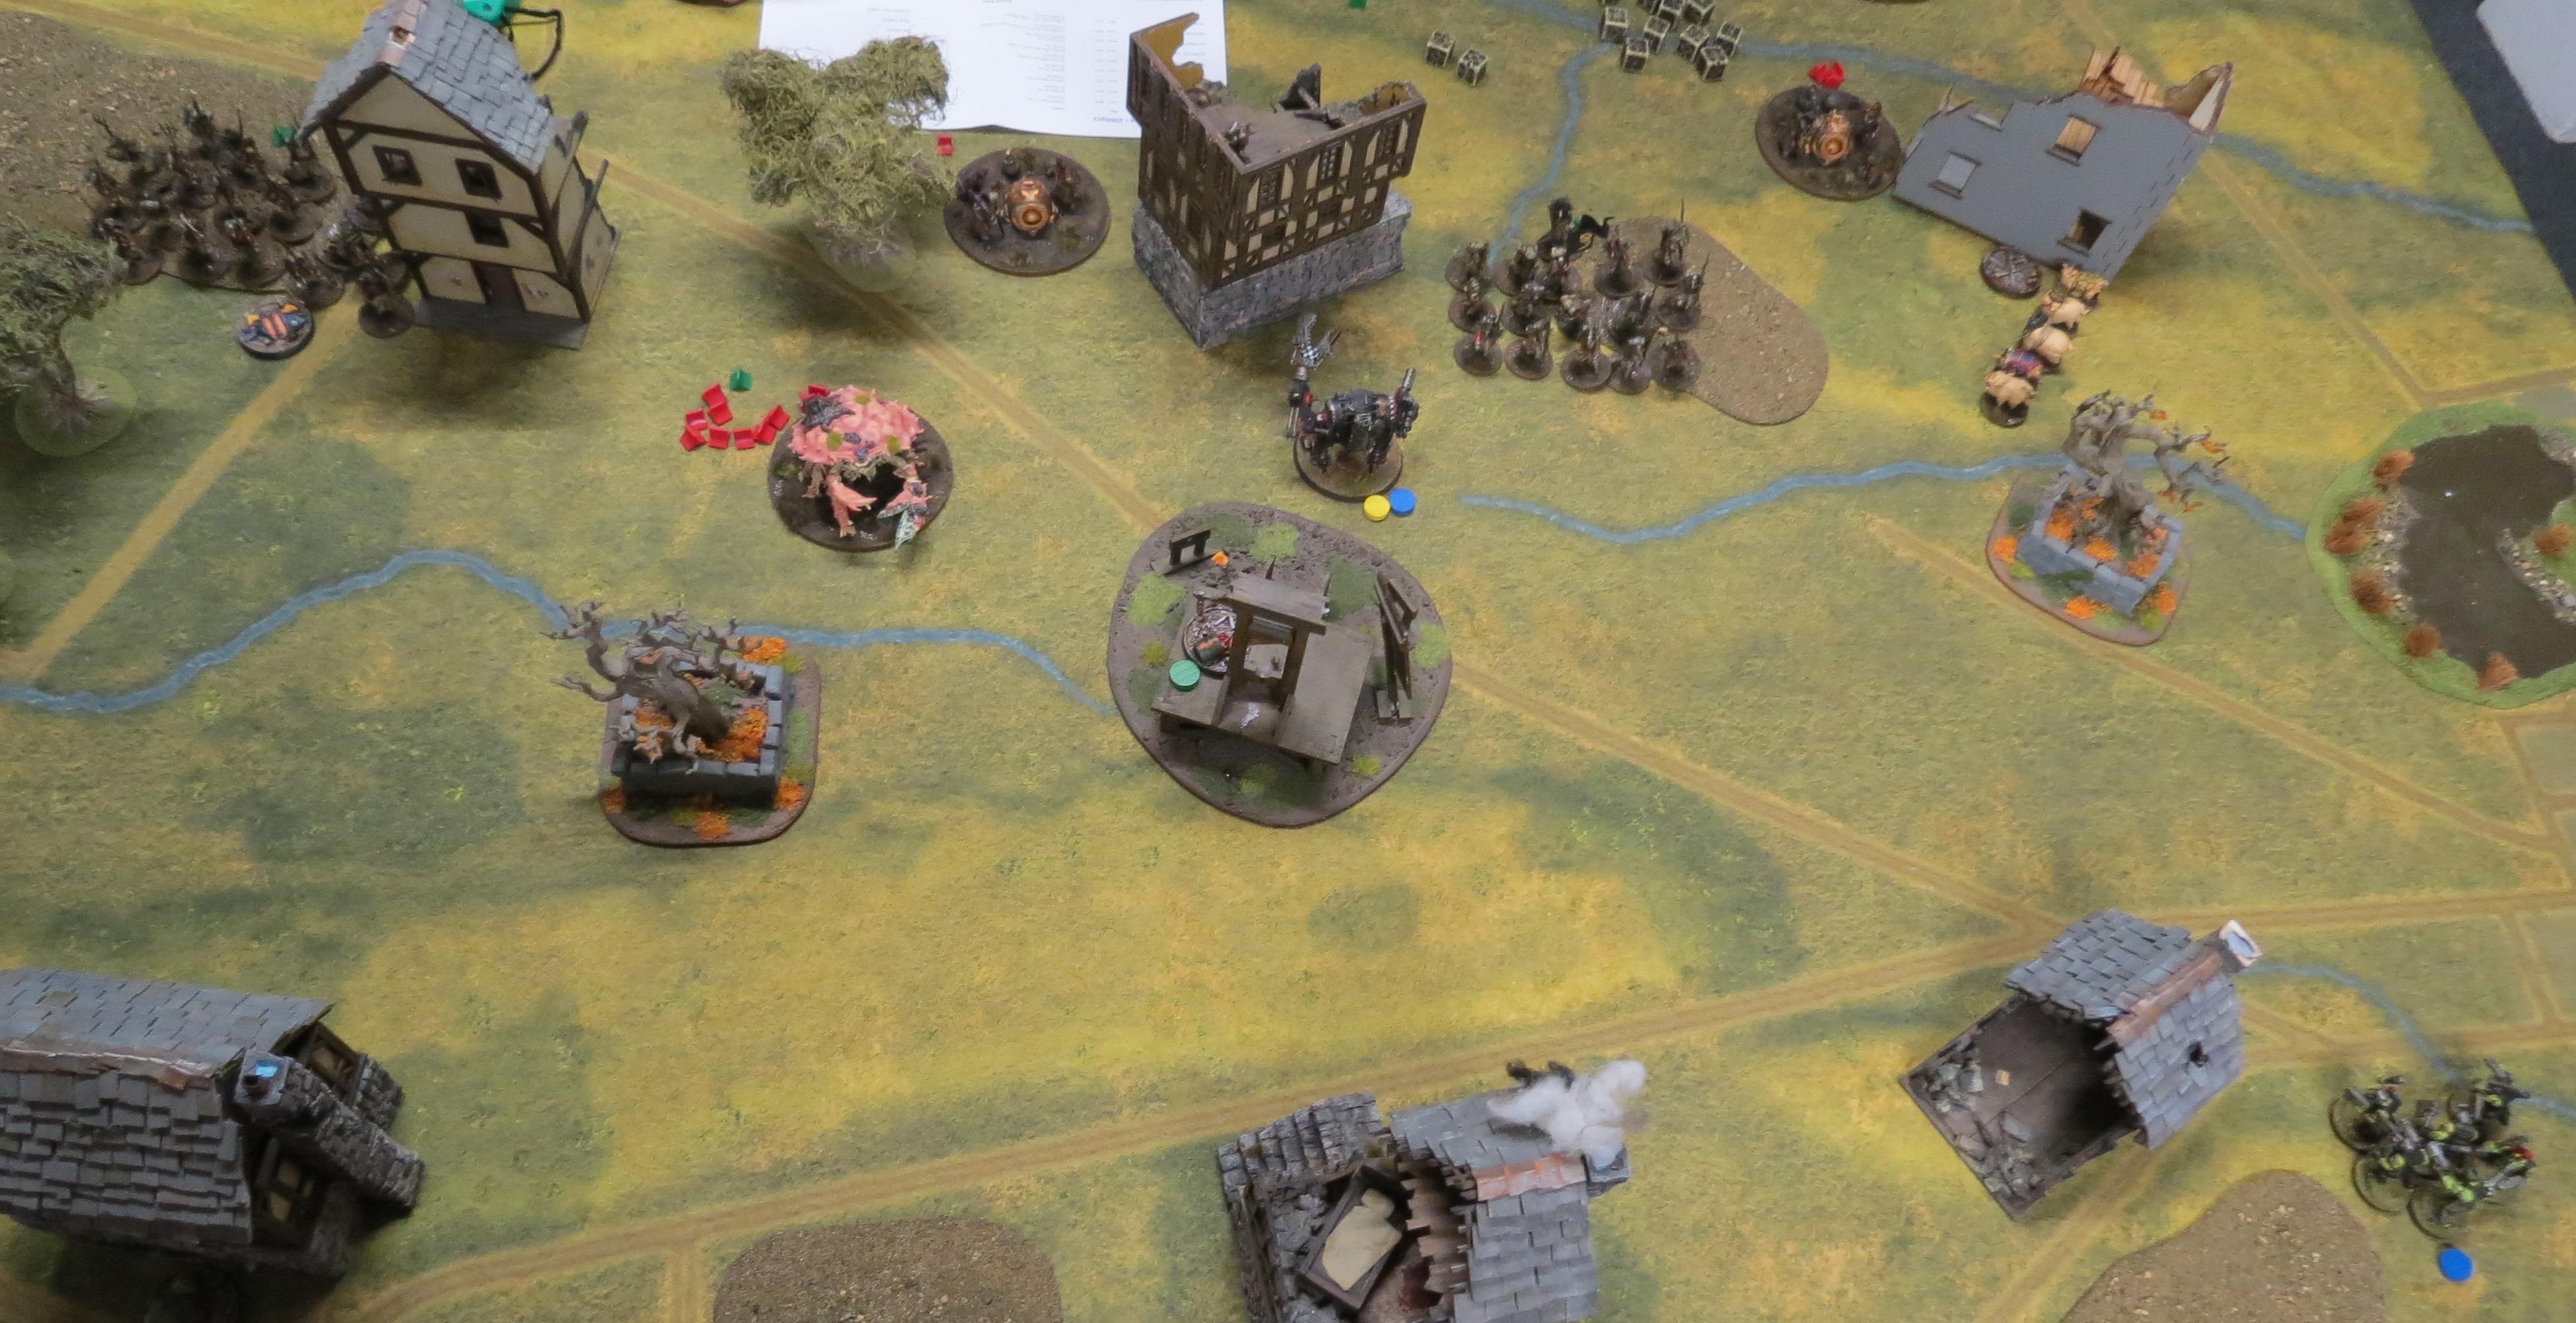
On to the game though, we played a simple deployment with 5 objectives. The player who controlled the most at the end of turn 4 would be the winner.
My orc raiders started with their one and only tactic, a general charge onto the root-infested guns of the enemy. We deployed so that we each had two objectives so the fight would be over control of the centre.

The orc raider left flank was heavily supported by flying choppers festooned with rockets, and goblin-piloted clanking walkers.

Their left flank was mostly infantry but included a mob of tough boss orcs and a crew armed with flamers.

Over on the HDF line were large units it root-infested riflemen ably flanked by fast moving root-pig herds (using the HDF biker stats). Snipers took up overwatch positions in the upper floors of the local ruins.
Their centre was held by a fearsome and unbelievably tough fire-breathing charybdis, and two large artillery pieces (which would prove somewhat unreliable).

So the battle begins...

...and the orc raiders open proceedings with a headlong rush forwards in the centre, led by the boss-mob and goblin walkers. I made the mistake of moving and shooting rather than a longer move rush towards melee. Orc raiders are poor shooters and this was the wrong tactic I think.


The HDF right flank pig monsters shuffled forwards to try to grab the orc-held objective ahead.

At the end of Turn 1, the orcs control the central objective to go 3-2 in the lead, but their position is poor and the Turnip rifles, snipers, and charybdis flamer will take their toll in the coming turns.
Turn 2 and both sides have their ambushers arrive. With no free space in the HDF rear, the orc jetpack mob drop down in front of the charybdis monstrosity. This is not a position that will prove tenable, the charybdis flamer makes short work of the screaming, jet-fuel addled orcs.

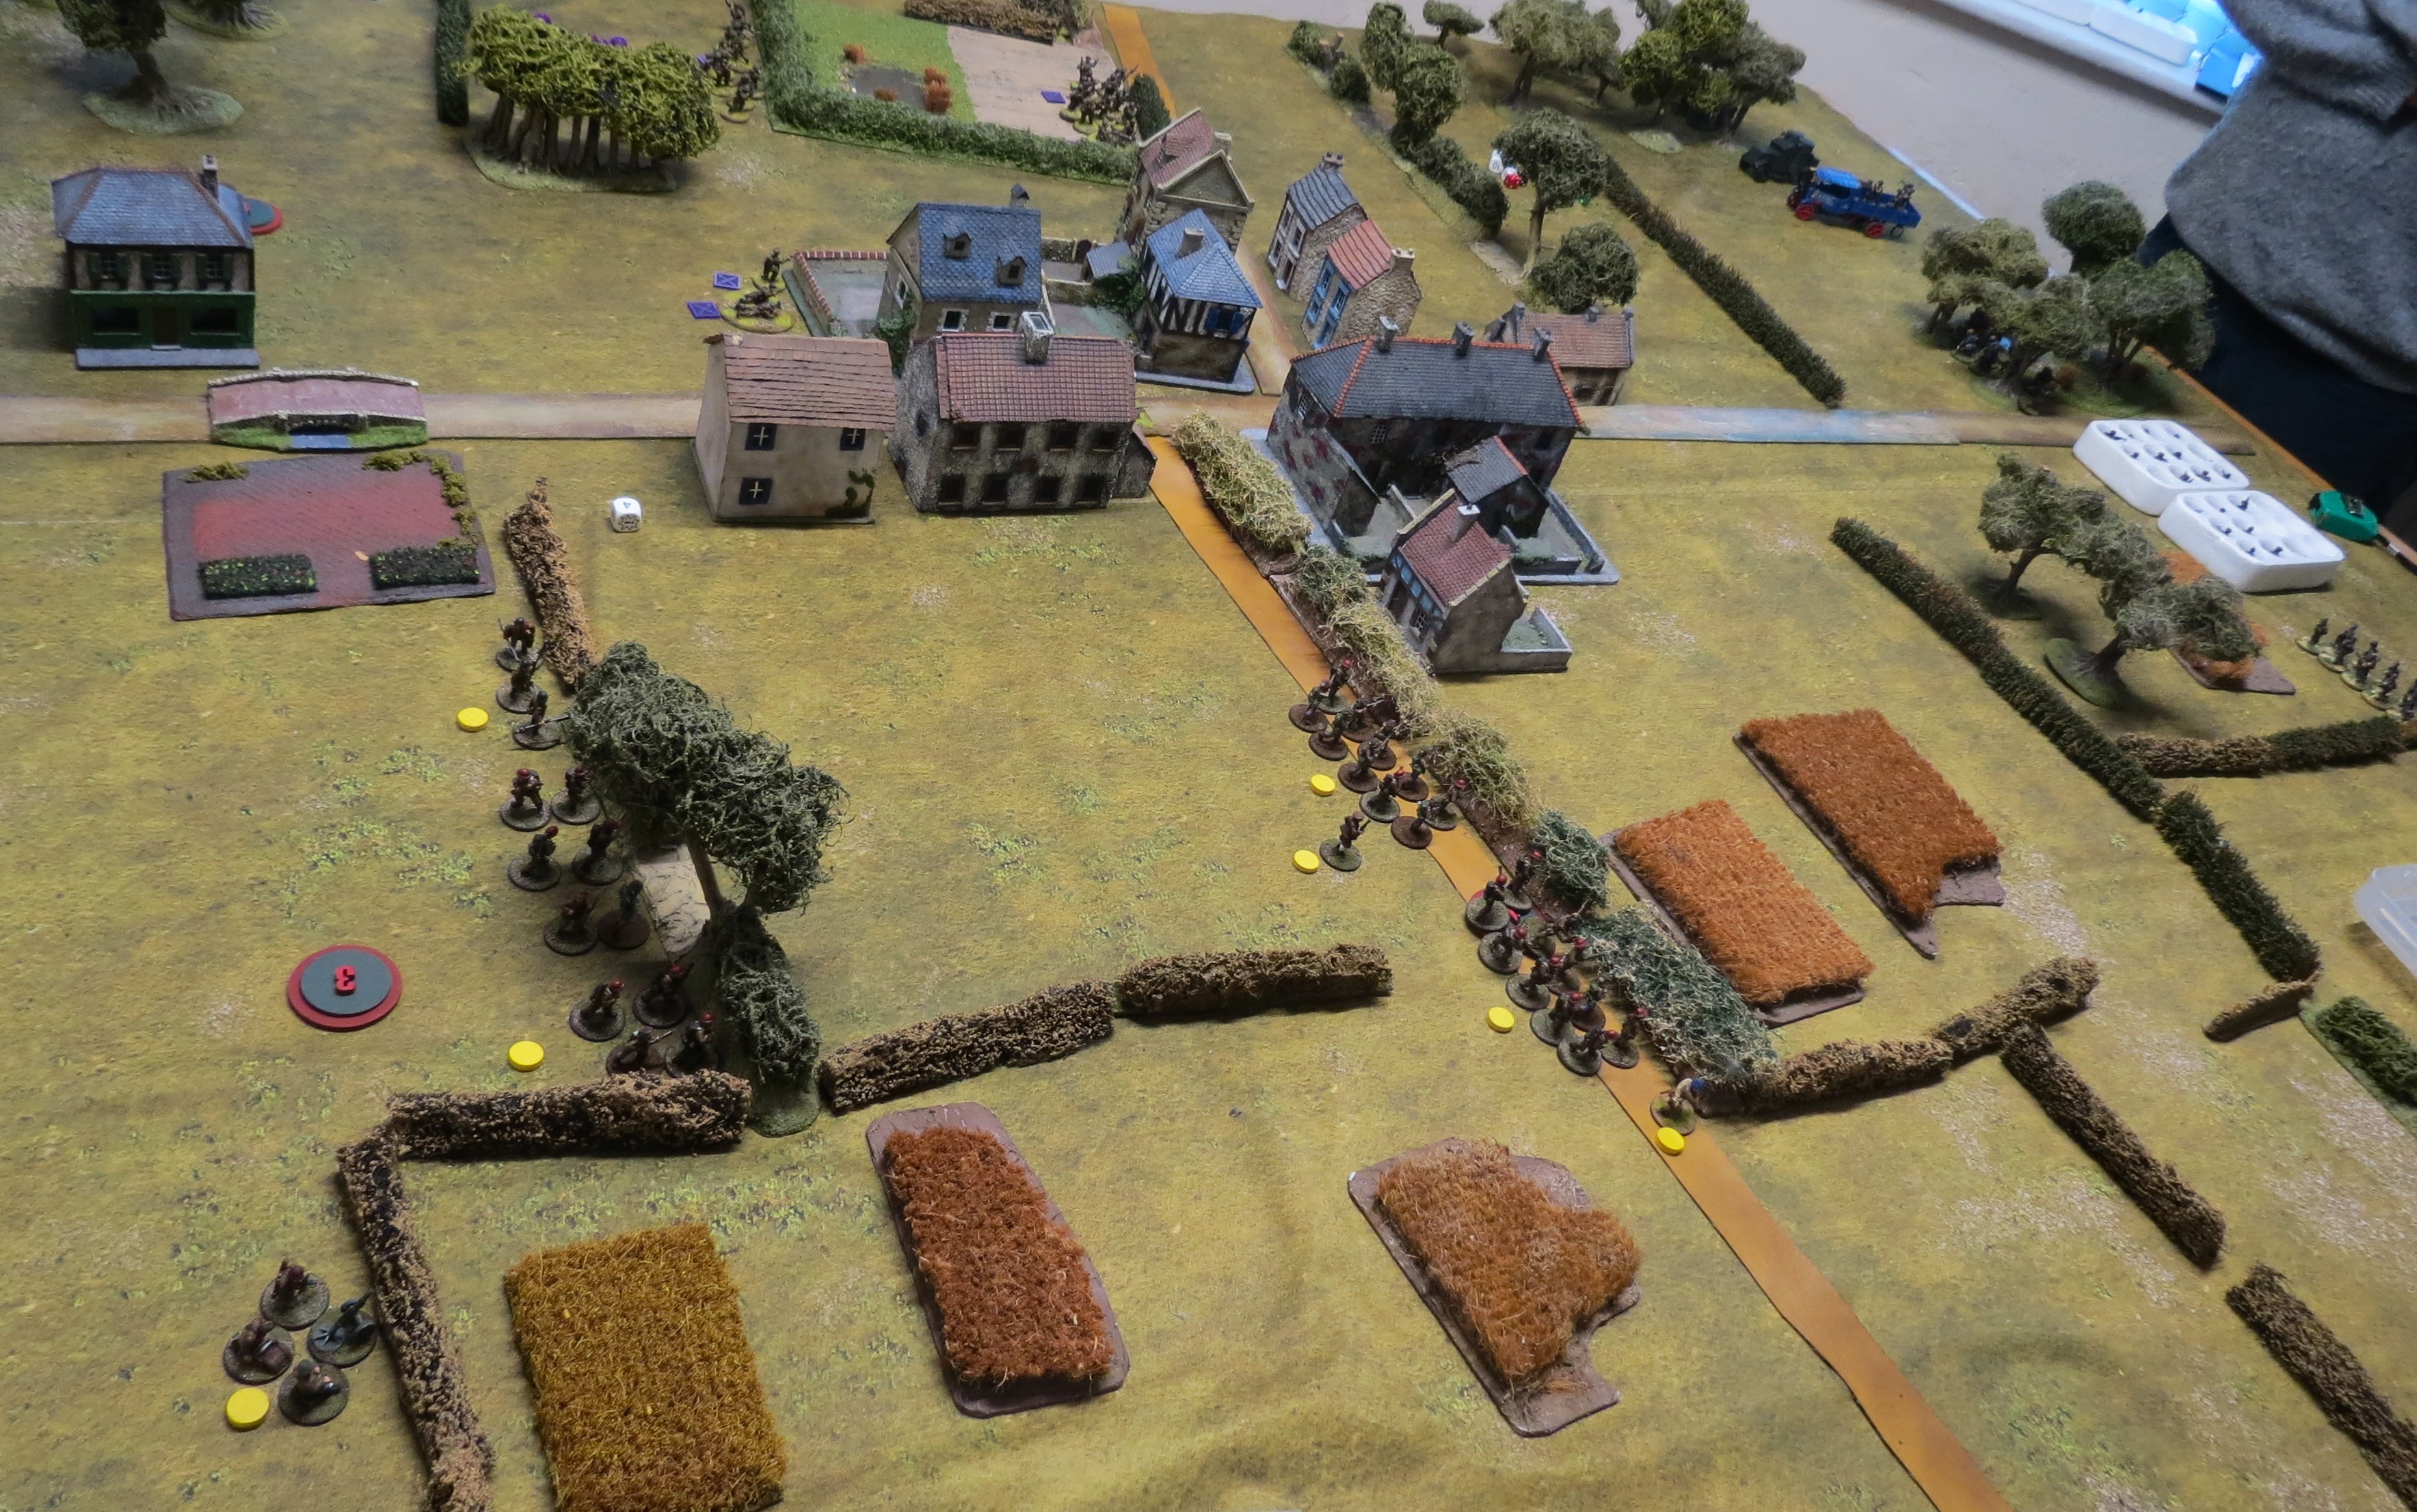
Over on the other flank, the HDF bearskinned rooty scouts emerge from hiding behind the orc lines, heading for the objective by the building. Like the orc jet-pack boys, this ambush will prove somewhat ineffective as the orc boy unit gets distracted from supporting the chopper advance, turns back and butcher's the scouts.

The piggy flank force sweeps around to head into the objective but pull up their advance over 12" from the orc mob impatiently waiting near the objective. The pigs are wary of the power of the orc melee charge and decide to wait and see how the battle develops. A Turn 4 rush to contest the objective would be most effective. This standoff can't stand surely?

Absolutley brutal rippling fire tears the advancing orc units to peices, destroying the jetpack boys and shaking the flamer crew. The Turnip leaders instruct consistent 'take aim' orders to their units, greatly enhancing their shooting power. The boss mob and their big boss leader are also chopped up (but not shaken thanks to the morale boost of the leader), stymying the advance on this flank.

Over on the other flank the orcs make more progress charging into the surprisingly tough artillery piece. But they fail to destroy it, despite a brutal charge. The artillery make all 17 of their requred saves! The orcs were relying on a win here to capture the objective, a gambit that was doomed to failure.

In the centre, the thinned orc line still holds the middle objective and the big boss takes on the charybdis with his boss mob (who are torn to bits by the big crab).

The unsuccessful orc attack is countercharged by a fast moving piggy herd and all but wiped out!

By Turn 3 the orcs are still wining 3-2, but there are few of them left now and the tide is surely turning. Despite that they still have enough in the field to maintain or at least contest the objective control.

The great battle in the centre rages on, and the orc boss is finally felled after reducing the giant crab to only one wound (of its starting 12)! His mega-claw (A4 AP4) really took its toll on the crab, which the orcs also pounded with every rocket they could muster, but in the final attack the charybdis just managed to cling onto that 12th wound! Its strike back in the melee tore the orc boss into two pieces, securing the conditions for an HDF win against the orcs.

Defeating the orc boss, the charybdis staggers on, barely alive and trailing prurts of root-infested blood to take the centre objective. The game swings on the final Turn 4 and the HDF secure a 3-2 win over the orc raiders!

Another excellent game of One Page Rules, which we've not played for many months. A well deseved win to the HDF, but as we all know, if orcs are fighting they win...hehe...