Showing posts with label A Very British Civil War. Show all posts

Wednesday, 1 May 2024

AVBCW (OPR) Battle of Barlow 2nd June 1939

The morning of 2nd June 1939 at Barlow Village broke in relative calm after the action of the 1st June.  The Black Horse in Barlow had done a roaring trade last evening as the victorious chaps of the Lord’s Alliance celebrated pushing the Chopwell Reds out of their positions.  The taps were drunk dry. Overnight the Gateshead supply trucks had brought in plentiful ammunition as their merry soldiery, together with Lord Lambton’s Hounds dug into fresh positions.  Their commanders had instructions to hold the bridgehead as best they could while reinforcements were brought down from Winlaton.  Unfortunately, mechanical issues and a lack of fuel stalled these precious reserves and by daybreak an understrength force remained at Barlow.  They had clear orders to keep Barlow Road open and clear for the next push into Chopwell-held territory.

The Chopwell Reds had not been idle either.  The command HQ at High Spen was in uproar as disputes and bitter recriminations between the Harding loyalists and moderates flew over the planning tables.  The Lord’s Alliance attack had been unexpected and much of the Chopwell strength was concentrated to the south around their continued efforts to break through into Durham.  The lost of what had been considered a ‘safe’ outer defensive position at Barlow was causing panic. Despite this, the efficient administrative functions of the Chopwell forces brought up ammunition trucks, and raised what militia they could to mount a counterattack and retake Barlow Village.  On home ground, the Chopwell forces were able to sneak forwards in the night to try to trap the Lord’s forces in Barlow by cutting off Barlow Road, and thus an envelopment action was in the offing. The armoured reserve at High Spen was released to support the attack.

At dawn, as a local cow herd wandered into the area (having escaped from their field due to yesterday’s shenanigans), the hastily raised Red forces began their attack against the dug in Lord’s Alliance regulars.  The regulars has pulled back and dug in to the north-east of the village itself to defend the road, so the battle was going to be a race for the Communists to get forwards quickly.

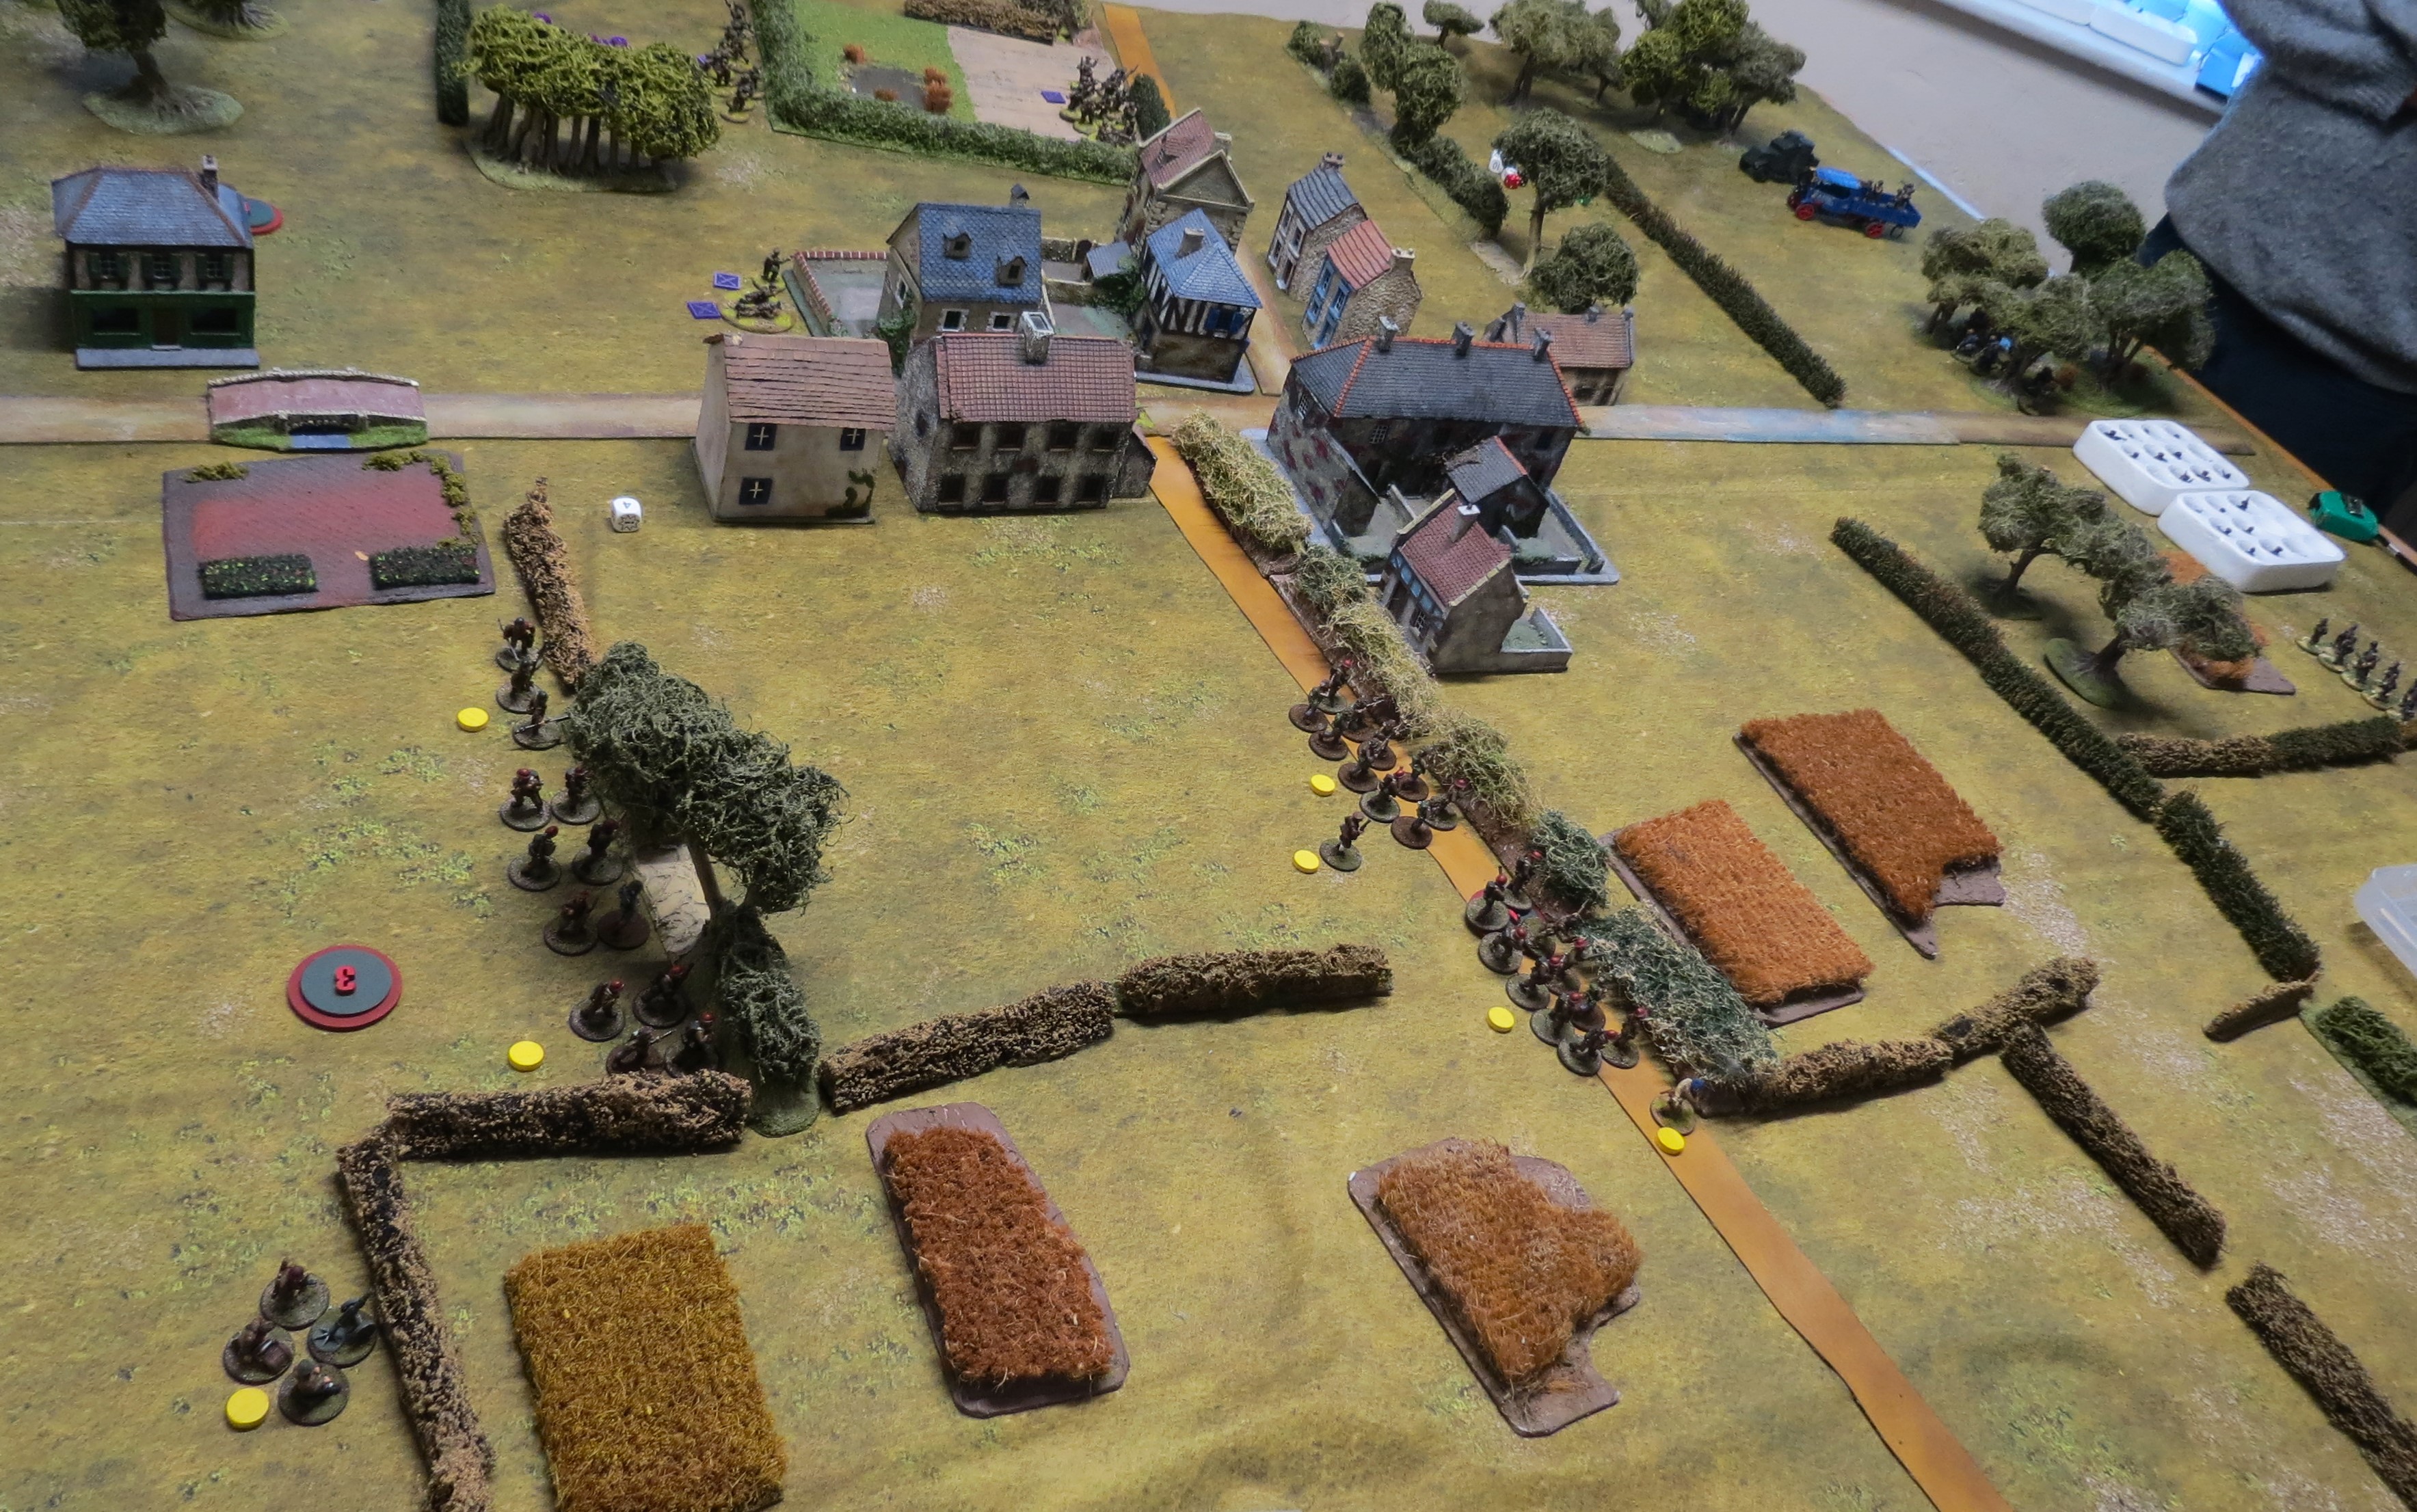
The main Red forces arrived up Pawston Road to find the Lord's Alliance dug in on Barlow Road.


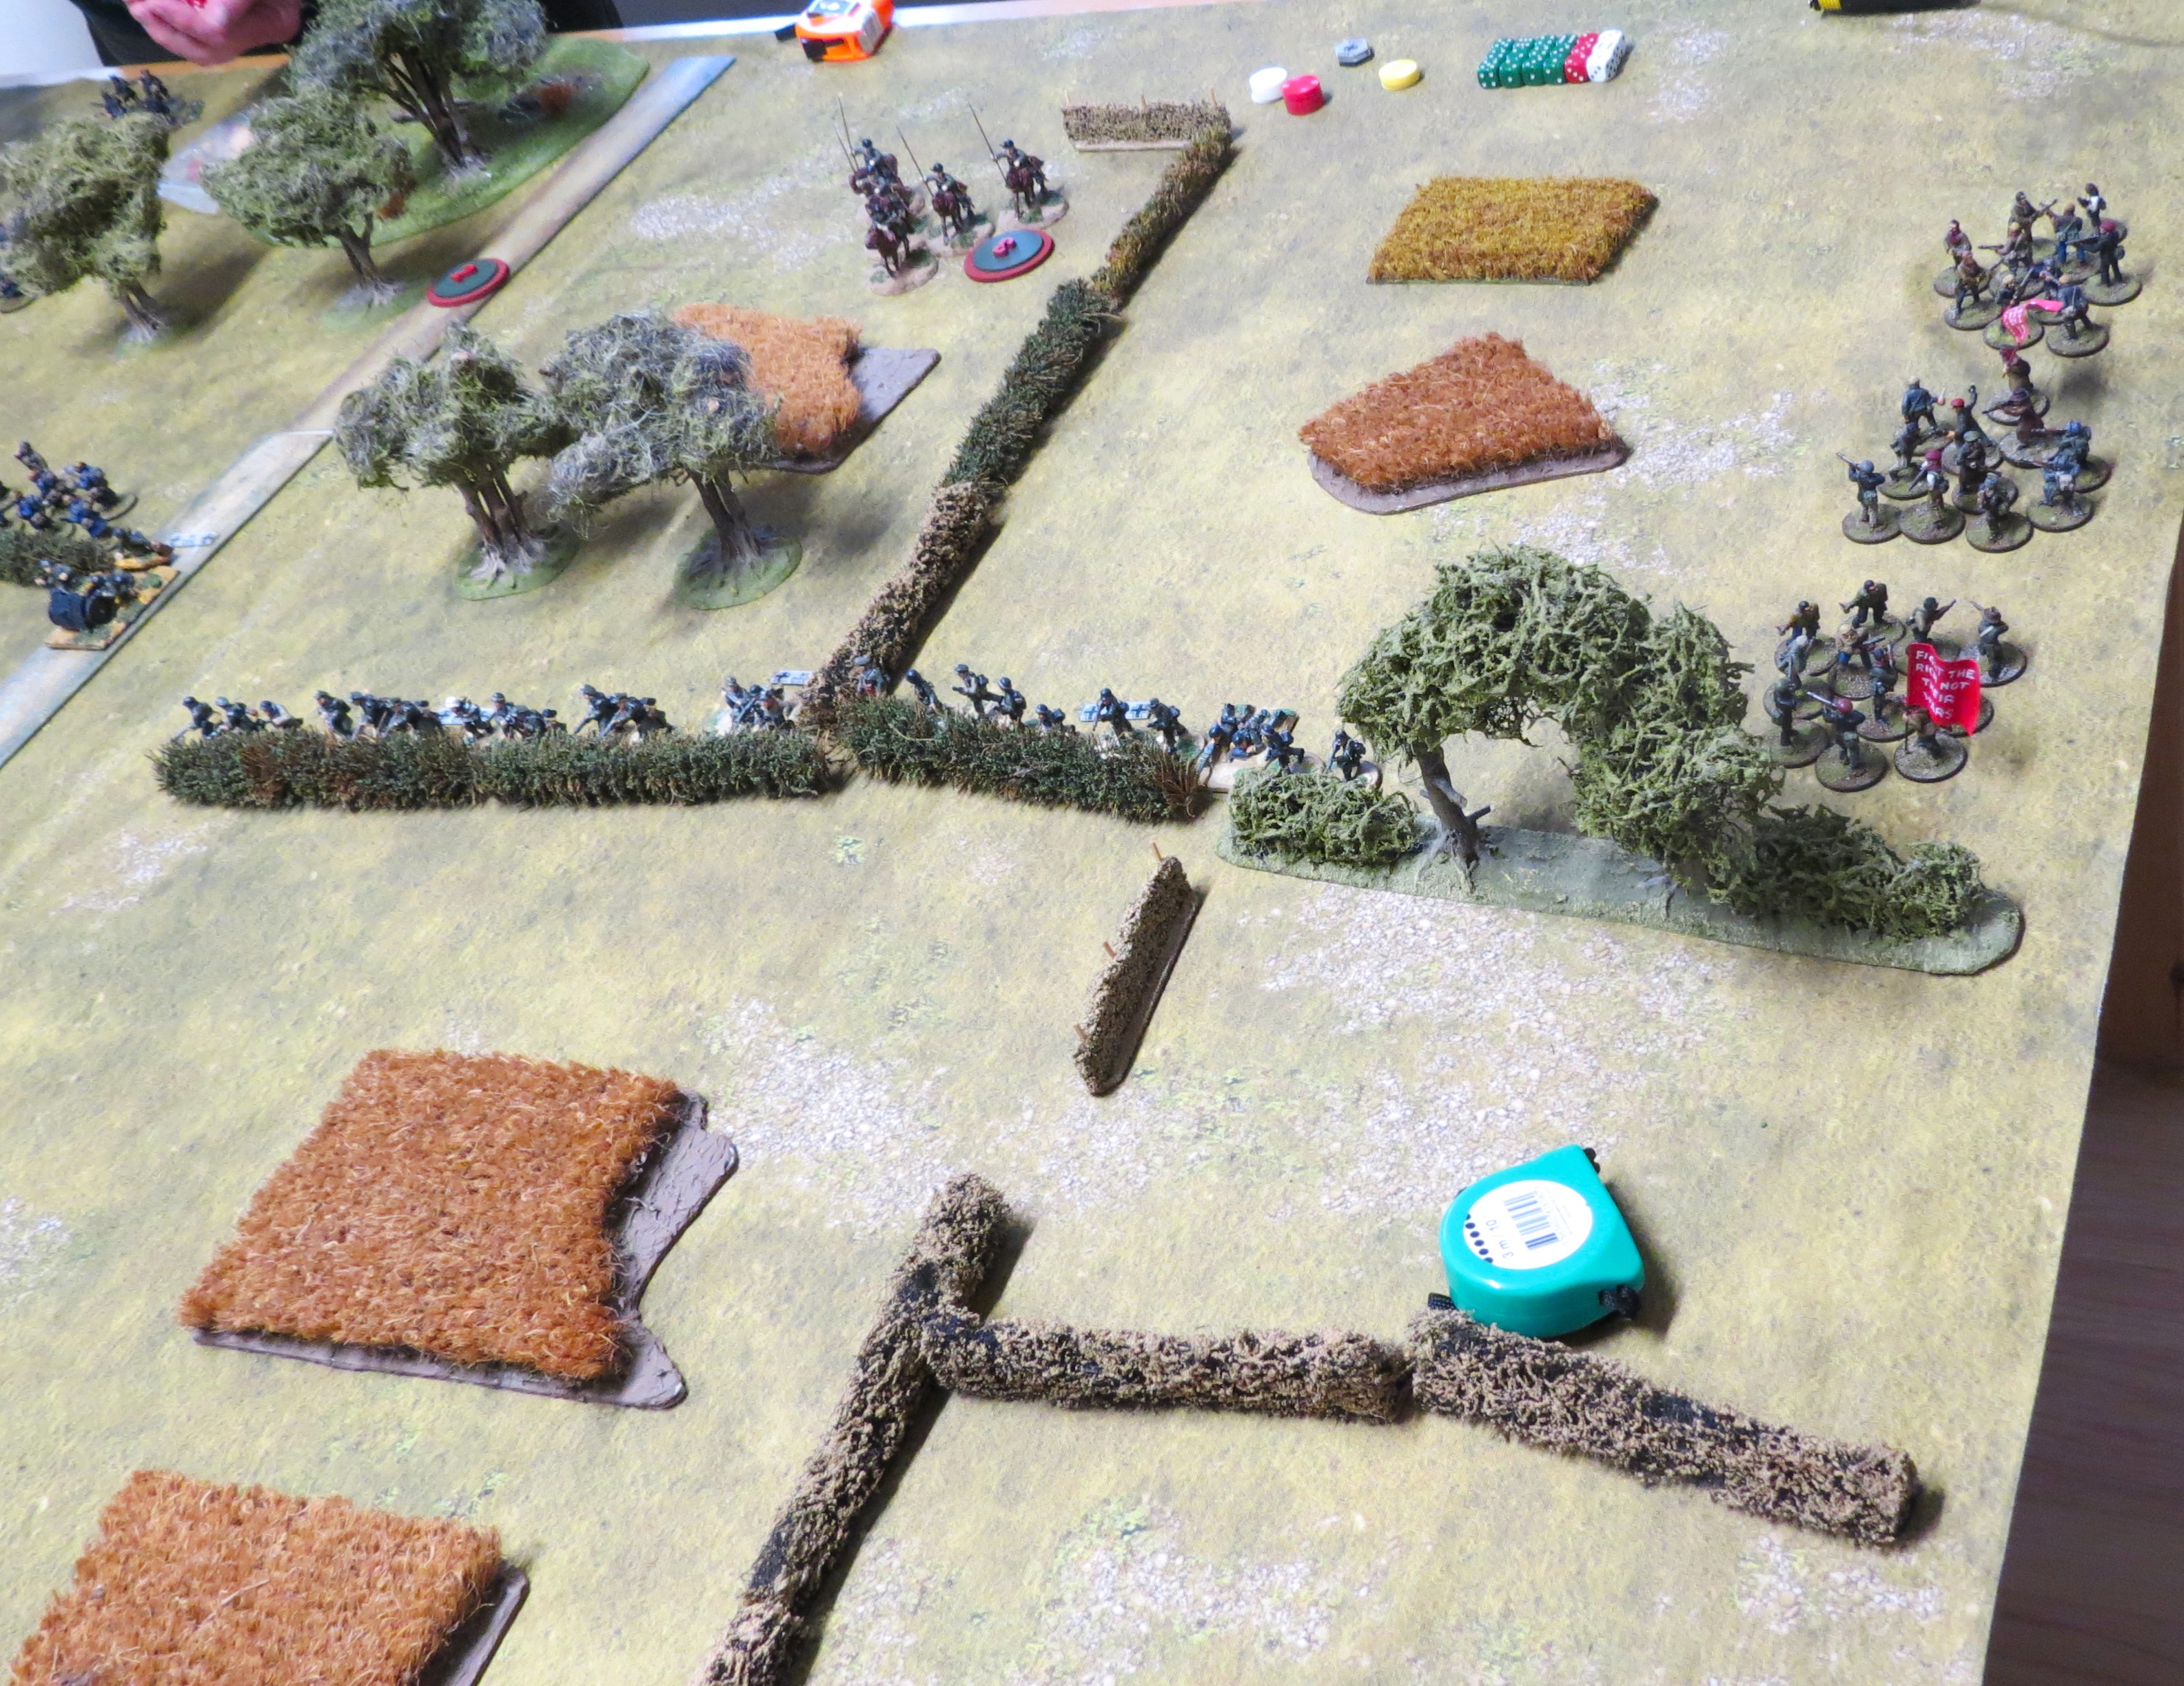
The attack began from the south as a force of rioters (armed with pistols and firebombs) and local volunteers (with shotguns) stormed out of cover into the Gatehead regulars flank.


Across the road to the north, another Red flanking move advanced quickly into the Lambton position, supported by a barely functioning Vickers tank.


The main Chopwell force watched in dismay as their flanking forces attacked earlier than planned. The leaders here spurred on their troops to cross the village as quickly as possible.


To the south, the rioters had early success, swarming into melee and routing half the Gateshead regulars, and driving off their lancer cavalry.  But their actions were costly and as the Gateshead lads reacted, the disciplined rifle fire supported by a Vickers machinegun shredded the Red flank.  A couple of chaps were killed, many wounded, and the rest panicked and quit the field under such sustained fire.


The situation was similar to the north with the Red infantry routed off after an initial success in driving off the Lambton militia.  Shortly after, peppered with rifle fire the tanks crew panicked, bailed out and left the damaged vehicle in the field.


At least this action had occupied the Lords defenders allowing the main Red force to advance quickly and relatively unhindered.


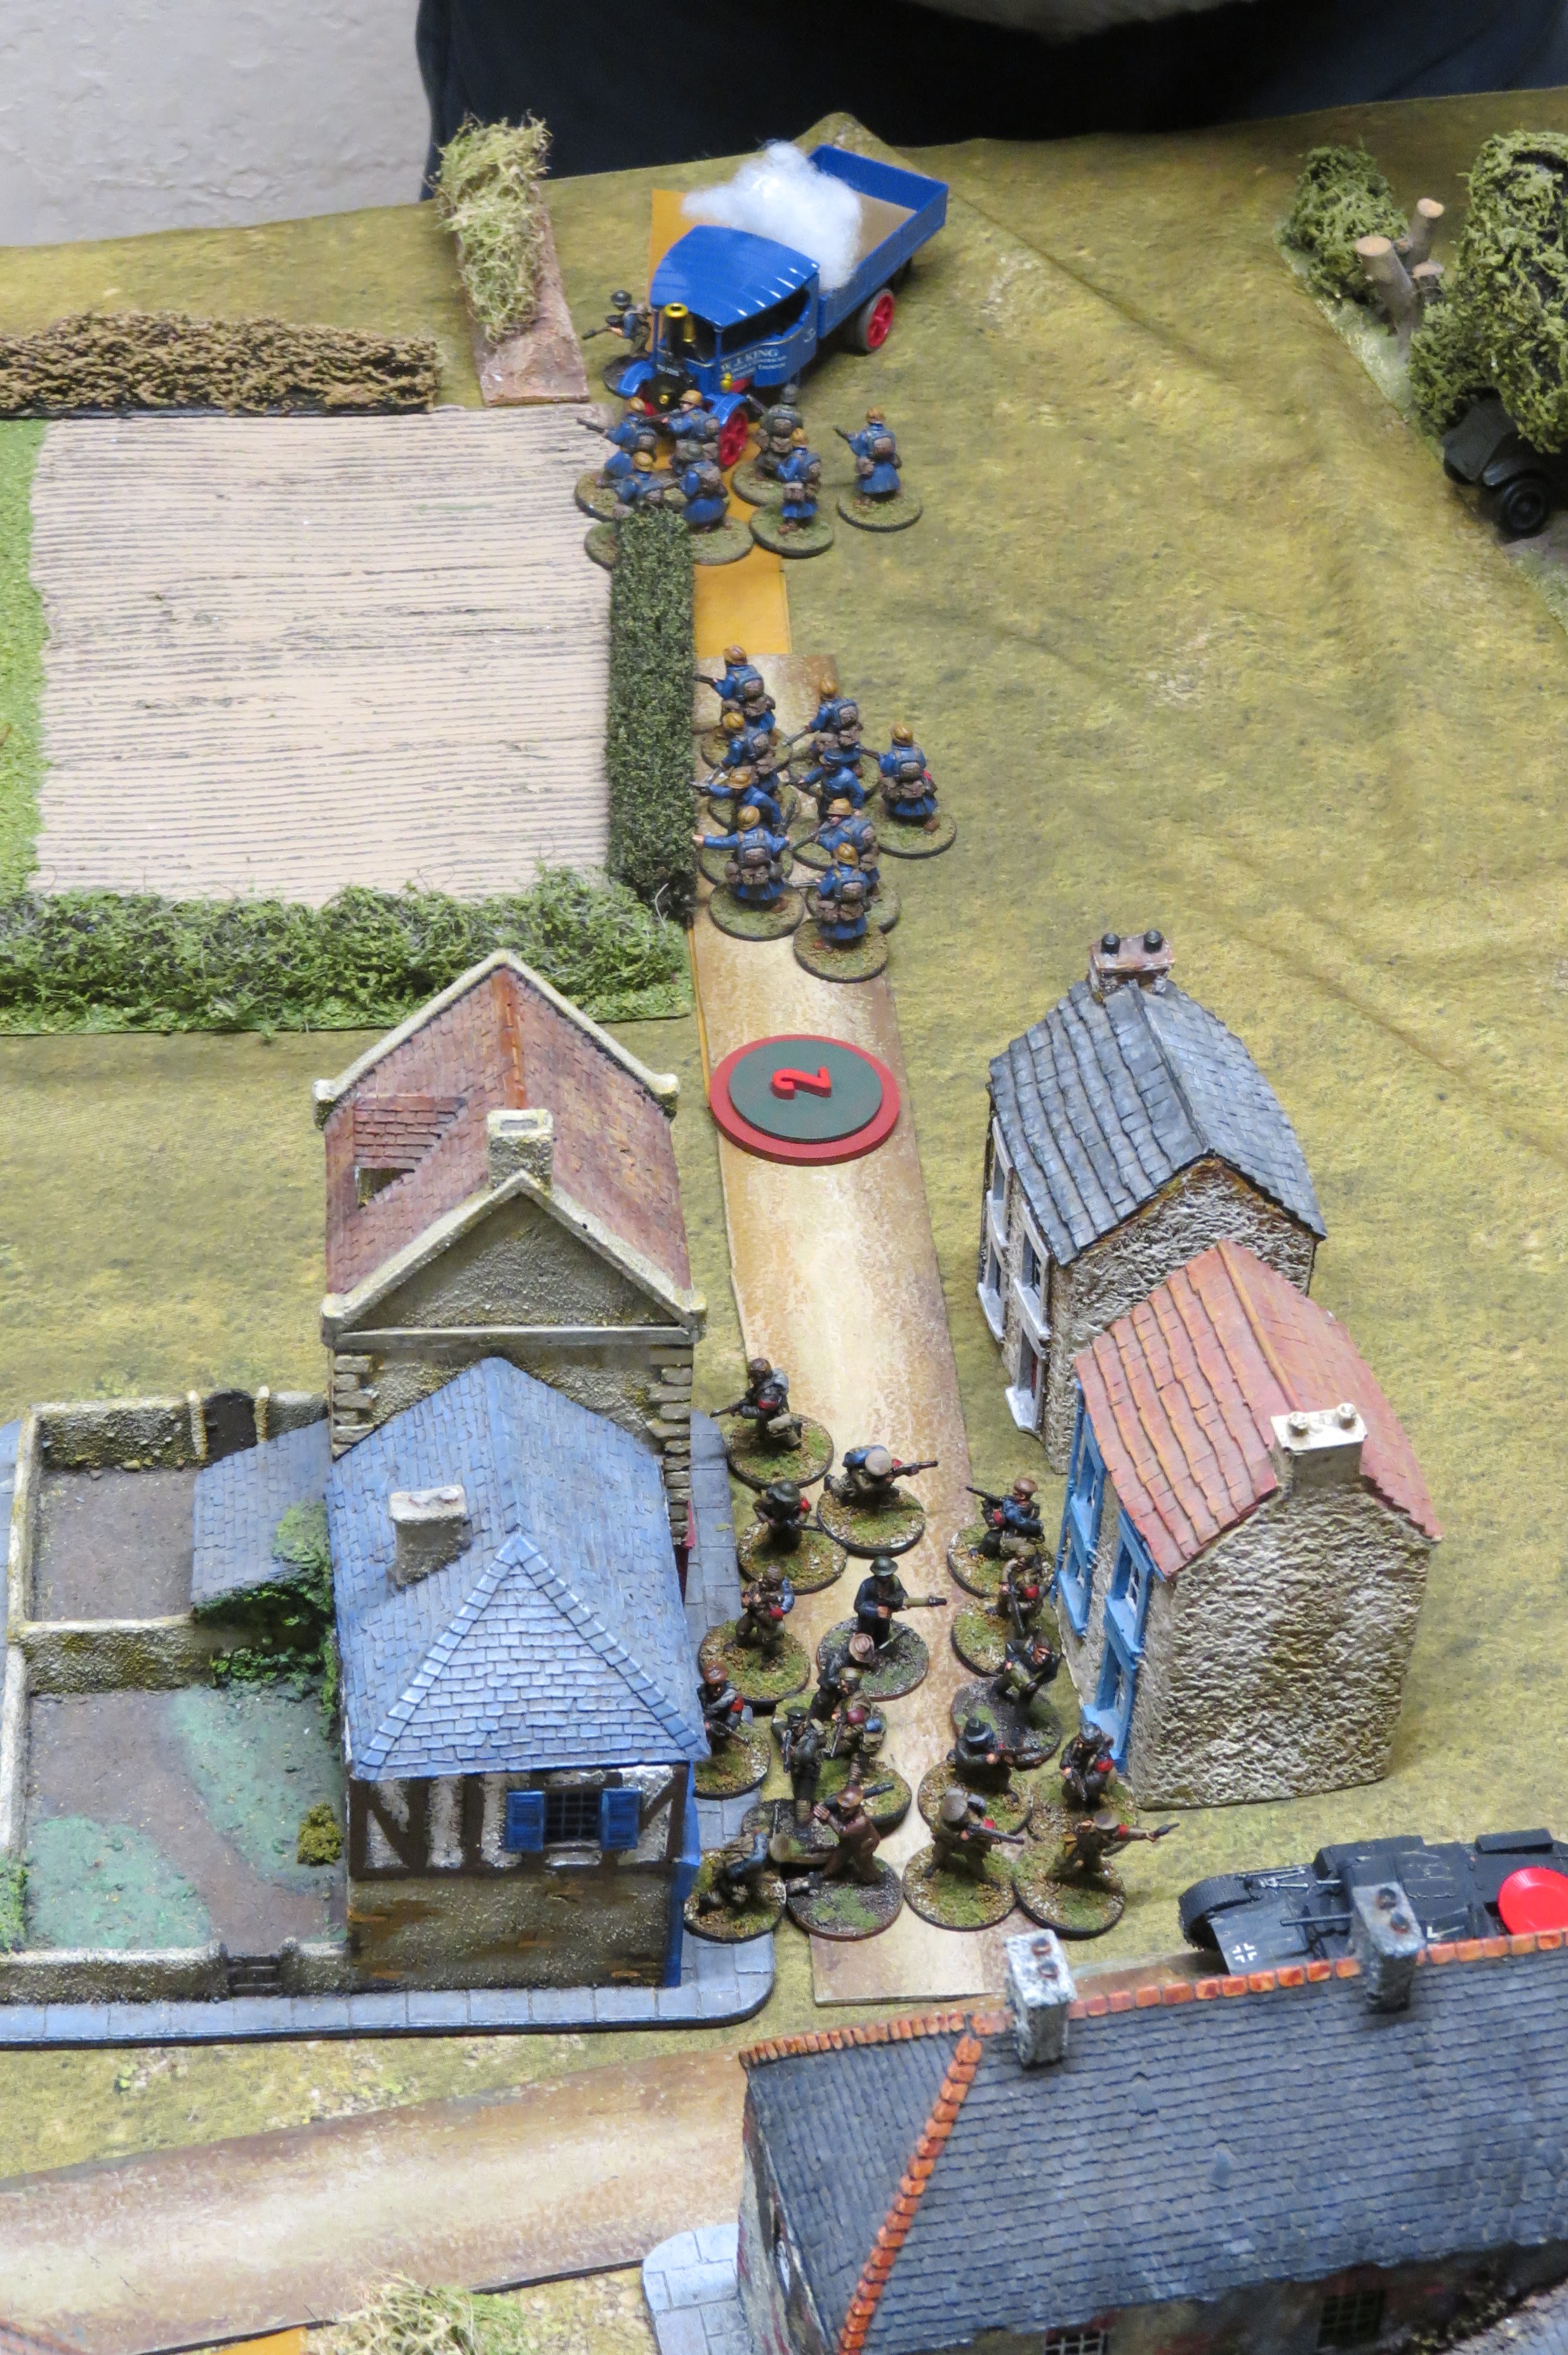
The cows had wandered into the village.  This was to cause the Reds advance on the norther front to stall somewhat.  There may be a war on but there's no sense in risking the local cattle so the cow herd formed an impassable barrier that could neither be moved or fired through!


The Chopwell forces to the south soon came within range of the Gatehead rifle fire and as they advanced quickly, they suffered terribly from this shooting.  the cavalry were routed by the Vickers team and the infantry were chopped up.


The T26 tanks however, pushed on around the flank, intent to get onto the objectives at Barlow Road, while their supporting infantry dealt with the Gateshead regulars.


The Reds here assaulted the dug in regulars, while a unit of militia sprinted on though the gap along the road between the Gateshead crew and Lambton's Hounds.


One of the T26's came under sustained Vickers and rifle fire, damaging its tracks and panicking the crew, who abandoned their charge and fled the field.  The other T26 did manage to bypass the position though and got to the objective, threatneing the cut of the Lord's positions.

Comment: The victory conditions for the battle were control of the three objective markers at the end of Turn 8.  With this move by turn 6, the Chopwell Reds now controlled 2 of the 3 objectives.


To the north of the road, Lambton's Hounds were keeping the Red advance at bay.  The tank here had been damaged and taken out of the fight, and delayed by the cow herd, the Red infantry was struggling to make headway.


In the centre the Chopwell rush was halted by close range light field artillery fire. Knocked about, and with many casualties, the Red force here petered out.  the wounded crawled back towards the village looking for aid.


With the road cut, the Gatehead position relocated their Vickers team and sprayed the T26, knocking it out with a hit on the fuel tank.  Luckily, the tank was practically empty and the tank was running on fumes so it didn't brew up.  The crew still panicked and ran off to the south.


It was here, in the final turn that the game was decided.  The Reds had cut the road but the Gateshead crew were able to take it back for the win, by withdrawing their Vickers team to retake the objective.  However, the Red unit to the north of the road had advanced to a position where their Lewis gun was in range and in an amazing long ranged volley they managed to hit the Vickers crew and pin them!  


By the absolute narrowest of margins the Reds managed to squeak a win, retaking Barlow Village and forcing the Lord's Alliance regulars to retreat in good order back along Barlow Road to Winlaton.

Comment:  This was an incredibly brutal and tightly fought battle, and immensely enjoyable as victory came down to the final attack and final morale die roll of the game!  Both sides were basically shattered, and although the Lord's Alliance regulars remained in a better state, with the Reds winning by controlling two of the three objectives, it felt more like a draw than a win.  We've been playing AVBCW for years now, using various rule sets, and it never fails to be a fun time!  We might go for a smaller skirmish action next time.

Of all the rulesets we've used One Page Rules has been very good.  Simple, robust, and gives a good, swift game.  For this battle with included the 'Overwatch' special action, which the Lord's Alliance forces made great use of.

You can find the AVBCW lists in the OPR Army Forge Community books. Go to 'Grimdark Future > Community Books' and search 'LUDD'.


________________________________

SCENARIO RULES

Day 2 (2nd June) – Loyalists won day 1. Counterattack.

With the Loyalists capturing Barlow village they are spent and hunker down for the night to rest, recover and rearm. Materiel is withdrawn to the rear for repairs and refuelling, and only a partial infantry forces is left to garrison the village.

However, the Reds had drawn up reserves for a swift counter assault which comes at dawn before the Loyalists are able to muster for the next push.  Controlling the surrounding countryside, their aim is to encircle and cut off the Loyalists in Barlow.

Game length: 8 turns         Table set-up: see plan

Objective Markers

On Barlow Road 12” in from the Barlow Road table edge

At the Crossroads in Barlow

Placed anywhere by the Loyalists, at least 9” from either objectives 1 or 2.

Victory points (scored at the end of turn 8)

Each objective marker scores 1VP for either side.

Red Forces

Each Red player has 1500pts to construct their force.

The force may include infantry, civilian vehicles, and armoured vehicles.

Loyalist Forces

Each Loyalist player has 1000pts to construct their force.

The force may include infantry and civilian vehicles, but not armoured vehicles.

Prepared positions: Any Loyalist infantry may begin the game “dug in”. They count as in cover until they move.

Deployment

Loyalists: Deploy first.  Their baseline is the Barlow Road table edge. They may deploy anywhere up to Barlow Lane, but not within 12” of any table edge. They cannot ambush or scout.

Reds: Deploy second. Their baseline if the Pawston Road table edge.  They may deploy anywhere up to 12” in from the Pawston Road table edge. Each Red force may deploy up to three units within 6” of either table edge between Barlow Land and the Barlow Road table edge. They cannot ambush or scout.


Thursday, 25 April 2024

AVBCW (OPR) Battle of Barlow 1st June 1939

After a peaceful winter, 1939 was quiet in the northeast, at least until a major clash at the Battle of Neville’s Cross on the 23rd of May.  For most, the winter had reminded them of what peace was like and they simply gave up on the war, returning to their jobs and looking after their families.  But this respite was all too brief, and the guns once again crackled around Durham.

The winter had changed a fair bit for the combatants too.  The BUF were now occupied with keeping a lid on civil unrest in Newcastle City, with lots of troublemaking pockets claiming they are part of ‘St James’ army’, a notional city resistance movement. Their attempts to gain political control of Newcastle Council failed as the coal barons closed ranks to maintain their commercial control of key regional assets. Lord Percy north of the Tyne was increasingly drawn into the conflict with Ashington.  The Northumberland Freedom Fighters were also causing terrible problems with hit and run raids on government presence in their goal of Northumberland secession.  The presence of increasing numbers of Scottish Nationalists in the region also focussed Lord Percy’s attentions to the north. The Anglican League cemented their control of Durham city with strong physical fortifications, social policies, and support for the poor (including subsidised pub prices) making them highly popular.  The Right Reverend Hensley Henson, Bishop of Durham had declared his fierce opposition to the Chopwell Communists, Socialist and Union-backed rebels from the start of the war, and his position only hardened as the conflict progressed.  Despite this, the militia he raised had yet to take to the field, preferring to hold their ground in defence.  At Chopwell, rumours spread that all was not well in the leadership.  The firebrand John Harding had spent a lot of goodwill with promises of easy victory which turned out not to be true and the moderates in the Duma were openly calling for a different approach.  For them, Chopwell had gained much, and they preferred to consolidate their gains and move to a political solution to the war.

This handed the initiative to the Establishment Alliance, led by Lord Lambton, who buoyed by his troops’ performance at the Battle at Nevilles Cross decided to strike into the territory claimed by Chopwell. Supported by the Gateshead 'Germans' (with surprisingly Gateshead accents), on 1st June 1939 they mustered at Blaydon and headed southwest on the 20-minute march along Barlow Road.  Although they’d intended to head out in the morning, some issues with a motor truck breaking down meant the Gateshead lads didn’t arrive at Blaydon until just after 1pm, delaying the start to the afternoon. Lambton’s aims were to test the Chopwell outer defences, which the Loyalists met dug in at the village of Barlow. A mixed garrison of Chopwell militia and allied Socialist regulars were wiling away their time and were surprised by the approach of the Loyalists.

The Battle of Barlow began 1st June 1939 and continued the 2nd.

1st June 1939

Hearing the advance of Lambton and his allies, the Red militia occupied their dug in positions to the north and south of Barlow village.


Game Comment: The Reds set up in a strong forward position in Barlow Lane, defending the important objectives.  They 'dug in' giving them additional cover against shooting, which turned out to be an important defensive measure that meant they weathered the early long ranged shooting pretty well. We decided that the hedges didn't impede infantry movement (but did slow down vehicles) and also that it didn't block line of sight, but each hedge shot through added 'one layer' of cover (e.g. shooting through two hedges gave the defender +2 Defence). This impromptu houserule worked really well, allowing long ranged shooting but making it far less effective! 

His Nibbs overseeing the militia and dug in sniper.

Lambton's Hounds advance through the woods, with the musketeers in a truck supported by an armoured car.

Gateshead regulars well commanded and supported by a medic line up flanked by skittish lancers.


On Barlow Road the Gateshead motorpool, imported from Germany over winter rumble forwards.


The action begins with a swift rush by the attacking armour.

Game Comment: the allied attackers lined up and made a general advance across the whole front.  The suffered initial reverses with the defenders concentrating fire on the advancing armoured car.  Both were promptly destroyed! But it did mean that the following infantry were able to advance largely unmolested.

The sneaky Reds has an anti-tank gun entrenched in Barlow itself and with the opening shot brewed up the German Rolls Royce!

Meanwhile the supporting infantry pushed up,
peppering the dug in Reds with walking fire.


To the north of Barlow, Sustained Chopwell fire shattered Lord Lambton's Austin AC,
drawing the Gateshead PzII across the suppress the Socialist positions.

Game Comment: the attackers concentrated their attack in an aggressive move north of Barlow village, and facing a storm of fire, the Red defences here crumbled quickly.  By turn 3 of 8, it was clear the attackers were going to break through here and they captured the objective on Barlow Lane with minimal infantry losses. Lambton's Hounds were regulars and therefore better quality than the Red militia, and were supported by a large mob of their own militia, putting out a lot of low quality shooting.

To the south, the Gatehead cavalry galloped forwards looking to prick out the Chopwell
defenders at the point of a lance. Ulitmately, they would be blown to spots by the Reds
supporting mortar fire.

As Lambton's Hounds struggled forwards with bounding fire,
the Gatehead regulars set up a devastating firing line that
tore through the dug in militia before them with disciplined volleys.

Game Comment: The southern flank looked more secure for the Reds as the Gateshead German League regulars, ably supported by a medic and a leader with 'take aim' preferred to set up a firing line.  They did push their lancer cavalry forwards, who killed the Reds sniper before being shredded with mortar fire. 


Game Comment: Its about this time after an hour or so of in-game fighting that ammunition was running seriously low for both sides, and the vehicles began to sputter as their fuel tanks drained to fumes. We'd created house rules for this:

Low ammo - In a shooting attack, each '1' removes a successful hit.

Low fuel - after a vehicle moves roll 1d6.  On a '1' the vehicle runs out of fuel and can only take hold actions from then on.


The Reds north of Barlow were shot to bits and Lambton's Hounds advanced to seize their
first objective, Barlow Lane. The mad Gateshead motorcycle charged across open ground
to try to seize the read objective. 
The Red commander leapt out and killed them with a sword as they passed!

In the south, the positions along Barlow Lane south were overrun by Gateshead armour, capturing
their second objective. 

Game Comment: south of Barlow, with the Red militia front line shot to pieces, the Gateshead armour lead the charge supported by its infantry taking the objective here.  The Red reserves moved forwards to try to shore up the forward position but were cut to ribbons in the open, securing the game for the allied attackers!

North Barlow Lane is captured by the jubilant Lambton's Hounds!

The Reds are spent, and the Gateshead lads still have reserves on the way.


Finally, Lambton and the Gateshead crew seized Barlow village from the Chopwell Communist militia and the Reds broken units hastily withdrew to High Spen in panic.

Lambton's orders meant that the allied forces didn't pursue and instead hunkered down to consolidate their positions at Barlow.  The surviving vehicles withdrew for maintenance and refuelling, and much of their force also withdrew to shore up their line of advance.  

As night fell, the scene was set for the second day of the battle, as the Reds planned a fierce counterattack to retake their outer defences.


All told and excellent battle that initially looked tricky for the attackers, with some early losses.  Their greater numbers and higher quality force soon told though and the Chopwell defenders were outshot and overrun.  

Second day of the battle here.


_____________________


SCENARIO RULES

Day 1 (1st June) – First Contact

Game length: 8 turns         Table set-up: see plan

Objective Markers

Halfway along Barlow Lane (north)

Halfway along Barlow Lane (south)

18” in from Pawston Road edge and touching north Woods

18” in from Pawston Road edge and 12” south of road

Victory points (scored at the end of turn 8)

Reds score 2VPs each for Objectives 1 and 2, and 1VP each for Objectives 3 and 4.

Loyalists score 2VPs each for Objectives 3 and 4, and 1VP each for Objectives 1 and 2.

Loyalist Forces

Each Loyalist player has 1500pts to construct their force.

The force may include infantry, civilian vehicles, and armoured vehicles.

Red Forces

Each Red player has 1000pts to construct their force.

The force may include infantry and civilian vehicles, but not armoured vehicles.

Prepared positions: Any Red infantry may begin the game “dug in”. They count as in cover until they move.

Prepared ground: At the start of turn turn (during ambush), the Reds may reveal a ‘minefield’. Place a token and roll 1d6+6”. For Turn 2, all Loyalist forces that move within that distance of the marker must make a dangerous terrain test.

Deployment

Reds: Deploy first.  Their baseline is the Pawston Road table edge. They may deploy anywhere up to Barlow Lane. They may ambush but cannot scout.

Loyalists: Deploy second. Their baseline if the Barlow Road table edge.  They may deploy anywhere up to 12” in from the Barlow Road table edge. They may scout but cannot ambush.


Friday, 26 May 2023

A Very British Civil War, 1939: Battle of Nevilles Cross (One Page Rules)

After a significant hiatus due to Covid and other interests, this week we reignited A Very British Civil War with a large multiplayer game.

We’ve been playing a lot of One Page Rules Grimdark Future lately and we’ve been talking about using those rules for a historical period like World War Two. AVBCW seemed like a good step towards that, so we mocked up some OPR lists and set to it.

Lists here.

So, picking up where we left off, here’s the narrative for the Battle of Neville’s Cross, May 1939.

Battle of Neville’s Cross, 23rd May 1939.

During the long winter of 1938 all sides in the war spent the time rebuilding defences, recruiting new forces, rearming, and resupplying.  Hostilities remained low throughout the winter, aside from a few border skirmishes, punch-ups in local pubs, and the war of words in local newspapers. Manoeuvres throughout February, March, and April eventually brought two factions into the first major battle of 1939, and once again the transport line to the west of Durham played host to the conflict.  The A1 at Neville’s Cross near Durham was troubled with the rumble of barely fuelled engines and the ripple of rifle fire as around 9.30am on the 23rd May reignited the war.

Coming in from the west was a Socialist alliance.

The Chopwell Communists committed a small force of new recruits, supported by cavalry and a T26 tank acquired from Liverpool. They took the right flank position along the A1.


The centre was held by a Socialist Local Defence Volunteer force identified most likely as an anti-Anglican League group from The Sands area of Durham. Made up mostly of elderly ex-servicemen and Great War veterans, they had a couple of vehicles and a lot of bravery on their side.


The left flank position was occupied by a force of Socialist regulars who had deserted from the Catterick Barracks and camped out in the Dales near Wolsingham over winter. These fellows threw their lot in with Chopwell and brought one of the very rare Matilda II tanks with them.  This behemoth of a modern tank is one of a very few that made it off the production lines before the outbreak of war.

Advancing from the east was an anti-Socialist force made up of three longstanding allies.

Facing the Chopwell positions was a skilled and well-trained force of Lord Lambton’s “Hounds”. Over winter they’d made good use of their time developing quality infantry tactics.  They’d also acquired a good supply on Lewis guns and bought in a stable of Austin armoured cars. Lord Lambton was sick of his pride and joy Rolls Royce fleet getting damaged, so he spent some cash on front line replacements.


In the centre was Lord Percy’s Tenantry.  Well supplied with a rag-tag collection of armoured vehicles, Lord Percy had increasingly moved his garrisons down south to ring Durham and support the ongoing hostilities there.


And on the left, facing the Catterick deserters were the Gateshead German League.  Rumours of their terrible behaviour towards the locals in their area have been flatly denied by the GGL leadership, but what is certain is that the winter saw them heavily resupplied by imported German arms and materiel.


Each side fielded three forces, each of 1500pts (so 4500pts a side).

We set up the game using the OPR rules, and decided that on each side’s go, each player would activate a single unit, so each side would see three units activate each "bound".  The objectives were clear – capture and hold the three crossroads along the A1. We had 4 Turns to do this, so aggressive play would be needed!

Boths sides set up simultaneously (to save time), and we set to it with the Socialists taking the first turn.

Turn 1

On the right flank the Chopwell forces found it hard going.  They advanced into a wall of disciplined Lambton rifle fire.  The Lambton units were well commanded with leaders instilling fire discipline and this told on the Communist forces stopping their advance well back from the A1.

Lambton’s Hounds pushed up aggressively, taking a solid position at the road and setting up for a coming surprise…

In the centre, the Sands LDV and Lord Percy’s forces advanced through a built-up area near St John’s Church at Neville’s Cross.  There was a significant exchange of fire along the road, and rifle fire crackled around the nearby buildings.

The left flank was similarly pyrotechnic with the Catterick deserters and GGL pouring heavy fire into each other.  Antitank guns spat at armour and skilled riflemen picked each other off at range.  The Catterick boys made better progress towards their objective on the A1 though, forcing the GGL onto the back foot. 

Turn 2

Lambton’s Hounds sprang a trap! Their mercenary elites had snuck across the road in the early morning and hid in a nearby hollow. With the star of hostilities, these fanatics appeared on the flank of the Chopwell position. This startling and unexpected arrival threw the Communists into disarray and their rear support units struggled to counter the withering fire from these killers.  At the same time the Lambton’s Austin armoured car got in on the action, tearing a Red cavalry unit to pieces. Reeling, the Remaining Red cavalry charged the Austin and managed to knock it out!  The Austin crew panicked and surrendered, while the cavalry sabotaged the vehicle to prevent its use. Despite this minor victory, Lord Lambton’s forces took a commanding position on the road and the Communists were fighting a losing battle from that point.


The glorious but doomed Red Cavalry charge takes out the Austin armoured car!

In the centre the fighting between the Sands LDV and Lord Percy’s Tenantry became close ranged and bitter. Both sides advanced on the crossroads and rifle fire was almost point blank.  Terrified residents harangued both sides from their upper windows as rifle bullets fizzed down alleyways.  Of course, both sides respected the sanctity of residential gardens and stayed out of the church grounds, but still…


Lord Percy's armour advances.

The left flank continued to batter away at each other, and the GGL brought up their lancer cavalry to try and reverse the position and drive out the Catterick boys.  A brutal tank duel emerged as the Catterick forces pushed onto the A1.

Turn 3

Not content with their earlier trap, Lambton’s Hounds had sent two mercenary fanatic teams out, and the second one now arrived.  These fellows had worked their way into the Communist’s rear area and driven off their supports.  They now arrived on the battlefield directly into Chopwell’s rear position. Meanwhile Lambton’s Houses came across the A1 in force. The Chopwell position was hopeless, and the few survivors began a fighting retreat as best they could. Even the help of some Sands LDV troops coming across to try and take out the Lambton ambush couldn’t save the flank.


The unstoppable Lambton advance!

In the centre, the Sands LDV pushed up their transport truck, Austin Kegresse armoured car, and infantry to take the crossroads. Lord Percy’s troops matched this move putting their rag-tag armour up there too. Fierce fire created a carpark of wrecked vehicles! The crossroads remained contested.


The pile up at the crossroads...

Over on the left flank, the Catterick boys captured the crossroads, ably supported by the fearsome Matilda II. The Gateshead German League attack was blunted, its cavalry gone, and its Panzers wrecked or running low on fuel.


Turn 4

With the two flanks decided, attention turned to the bitter fighting in the centre.  Both sides had lost much of their strength, and neither could dislodge the other.

As ammunition supplies dwindled, scare fuel reserves ran dry, and the local pubs rand the lunchtime bells, the fighting died down and both sides withdrew for a hard-fought draw.


Desperate and horrific close quarters fighting.


After Action

It was an excellent game, and the One Page Rules lists and rules we’d worked up did the job it needed to. There were a few little idiosyncrasies as there are with all rulesets of course.  The game was a lot of fun with some excellent swings of fate across the whole table. The drawn result felt like the right outcome too. We’ll be revisiting this conflict in the north again. 


Pictures courtesy of Lord Percy's photography unit (thanks John!)