Play testing of the Warband Historical rules continues at a pace and in this battle, we put a historical match-up together - The Arascid Parthians against The Armenians (early).
We played an open battle at the intended 500pts. Sadly I don't have the lists in detail, but the Parthians went with a poor quality commander an high quality troops. The army was therefore very small at 9 units, with a small core of highly powerful cataphracts, a few units of skirmishing archers, and a couple of "deep" skirmish horse units (robust, flexible, fast moving, but concentrating force into a single unit). As most of the Parthian units could shoot, the plan was to have a lower quality commander to try and engineer a "defensive" impetus and go second each turn. This theoretically advantages the shooting, as you can get your units into good shooting positions once you see where the attacker's units are. Its a decent plan, but is taking a poor commander worth the risk? We shall see...
The Armenians had 13 units with very few upgraded, the infantry archers downgraded to "wavering" and a good quality commander. The Armenians have a decent core of medium and skirmishing infantry archers, slingers, and javelinmen, a large wing of average cataphracts, and a small wing of fierce Hiberian cavalry. The plan was to place terrain to anchor with the skirmishers, maximise the archery to weaken the superior Parthian cataphracts, and to try to use numbers effectively.
Terrain placement
The Parthians chose to place "open ground" to try to keep at least some areas were free for their skirmish horse to maneouver. The Armenians put down their maximum three small forests to give their skirmishers some terrain. the random placement saw the west flank blocked up with woodland, leaving the Parthians out in the open.
Comment: Players are able to "purchase" terrain depending on the quality of their commander. This allows you to try to get terrain that may be advantageous to you. For example, an average commander can probably select three small (2x2BW) pieces of limiting terrain. Terrain placement is random though, and its possible it won't end up where you'd like.
Season and weather
The random season/weather was generated and came out as "winter / snow", which added additional rough ground to the battlefield. It fell on the right flank again, truly shutting that side off.
Comment: weather is random, with one side determining the season, and the other the weather effect. In this case we rolls "winter" and "snow". I'll be keeping an eye on this as we playtest - I may need to introduce some sort of "army climate" modifier.
Deployment
The Armenians deployed with their cataphracts in the open terrain on the east flank, and positioned their archers and skirmishers ready to make their way forwards into the woodland. On their far west, the Hiberian fierce cavalry were ready to push out over the rough ground and into the open on the west flank.
The Parthians held their main strength (cataphracts) back, guarding their baggage camp on the east flank. They sent one of their two light horse swarms on a flanking march, intending to come in behind the Armenian east flank.
Comment: Armies deploy three units at a time alternately. You may also hold 0-3 units back in reserve, and from the reserve send them on a flank march or even into ambush. Flank marching is risky though and a unit may not arrive! Its useful to send units with high Motivation ratings to increase their chances to arrive.
The battle lines were set...
 |
| The full battle arrayed... |
 |
| Parthian skirmishers holding the west flank |
 |
| The fearsome heavy Parthian cataphracts |
 |
| Hiberian cavalry ready to swarm out through the rough ground |
Comment: We're using our 15mm armies to playtest the rules. the basing is 10x5cm, which playtesters have said they really like. I'm aware however, that the DBx basing standard of 40mm frontage means its likely to make for 80mm unit frontages as standard. Not sure...
The opening moves of the battle. With their good quality commander seizing (and keeping for most of the battle) the initiative, the Armenian skirmishers captured the woodlands, and the Hiberian cavalry threatened the Parthians in the open. They swung their archers out in a line to hold off the remaining Parthians, while the skirmishers and Hiberians did their work.
Comment: The initiative roll is "winner goes first". Its become clear through testing that "winner chooses to go first or second" may be preferable.
The Parthians attempted to concentrate their shooting into the woodland, but without their commander nearby to coordinate things (inspire them with Command Points), the Armenians in the woodland were safe. The Armenian commander was within range however, and was able to provide sufficient Command Points to allow low level effective shooting out into the Parthians.
Comment: The woodland imposes -1d6 Shooting, which means that skirmish units can't hit unless the Commander steps in to add dice, or some other advantage (like a flank attack) can be gained. I'm increasingly moving away from the idea of avoiding negative attack modifiers, and moving towards positive defensive modifiers.
Comment: The woodland imposes -1d6 Shooting, which means that skirmish units can't hit unless the Commander steps in to add dice, or some other advantage (like a flank attack) can be gained. I'm increasingly moving away from the idea of avoiding negative attack modifiers, and moving towards positive defensive modifiers.


The Parthians countered on the east flank with their deep skirmishing light horse unit. This one unit held off the Armenians in the area and managed to put some decent archery into the cataphracts. Their heavy armour held firm though.
Comment: "deep" is a special ability which makes for flexible and resilient, but high cost units. They worked pretty well and seem a popular option.


While this was going on, the Hiberian cavalry charged into the Parthian skirmishers, with predictable outcomes. The skirmishers, par from their (poor) commander, and lacking a nearby sub-commander were driven back and cut to ribbons, offering only delaying force.


Comment: here tactics kicked in, and decent quality cavalry make quick work of skirmishers whose only option is to fall back and try to get away.
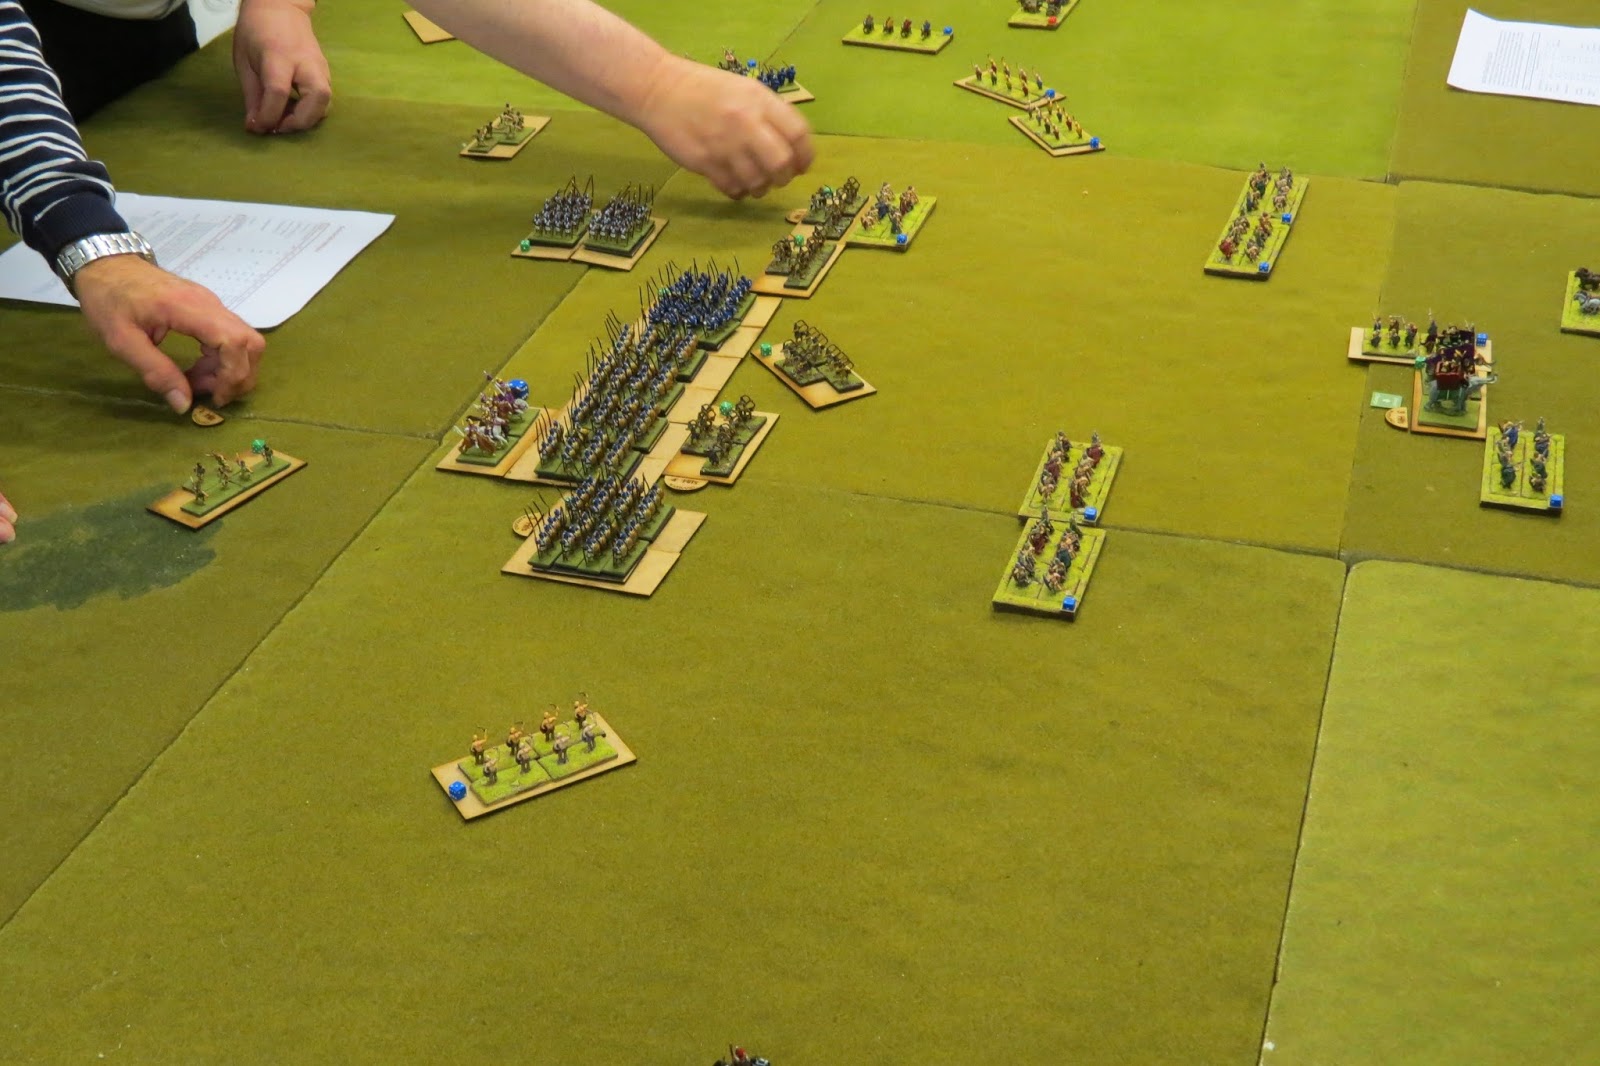
Mid-game, the Parthian cataphracts came out to fight, but were intercepted by the Armenians, whose greater initiative was able to get their charges in, forcing the Parthians to countercharge (with less effect). The Parthian light horse were contained. With the Armenians finally pushed forwards (to prevent being charged by the fierce Parthian cataphracts), the Parthian flank march attempted to arrive. It consisted of another deep light horse swarm, but unfortunately for the Parthians after two turns of trying to bring them on, they failed and were lost! Clearly the horsemen got lost in the winter conditions.
Mid-game, the Parthian cataphracts came out to fight, but were intercepted by the Armenians, whose greater initiative was able to get their charges in, forcing the Parthians to countercharge (with less effect). The Parthian light horse were contained. With the Armenians finally pushed forwards (to prevent being charged by the fierce Parthian cataphracts), the Parthian flank march attempted to arrive. It consisted of another deep light horse swarm, but unfortunately for the Parthians after two turns of trying to bring them on, they failed and were lost! Clearly the horsemen got lost in the winter conditions.


On the west flank, the Armenian Hiberians cut their way through the skirmishers to close in on the Parthian cataphracts. With the main battle line stalemated between the Parthian and Armenian catphracts the Parthian losses hit 50% and the army broke.
Comment: Armies break (and lose) once they lose 50% of their starting points, either routed or destroyed. In this 500pt battle therefore, the Parthians broke at 250pts lost. The failure of their flanking unit to arrive (counting as lost) contributed to the collapse of the army.
Comment: Armies break (and lose) once they lose 50% of their starting points, either routed or destroyed. In this 500pt battle therefore, the Parthians broke at 250pts lost. The failure of their flanking unit to arrive (counting as lost) contributed to the collapse of the army.


Comment: In this playtest, pretty much everything worked well and a great, fun game was had. I think there's a few things I'll keep an eye on over the next few games, notably skirmisher evade moves - mainly the direction they may take.