Friday, 30 December 2016

Pandemic Cthulhu

The last couple of years have been a bit hit and miss for me regarding wargames at least.  This is why this here blog has been more sporadic than I'd like.  My regular wargaming friends are in a "different place" to me with what they're focused on, so my gaming hasn't been as regular as I'd like.

However, I have been playing a lot of other types of games including roleplaying and, apposite to this blog post, boardgames.  I guess "tabletop games" covers everything quite nicely.  Anyway, my beloved wife is also an avid boardgamer and so aside from one or two weekly sessions with our boardgaming friends, we regularly while away an evening flipping cards and pushing tokens about.  

Tentacles dude....

This evening we decided to take on the sanity-shattering horror of Cthulhu and his nefarious ancient god-like monstrosities.  First on the table we played our newly acquired gem; Pandemic Cthulhu.  

We're big fans of Pandemic of course, so we've been delighted by the Cthulhu version that, while using the same basic rules engine, is theme-soaked and plays in a slightly different way.  
Generally we've found you have more mobility, but the "clock" ticks down far faster.  We've yet to play this with 3-4 players so it'll be interesting to see how it works with more than two when we finally do.

Pandemic Cthulhu is of course a cooperative game where the players are attempting to work together to defeat the game, or in this case, attempting to prevent Great Cthulhu, Destroyer of Worlds from waking up and eating everyone's sanity.
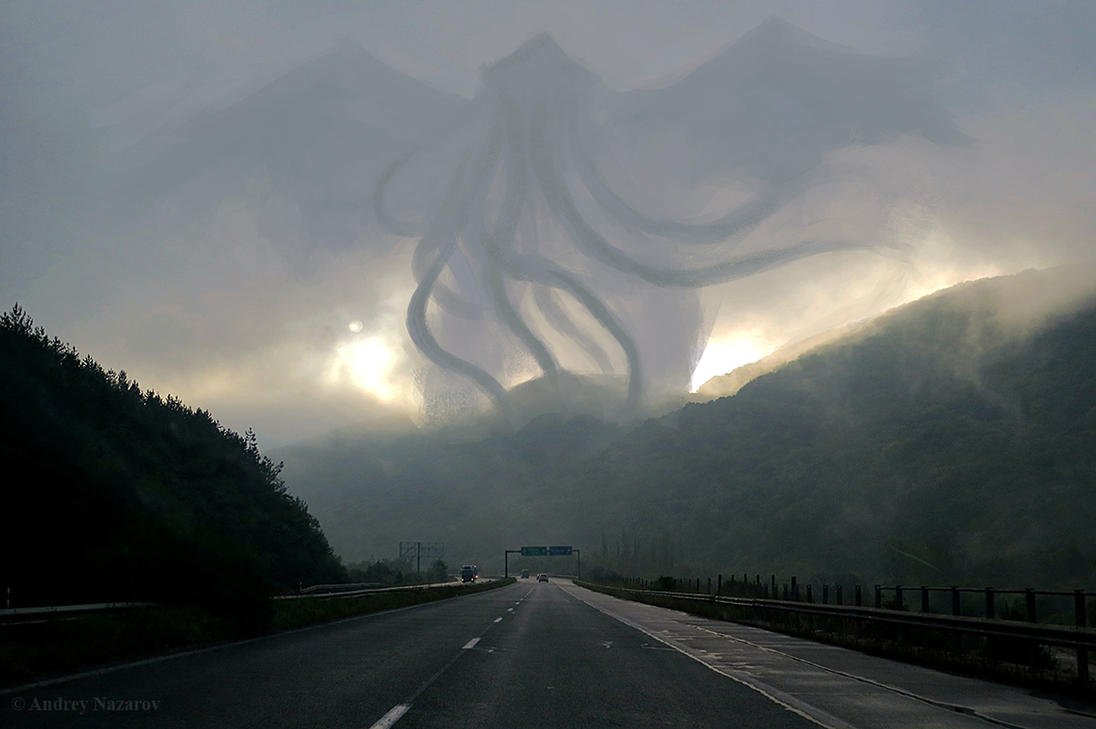
OK...OK...uh...nope...I'm terrified beyond the capacity for rational thought.

So, how did this evening's game go?

We played a pair of investigators; Marcello the Magician who was fascinated by the relics of the Old Ones and magical objects of all kinds; and Betty Lane, and intrepid reporter who, it seems, has an Oyster Card.


We arrived by train at Arkham, New England (USA), and set about the business of uncovering and thwarting the evil plans of the Cthulhu cultists infesting the towns of Arkham, Innsmouth, Dunwich, and Kingsport.

Arkham itself seemed near overrun and we would quickly stumble on the foul form of a Shoggoth.


Steeling himself with a mind-guarding box, the Magician took on and destroyed the mutated beast.


I say!  I say!  You there, gribbly thing of tentacleness...be off with you, there's a good chap.

However, it was all a distracting ruse and the cultists immediately summoned the Elder God Dagon.


With Dagon awake, its cultists came out of the shadows and immediately called forth Yig the Father of Serpents.  With our first few turns done, and two Old Ones awake, things were not looking good for us!
Yig would make our task of sealing the four Gates across the towns VERY much more difficult.


More Shoggoths spawned and cultists spread over the next few turns as we managed to close the Gate in Dunwich. Yay!  

Between us we had also gathered nearly enough resources to close the Gates in Arkham and Kingsport and the race was on.  Innsmouth was a different matter however, as it was all but overrun by cultists and a mind-tearing Shoggoth...


Matters took a turn for the worse however, and in quick succession Hastur The Unspeakable One, and Ithaqua The Wind Walker woke up and caused us no end of trouble.  Elder Gods eh?  Tut!


Things got no better when Tsathoggua the Sleeper of N'kai joined the party to rob us of our gate-closing cards.  The fiend.


Only Great Cthulhu itself remained to awaken but by then the towns of New England (USA) were overrun with cultists and we were soundly defeated.


Up yours Cthulhu!


Pandemic Cthulhu is much more than a simple re-skin of Pandemic, and although it shares the same basic rules (the enemies spawn and multiply each turn while the players desperately try to keep a lid on the growing chaos), there's a lot of thematic flavour and rules in here to make it feel like a different game.

We've only played it a few times but so far its a great addition to any collection.

Anyway, battered by our failure we moved onto the second game for this evening: Elder Sign.


Tuesday, 27 December 2016

Carrie Fisher tribute


"I felt a great disturbance in the Force, as if millions of voices suddenly cried out in terror and were suddenly silenced. I fear something terrible has happened."

http://www.bbc.co.uk/news/world-us-canada-38422973


Monday, 17 October 2016

Warband Historical - Parthians vs Armenians


Play testing of the Warband Historical rules continues at a pace and in this battle, we put a historical match-up together - The Arascid Parthians against The Armenians (early).

We played an open battle at the intended 500pts.  Sadly I don't have the lists in detail, but the Parthians went with a poor quality commander an high quality troops.  The army was therefore very small at 9 units, with a small core of highly powerful cataphracts, a few units of skirmishing archers, and a couple of "deep" skirmish horse units (robust, flexible, fast moving, but concentrating force into a single unit).  As most of the Parthian units could shoot, the plan was to have a lower quality commander to try and engineer a "defensive" impetus and go second each turn.  This theoretically advantages the shooting, as you can get your units into good shooting positions once you see where the attacker's units are.  Its a decent plan, but is taking a poor commander worth the risk?  We shall see...

The Armenians had 13 units with very few upgraded, the infantry archers downgraded to "wavering" and a good quality commander.  The Armenians have a decent core of medium and skirmishing infantry archers, slingers, and javelinmen, a large wing of average cataphracts, and a small wing of fierce Hiberian cavalry.  The plan was to place terrain to anchor with the skirmishers, maximise the archery to weaken the superior Parthian cataphracts, and to try to use numbers effectively.

Terrain placement

The Parthians chose to place "open ground" to try to keep at least some areas were free for their skirmish horse to maneouver.  The Armenians put down their maximum three small forests to give their skirmishers some terrain.  the random placement saw the west flank blocked up with woodland, leaving the Parthians out in the open.  

Comment: Players are able to "purchase" terrain depending on the quality of their commander.  This allows you to try to get terrain that may be advantageous to you.  For example, an average commander can probably select three small (2x2BW) pieces of limiting terrain.  Terrain placement is random though, and its possible it won't end up where you'd like.

Season and weather

The random season/weather was generated and came out as "winter / snow", which added additional rough ground to the battlefield.  It fell on the right flank again, truly shutting that side off. 

Comment: weather is random, with one side determining the season, and the other the weather effect.  In this case we rolls "winter" and "snow".  I'll be keeping an eye on this as we playtest - I may need to introduce some sort of "army climate" modifier.

Deployment

The Armenians deployed with their cataphracts in the open terrain on the east flank, and positioned their archers and skirmishers ready to make their way forwards into the woodland.  On their far west, the Hiberian fierce cavalry were ready to push out over the rough ground and into the open on the west flank.

The Parthians held their main strength (cataphracts) back, guarding their baggage camp on the east flank.  They sent one of their two light horse swarms on a flanking march, intending to come in behind the Armenian east flank.

Comment:  Armies deploy three units at a time alternately.  You may also hold 0-3 units back in reserve, and from the reserve send them on a flank march or even into ambush.  Flank marching is risky though and a unit may not arrive!  Its useful to send units with high Motivation ratings to increase their chances to arrive.

The battle lines were set...

The full battle arrayed...
Parthian skirmishers holding the west flank
The fearsome heavy Parthian cataphracts
Hiberian cavalry ready to swarm out through the rough ground

Comment: We're using our 15mm armies to playtest the rules.  the basing is 10x5cm, which playtesters have said they really like.  I'm aware however, that the DBx basing standard of 40mm frontage means its likely to make for 80mm unit frontages as standard.  Not sure...

The opening moves of the battle.  With their good quality commander seizing (and keeping for most of the battle) the initiative, the Armenian skirmishers captured the woodlands, and the Hiberian cavalry threatened the Parthians in the open.  They swung their archers out in a line to hold off the remaining Parthians, while the skirmishers and Hiberians did their work.  

Comment: The initiative roll is "winner goes first".  Its become clear through testing that "winner chooses to go first or second" may be preferable.

The Parthians attempted to concentrate their shooting into the woodland, but without their commander nearby to coordinate things (inspire them with Command Points), the Armenians in the woodland were safe.  The Armenian commander was within range however, and was able to provide sufficient Command Points to allow low level effective shooting out into the Parthians.

Comment: The woodland imposes -1d6 Shooting, which means that skirmish units can't hit unless the Commander steps in to add dice, or some other advantage (like a flank attack) can be gained.  I'm increasingly moving away from the idea of avoiding negative attack modifiers, and moving towards positive defensive modifiers.


The Parthians countered on the east flank with their deep skirmishing light horse unit.  This one unit held off the Armenians in the area and managed to put some decent archery into the cataphracts.  Their heavy armour held firm though.

Comment: "deep" is a special ability which makes for flexible and resilient, but high cost units.  They worked pretty well and seem a popular option.


While this was going on, the Hiberian cavalry charged into the Parthian skirmishers, with predictable outcomes.  The skirmishers, par from their (poor) commander, and lacking a nearby sub-commander were driven back and cut to ribbons, offering only delaying force.


Comment:  here tactics kicked in, and decent quality cavalry make quick work of skirmishers whose only option is to fall back and try to get away.

Mid-game, the Parthian cataphracts came out to fight, but were intercepted by the Armenians, whose greater initiative was able to get their charges in, forcing the Parthians to countercharge (with less effect).  The Parthian light horse were contained.  With the Armenians finally pushed forwards (to prevent being charged by the fierce Parthian cataphracts), the Parthian flank march attempted to arrive.  It consisted of another deep light horse swarm, but unfortunately for the Parthians after two turns of trying to bring them on, they failed and were lost!  Clearly the horsemen got lost in the winter conditions.


On the west flank, the Armenian Hiberians cut their way through the skirmishers to close in on the Parthian cataphracts.  With the main battle line stalemated between the Parthian and Armenian catphracts the Parthian losses hit 50% and the army broke. 

Comment:  Armies break (and lose) once they lose 50% of their starting points, either routed or destroyed.  In this 500pt battle therefore, the Parthians broke at 250pts lost.  The failure of their flanking unit to arrive (counting as lost) contributed to the collapse of the army.


Comment: In this playtest, pretty much everything worked well and a great, fun game was had.  I think there's a few things I'll keep an eye on over the next few games, notably skirmisher evade moves - mainly the direction they may take.

Saturday, 15 October 2016

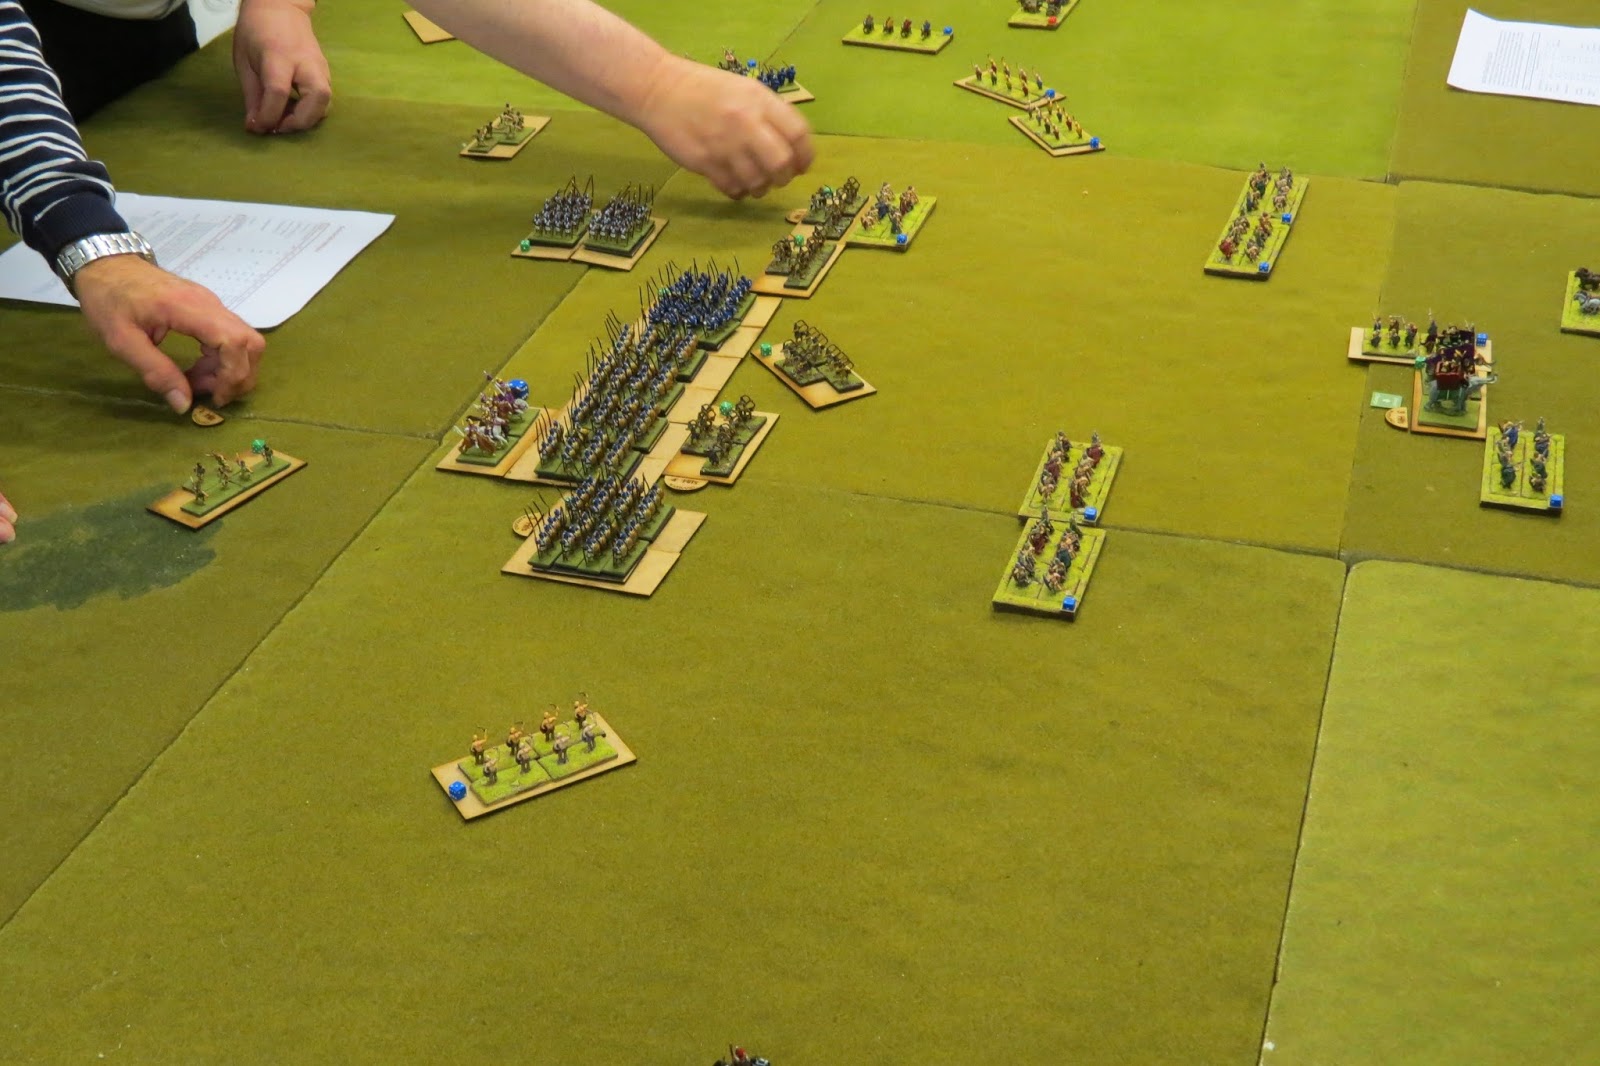
Warband Historical - Seleucids take on the British Tribes!

Playtesting for the historical version of Warband (hard, pdf) continues at a pace and this week we took a couple of large forces to the table in a non-historical battle.

Although provisionally titled "Comitatus" (the inspiration for the original name "Warband") these rules will probably not be released under this title.  Someone got there first!

Anyway, Warband Historical (WH) is normally fought between two 500pt forces but for this battle, with access to a larger table, we pushed this up to 800pts, partly to test the scalability of the rules, but also to fill the table!

We used here our 15mm ancients armies based DBx style, and saboted (in some cases with blu-tac) onto 10cm x 5cm bases.  We're playtesting in the Warband basing style, but its likely that the release basing will be 80 x 40mm - there's just too much dominance of the 40mm frontage in ancients gaming to resist!

To the south we have the Seleucids consisting of the following 17 units:

General (mounted, average quality)
5x Pike phalanxes (+ fierce and resolute - on 10 x 10mm bases)
4x Asiatic archers
1x Asiatic elephants
2x Thorakitai 
1x Companion cavalry (+ fear, powerful, Hero, sub-commander)
1x Cavalry (+ Sub-commander)
2x Cretan slingers

To the north we have the British Tribes consisting of the following 20 units:

1x Chieftain in chariot (average)
2x Charioteers (+ Sub-commander)
2x Charioteers
2x Fanatics
8x Warriors (+ fierce)
2x Light horse
3x Slingers

I oversaw proceedings and let the four players get on with things.  Two have played Warband so were familiar with the basics, although WH changes a few core elements and adds in some extras.  None-the-less, even the new players picked up the game within a turn or two.

Both teams selected to place no terrain at all.

Comment: WH allows each army to select terrain based on the commander's quality, and its possible to take no terrain (this may change).  Both side in this matchup lamented their decision to go with an open field, for different reasons!

The British deployed in traditional battle order with an infantry centre and cavalry/chariot flanks.  The Seleucids chose a defence in depth with a front rank of medium and light archers supported behind by the formidable phalanx.  The elephants formed up in the centre of the archers ready to meet the bulk of the British strength.  They left the west flank empty, and put both their cavalry units on the east flank.

Comment: each army deploys in "chunks" of 3 units at a time so you can see your opponent's deployment develop.  While you may sent units on flanking moves, neither army elected to do so.


The Seleucid disposition was defensive.  Clearly outnumbered on the flanks by light and fast moving cavalry, they held the phalanx back to protect its flanks.  The British intended a rapid envelopment on both flanks to exploit their strength in terms of numbers and mobility.


The battle opened with the British sub-commanders group moving their flanking forces forwards rapidly.  The envelopment seemed inevitable.  In the centre, the British sling-armed skirmishers advanced to try to pin the Seleucid centre.

Comment: sub-commanders are new rules that allow a commander to extend his command range in expending "command points".  Sub-commanders can also conduct "group moves" allow the traditions centre and flanks structure of historical battles.  The British used this to good efect in the early stages but their sib-commander on the west flank bottled out for several turns after...

The Seleucids were somewhat more cautious, but came out to meet the challenged.  Their elite companions and cavalry moved to counter the attempted envelopment on the east flank.  This was an unequal fight from the start.  The British chariots were up against some truly exceptional opponents.


In the centre, the archers and elephants stepped out to drive off the British skirmishers.


In the initial exchanged, the British slingers were forced back under a hail of arrows, but not before they peppered the Asiatic archers with lethal stones, forcing them to fall back also.

The British fanatics, unable to restrain themselves, broke ranks and stormed off towards the Seleucids.  

Comment:  any unit suffering 2+ hits has to withdraw from its position by falling back.  Although outranged, the slingers were stll able to advance and inflict hits on the enemy archers.  Meanwhile, forgetting that their fanatics are "impetuous", the British players forgot to control them and so they headed off on their own in a forced "impetuous move"!  This oversight messed with the British plans quite a bit and almost cost them the game.


Meanwhile, on the east flank, the British were able to make their envelopment, but lacked the numbers to do it effectively.  The Seleucid cavalry flank was more than up to the job, ably supported by the Thorakitai infantry, and put the British charioteers and light horsemen to flight.  Although successful, they were now chasing the routing British off and effectively advanced themselves out of the battle.


Things weren't going so well for the British on the west flank (top), and their mounted flank consistently failed to move for several turns.  This meant they were unable to exploit the wide open flank before them!

In the centre, the Seleucid elephants were having a field day!  They punched through the British fanatics and skirmishers into the main British warrior line, and despite taking casualties, were able maintain their morale!  the British finally managed to stop the devastating charge and although they didn't take the elephants out, did have the threat they posed contained. 

Comment: units must roll a "motivation check" to determine whether they move, and if so how far.  The British players consistently failed this dice roll for several turns, and as they were attempting a "group move" the commander couldn't intervene to help motivate them.


Very much on the back foot, the British had lost the initial engagements to the Seleucids.  It must be said some spectacularly poor dice rolling didn't help!  However, the mid game began in earnest and the British attack began finally to develop.  Their western chariot flank came in, and supported their slingers and warriors, threatening the Seleucid phalanx.


With their front line archers engaged with the British warriors in front, and their Thorakitai flank guard tied up with British skirmishing, the Seleucids peeled off a phalanx unit to try to hold the flanking move long enough to destroy the British in front of them.


The pikemen found themselves completely surrounded by swirling British skirmishers.  Pressing on as best they could, it was a fight lost before it began and slings and arrows routed the heavy foot.

Things were starting to turn around for the British and the game was pulling back towards a draw.


Sadly we ran out of time, but as the phalanx finally began to move, and the Companions were heading back into the fight, the British were poised to take the Seleucid pike blocks one by one, rolling up their line.  

The game ended with about 40pts between the two forces losses, so a draw.  Given another hour who knows what would have happened!?


Comment:  as we were testing the rules and had new players involved (and we started late) we didn't manage to get to a resolution.  However, it was a jolly fun game, and a good test for the rules.

Tweaks include, addressing some suspect pursuit rules, considerations about skirmish units not blocking non-skirmishers from fall backs, and some discussions around tactics to take on elephants and mounted skirmishers.

Up next, Parthians vs Armenians I think.

OH and...a thing of beauty I think you'll agree...


Monday, 30 May 2016

Warband video series

Justin Borges appears to be embarking on a video series where he will look at the various aspects of the Warband rules.

I'll be following this series closely.  Here's his first offering where he talks mainly about the models and basing available for Warband from Pendraken.


Friday, 29 April 2016

Warband meets Lord of the Rings

Recently I took a bit of time out of my busy gaming schedule to put together an unofficial 'supplement' to use with the Warband Fantasy Wargames rules.

I've been an almost life-long fan of Tolkien's works and the chance to refight the battles or fight all new ones in this fun and excellent setting is not to be missed.

Luke Ueda-Sarson made this possible with his excellent DBx rules and discussions.


I thought Warband needed some lists too, and after finishing them off I thought I'd share them.  You'll find the booklet here.

Enjoy!

Sunday, 6 March 2016

After Dorking 1871: The War in Africa, The Battle of Bundas - Part 2

Following on from part 1 we restarted the Prussian invasion of British Egypt where the battle still hung very much in the balance.

The British regiments defending Bundas had just broken and fled north, and the Prussians were poised to sweep into the settlement and on to capture the road north.

General Hans Von Platzhirsch ordered his field artillery to advance and form a grand battery overlooking Bundas.  He held his infantry line in place while the guns advanced and set up.

Prussian grand battery forming up (these are pointing away from the British to represent them still being limbered and not ready to fire)

Verdammt noch mal, Fritz, bekommen diese Waffen eingesetzt!!
Command failures kept the Prussian guns out of the fight for a turn or two, giving the British time to deploy their reserves.

This gave the British the opportunity to bring up their tardy reserves and as time passed the Prussian impetus ebbed away.  The British soon formed a powerful line to the east of Bundas.  

The two lines close and try to establish something like an ordered firing line.

Both succeed and a ranged duel begins...


Both forces made good use of long ranged firing and as shot and shell poured into the opposing lines, regiments wavered and were shaken across the battle front.

It was a brutal tit-for-tat exchange and it was most unclear which side would gain the upper hand.

The Prussian divisional reserve infantry took the town and set about looting what little of value they could find.  


In a panicked response, a British regiment saw fit to abandon its orders and charge out towards the Prussian lines.  They intended to dislodge the beastly Boche at the point of a bayonet.  It didn't go well as they took horrendous losses advancing into the Prussian Dreyse rifles.  None-the-less, they put the Prussian before them to flight!


Both sides suffered further losses and the fight descended into a bitter impasse.  


The British suffer casualties all across their positions, and fall back to try to recover.


Wissen mein Gott die Briten, wie Sie ihre Waffen äh verwenden?
Prussians are shaken by British fire...


Prussian lines withdraw heavily shaken to try to restore a bit of order.  Its all too late though...

We decided at this point that the Prussians would withdraw along their logistics lines and had not done enough to secure Bundas or the road to Khartoum.

An excellent battle all round and another good bash for the Black Powder rules.  

I doubt the machinations of the Prussians in Africa are finished...


Here's a review of Black Powder from the Beast of War chaps.

Prussian period uniforms start at 1.26.

British period uniforms.