Thursday, 7 September 2017

Warhammer 40,000 - Druchii vs. Crimson Fists

This evening, something happened that has not happened for an age; I played Warhammer 40,000.

Like many wargamers, I cut my tabletop teeth on the "gateway games" of Games Workshop's (GW) offerings, including the first edition of Warhammer 40,000: Rogue Trader, but I haven't played in that realm since 3rd edition (late 1990's).  However, for various reasons my inner moth has been drawn back to that particular flame with the recent release of 8th edition.  I've already trown my wallet into the door of my local GW Store and purchased the library of new books (immeidately obsolete it seems), the base gamebox (hooboy those minis are lovely!), peripherals etc. and resolved, like with 5th, 6th, and 7th editions, to never getting round to actually playing!  however, several read throughs had me champing at the bit to give this version a go.  GW seemed to me to have sorted out a decent game. 

Discussing other matters and plans with my friend Graeme, mostly revolving around how to access rules to do the sort of large-scale skirmishing in "Darkest Africa" that is on the planning table (psuedo-Colonial games appear to be on the rise in the historical wargames community, even among the sneering fraternity who normally deingrate fantasy/sci-fi games while pushing around their mock-Napoleonic "ImagiNation" forces) we proposed to give 8th edition a try.  The plan was "if these rules work will kitbash them into something we can use elsewhere".  

So tonight we put roughly 850pts each on the tabletop.  I say roughly, as when trying to work out how this works, I'm sure I didn't quite get it right and it took a bit of web-fu to find the debates around what's included in a figure's points value.  I've got that sorted now but for this I way have stuffed up a bit.

Both Graeme and I broke out our antique figures, forged in the mists of time, in the centuries back when Games Workshop produced metal miniatures.  My collection mixes in a few younger toys including really rather poor (and misnamed) "Finecast" resin figures, but like Graeme's collection, mine certainly includes some venerable ancients!

Back in 3rd ed. when I was a GW store manager, I collected a sizable Raven Guard army but over the years I've been slowly repainting this as a Crismson Fists force.  I hate the colour blue, but I'm willing to accept it for the first, coolest, and most studly chapter of marines.
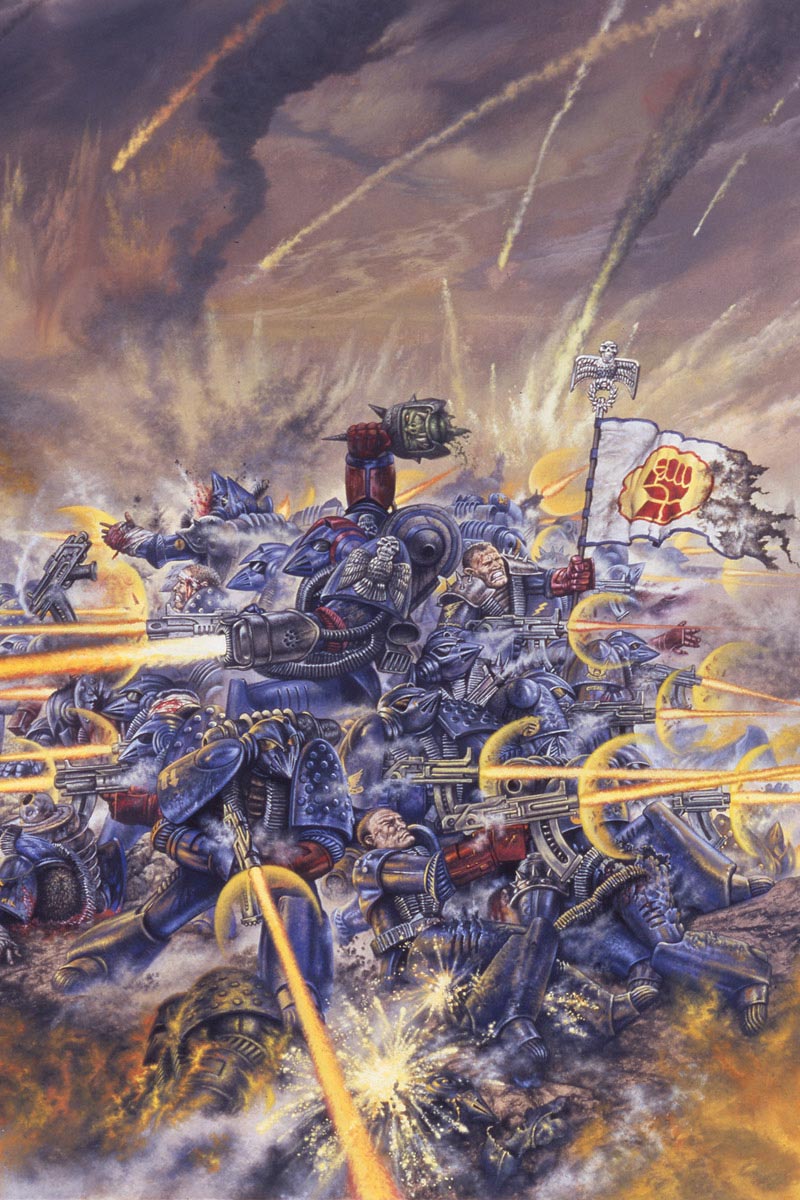
I mean come on!
This is awesome!!  Look at the heroic beakies!
I had the following force (roughly):

Pedro Kantor as my commander
5 Tactical Marines (plasma pistol and flamer)
5 Tactical Marines (plasma pistol and plasma gun)
5 Tactical Marines (plasma pistol and melta gun)
6 Bike Marines (melta gun and attack bike with heavy bolter)
5 Scouts (camo cloacks, 3 sniper rifles, 1 heavy bolter)
1 Dreadnaught (multi melta and dreadnaught fist)

Graeme on the other hand took his Dark Eldar Druchii; a faction the GW have traditionally neglected.  I'm not sure what he had in detail but i think it was:

1 Archon (with cool shimmering armour field)
4 Incubi with glaives
5 Wytches on a Raider transport
7 Scourges (tooled up with anti-tank guns)
10 Warriors
10 Warriors
6 Jetbikers
Most of what he had was also ripped off their nappers on combat drugs, stims, and assorted intoxicants that made them better than basic; and it seemed the more the battle went on, the more whacked out they got!  I loved that theme for the army.

We decided to build "battalion formations", and both promptly made a mess of it and failed to meet the requirements.  Nil desperandum, we proceeded as if we had to give us enough "Command Points" to play around with the "strategems" element of the rules; a very nice mechanic that allows you to add in abilities and effects that are specific either to the scenario or army you're currently playing.

We also decided to play the "patrol" scenario because this allowed us to start with only a few units on the board.  Having only a few things to track early on, meant we could work slowly through the rules and figure out what we're doing; and as the game progressed we could feed other units in, helping us try out some of the scenario rules as well.  As it turned out, this worked very nicely, and aside from the constant reference to the unit data sheets (due to our lack of familiarity), things ticked along quite nicely.

This is how the battle went.

The boys on parade.  Sadly, we had to draft in some of the Raven Guard snipers and bikers...
Also, I forgot to get a photo of the Druchii line-up.

Marine snipers survey the battlefield from their vantage point.  
Their patrol recon reports back to HQ the presence of hated xenos, as their scopes seek out any enemy leaders.

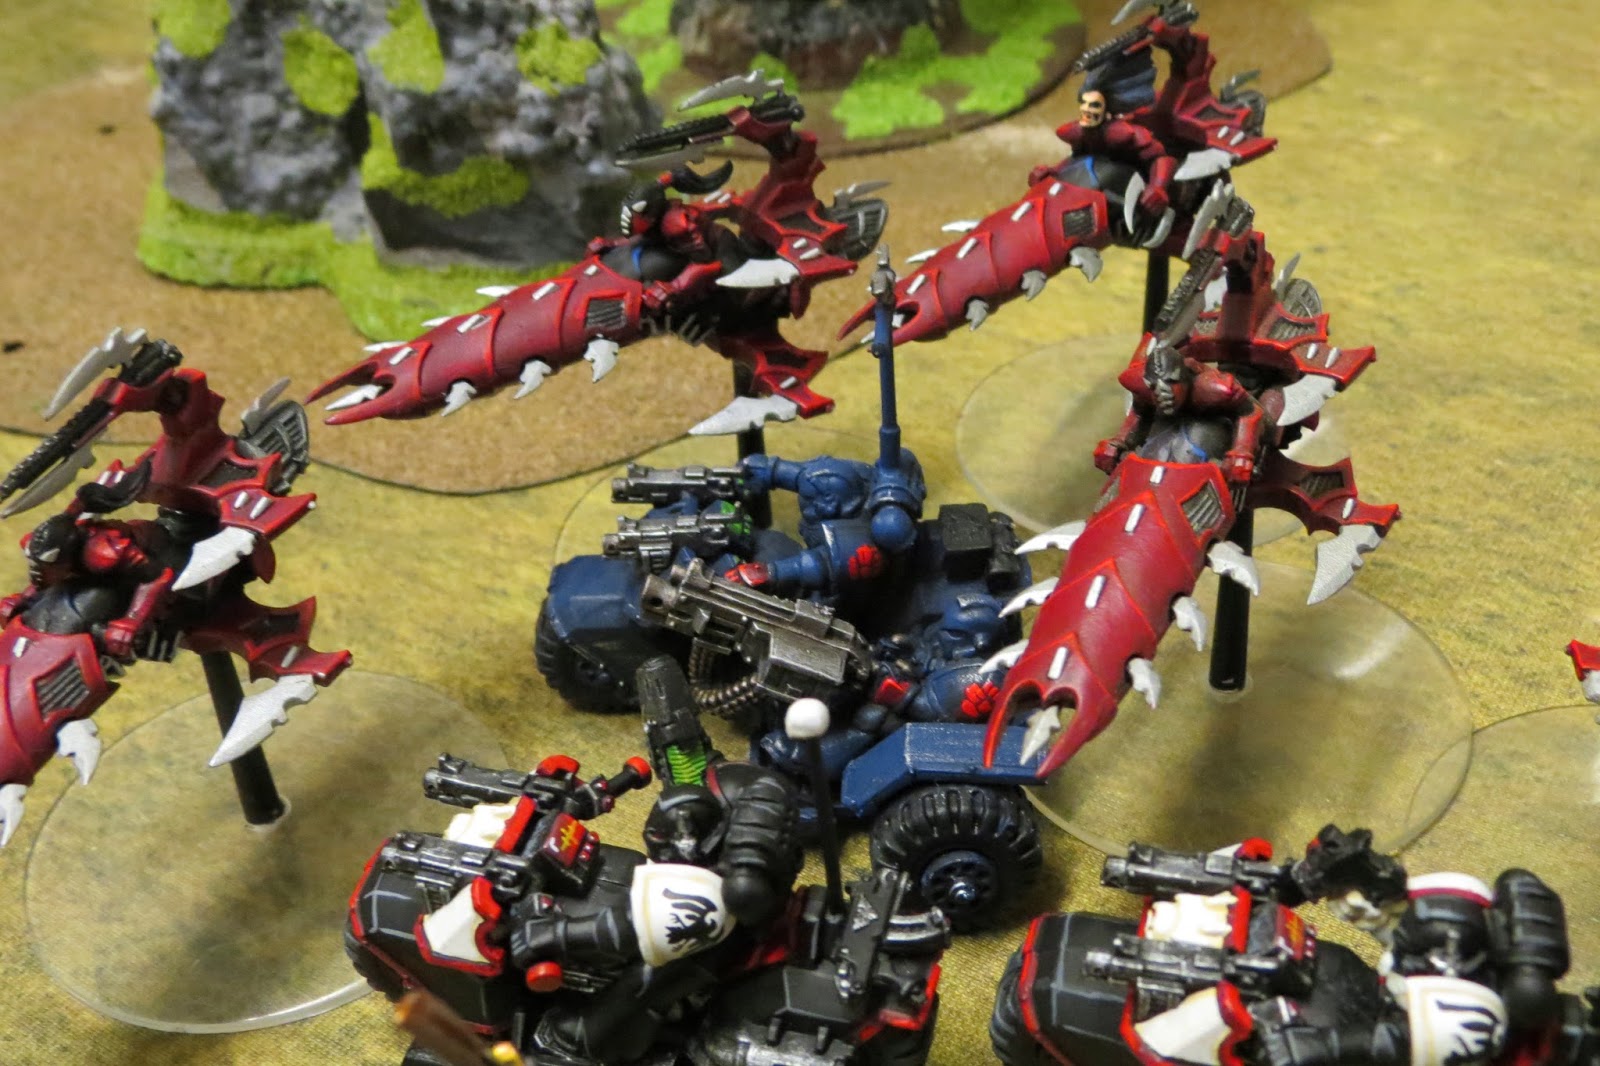
Early action saw the sneaky Druchii bring their flying bike warriors onto my flank.  The mechanism to do this was a neat part of the rules, with "command points" being used to purchase "stratagems" to affect how things happen in the game; in this case allowing the Druchii reserves to come on from any board edge rather than their base table edge.  Neat!  My counter options to this involved being able to make Graeme's reserve rolls worse in an attempt to delay their arrival, while boosting mine so that I could try to overwhelm him before his full force arrived.  These elements of the game are an excellent addition that really seemed to enhance the tactical play.


Anyway, the jetbikers swept in on the flank of my road bikers, laid down some fairly ineffective splinter rifle fire (these Druchii weapons are good against infantry, not so good against vehicles) before charging into close assault.  We think we got this right, and it seems that units can move, shoot, and charge into melee in the same turn, so lots of tactical options there.  As the Druchii bikes are also Flyers, it seems they can also flee the melee and still fire - something that non-flyers can't usually do.  This is a big tactical advantage.


This brutal fight on our right flank drew in my dreadnaught and together with the frankly awsome bikers combined with a terrifying dreadnaught close assault weapon tore the Druchii bikers to pieces! 

I alsways liked marine bikers way back, and in this edition they seem like a "must have" unit.  Fast moving, tough as nails, hard hitting and able to kick out a ton of bolter fire, this unit more than any gave Graeme's army trouble.  If fact in our discussions after the game he was of the opinion that he needed something in his list to specifically deal with them!

Meanwhile, over on the other flank, a small section of marines encounter wytches on a raider flying transport.  The Druchii disembark, volley shots and then charge in.  We couldn't find anything that said you have to be able to see the target of your charge into melee move, which seemed odd.  I'll do some post-game homework on that point to make sure we did it right.


Outnumbered the doughty marines are jumped on, and despite fighting hard they are eventually cut down.

It's also interesting that vehicles can charge into melee.  We presumed this is the crew rolling up and engaging.  Even though the marines (here with the meltagun) were beaten, they gave a good account of themselves and killed ff a few wytches.  I wasn't sure whether the sergeant could use his plasma pistol in melee, so I didn't use it.


They died with their boots on...


With the Druchii flank move destroyed, Pedro Kantor, the commander of the force, sorts out a fighting line for the advancing xenos coming across from the other flank.  

By now, my marine reinforcements have arrived and I've organised them now into a fairly solid line of boltguns.  The "patrol" scenario is a simple "kill the enemy" affair so we're lokking to kill off each other's units.  the main marine advantage appears to be short range "rapid fire" shooting so i wanted to stand off and put some shots down range into the Druchii.  My snipers in the ruins have a special ability that allows them to target the Druchii leader wherever he is (normall he has to be the closest model) so I try some shots there.  They hit but is blur-field armour thing means he sinply avoid those shots.  Eveything else opens up in a bolt-storm.


The man himself!
"Still we stand, with fire in our eyes and valour in our hearts. Let them think us beaten. We shall teach them otherwise."
 The Druchii wytches, fresh from their success, mount their raider again and slice swiftly through the air towards the Space Marine lines.

It becomes clear to both of us that mobility is vital for most units and foot-slogging infantry need transports.  I think both of us will be investing in fast moving troops or transports.  I like the (dis)embarking rules now, which seem simple and provide for some interesting tactical options for "battle taxis".  Long gone is the "rhino-rush" tactic though! 


Meanwhile, the Druchii reinforcements arrive.  At long last, as Graeme had consistently failed his dice rolls to bring on his reserves.  According to the scenario, at this stage of the game they came on automatically!  Good job too or Graeme may never have got them on.


His reinforcements also including a heavily armed cabal of scourges, tooled up with anti-armour weapons.  These were qite a nasty shock to my dreadnaught that had, up to this point, felt almost entirely safe amid the buzzing storms of ineffectual splinter-fire.

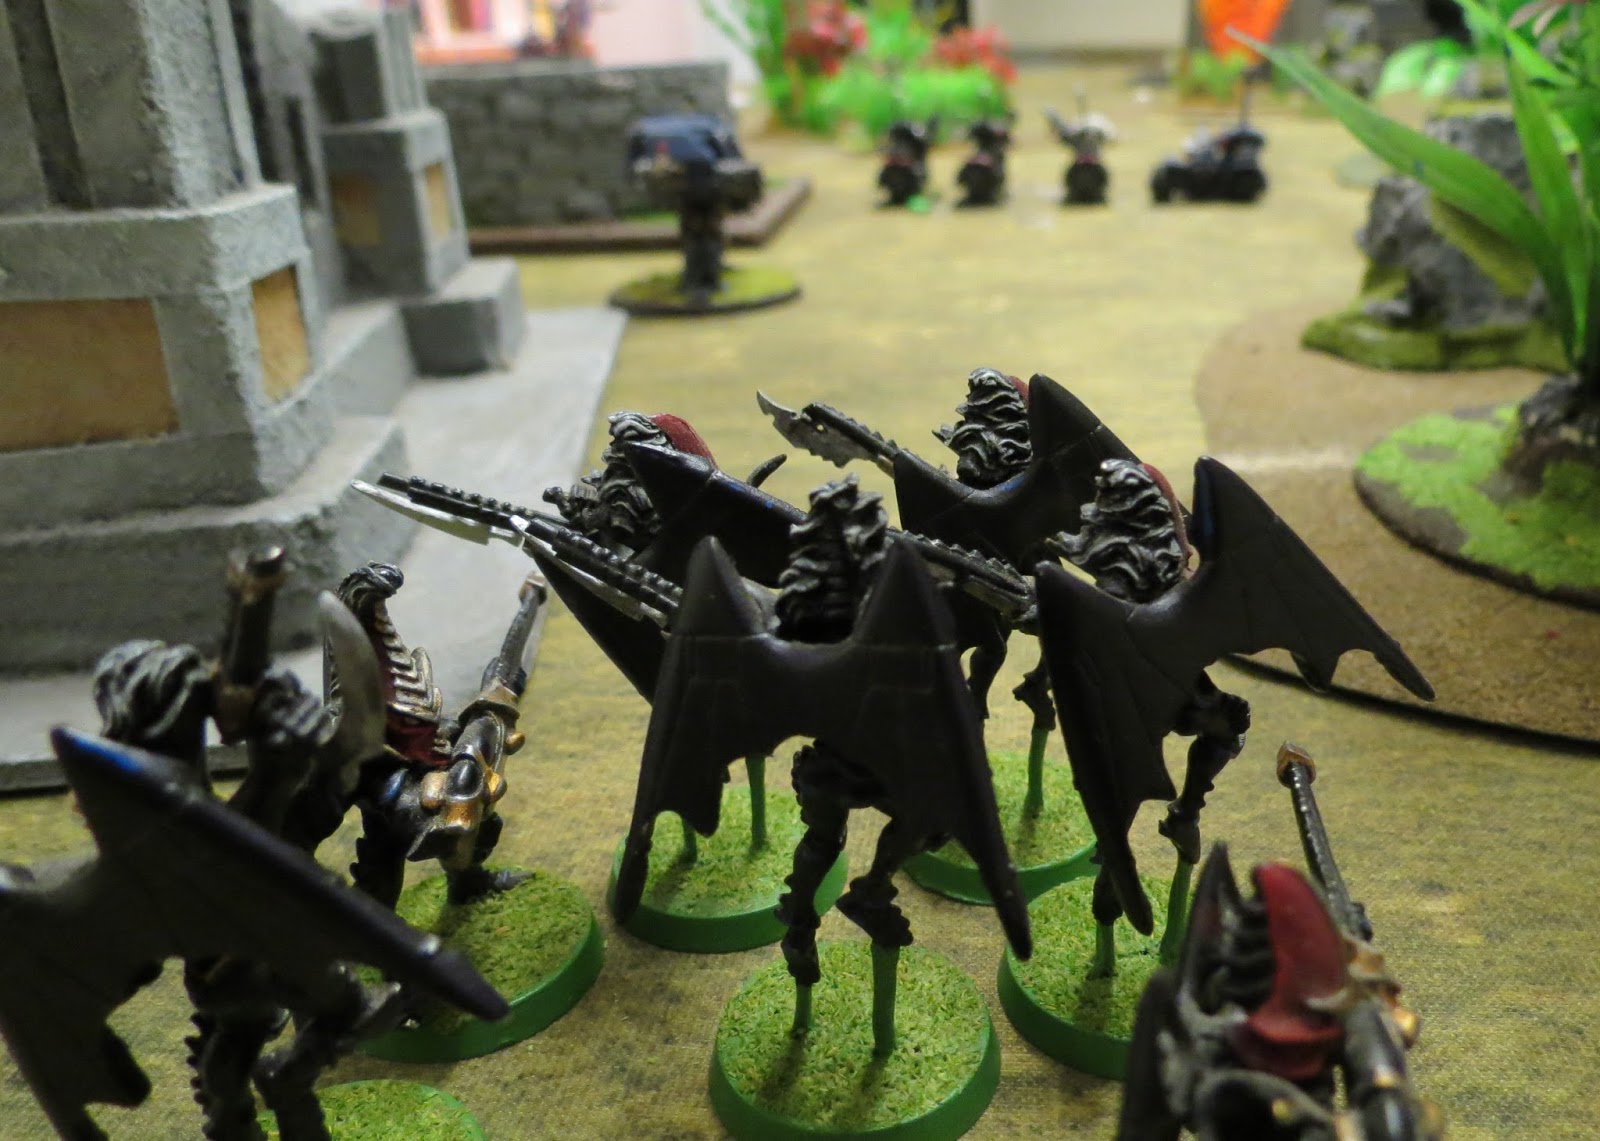


Swooping into the battle, their dread weapons rake the Marine ancient warrior encased in his dreadnaught and nearly fell him in a single volley!

I forget the name of the weapns used, but it was a real surprise to see my venerable warrior almost completely taken out in one shooting phase!  He survived with one wound though.  Now, I think we made a mistake here, because I actually made a morale check for him for the lost wounds, but I think it wasn't needed as only "destroyed models" prompt the morale test.  Lesson learned there.

Actually, the Morale thing was the bit we found confusing.  Rolling 1d6+losses to stay under morale seemed to mean that in almost every case, both sides would always succeed...so...what's the point of the Morale test?  I'm sure it'll become clear the more we play.


Reduced to a single wound but a punishing fusillade!

The scenario reached its final game turns and the Druchii and marines engage in their final showdown.

With the Raider shot down by bolters, it didn't explode and the Wytches survived.


Come you aliens, show me what passes for fury amongst your misbegotten kind!
Sustained bolter fire brings down the raider, and a desperate melee ensues.


And the battle ends with the marines up 3 points to 2, for a marginal win.

All told an excellent first game.  I'm pretty sure we did a few things wrong but we both came away from this trial game eager to play again.  

Warhammer 40,000 8th edition is just a good fun game an I hope to be playing a fair bit more of it.


Sunday, 3 September 2017

Pandemic Iberia

Recently a new FLGS opened up in our nearby city; Meeple Games in Durham.  Should you ever find yourself in that fair city I heartily recommend you seek out this new venture and spend a little money there.  

Anyway, for my wife and I this has become a regular stop off now, and today we dropped in and purchased a game my good lady has wanted for some time, Pandemic: Iberia.  We have Pandemic and Pandemic: Cthulhu (see here for our playthrough), and both those games are great fun, and incredibly challenging.  Pandemic: Iberia adds in some new elements of gameplay and some gorgeous production values.  Its certainly a very pretty game!

So this evening, following a hearty meal of bangers, mash and veg, we settled down with steam hot mugs of tea/coffee to try out our new purchase.

Lovely box art...


And inside the eye candy continued to drip!


There are even inserts like this art book.  


So, anyway, we set up ready to go, and so far things are following the core Pandemic rules.  There are a couple of additions, including the ability to provide sanitation to help suppress the disease outbreaks, and the capacity for you to build railways to help you get around to the crisis points. There are also some subtle tweaks, that as it turns out make the game FAR more challenging.  The Rules.

Our first game kicked off with some significant outbreaks spread across Spain.  Its safe to say, that our tactics were wrong from the get go...


Initially we thought we had a handle on things, but we didn't factor in the increased difficulty in constructing and using treatment centres compared to the base game.


The east coast was looking bad, but we managed to cure the red disease.


And it was at this point that a series of catastrophic outbreaks overtook us and we lost the game in short order!  Curses.

Normally the base Pandemic game is tough but this seemed to be a whole new level of challenge.  We had an intense post-game discussion about what we'd done wrong, and immediately set up to go again and test our theories.

Sadly, I was so into the game that I forgot photos for the second round.

That said, we fared much better this time, having figured out the following:

1.  Use the early turns of the game to build hospitals and lay railway tracks.
2. Don't forget to provide clean drinking water and sanitation where you can (we did).

Anyway, we still lost but this time we researched three of the diseases, and were a turn away from getting the fourth, when a nasty outbreak around Cadiz finished us off.  So close!

Pandemic: Iberia, is an excellent version of a modern classic boardgame.  It looks beautiful, and is significantly more challenging than the base game (certainly with two players). Its well worth a place in any tabletop gamer's collection.

We will beat it.  Oh yes we will...


Update

Today we played another couple of games, trying out various tactics and approaches.  The first game this didn't work too well, and we got our lilly-whites handed to us again, barely managing to research two cures before we effectively lost three ways (running our of cards, running out of disease cubes, and then maxing out the outbreaks...grr...)

But in the second game we finally came out winners!


As you can see, the four diseases were rampant, and we had 10 cities on the brink of outbreak, and almost everywhere else suffering!  However we managed to win by researching the four required cures.

I had the "Royal Academy Scientist" character and my wife had the "Politician character".  So between us we were able to lay down sanitation and purified water easily, could manipulate the order of upcoming cards, and also organise the cards in play into sets more easily to achieve the research needed.

However, I think our tactics worked better.  In base Pandemic you're basically firefighting all the time; reacting to crises and trying to optimise your immediate actions.  Pandemic: Iberia allows you the chance to plan ahead, and try to put in place things to prevent outbreaks or at least minimise them.  So our successful tactics were:

Early on, mix your actions, and try to lay a rail track, develop some purified water, and use your special actions.  This builds up resistance.

Mid game, concentrate on hoarding and swapping cure cards, and keeping a lid on the crisis points (which by this stage are usually the backwaters, off your train network and away from the water treatment areas.

We found by taking this more considered and planned approach, although the game was still on a knife edge, we felt like we had a chance and things were at least partially under control.

Of the three versions we have, Pandemic: Iberia, in my view, is the most challenging, yet most enjoyable version.


Friday, 1 September 2017

Warband - How to play videos

Justin Borges is running a series of videos on his YouTube channel about his impressions of playing Warband.

I thought it would be interesting to collect them here.

The basics

The army lists


The Turn Sequence


Legends of the Old West


For the last few weeks we've been playing a few games using the classic Legends of the Old West (LotOW) rules.  You can read about those games here.

However, playing them reminded us of the fun we had many years ago when LotOW was new and we played an extended tournament campaign.  And so, we've decided to take the plunge again!  For the last couple of weeks we've been playing a set of friendly "tournament" games to refresh our memories on the rules etc. and of course to have a good bit of fun.

Tonight we played a couple more games, including this one below.

I took a $200 Texas Rangers posse (upgraded with some battle experience).  I had a Free Trapper hired gun in tow too, as I had a lot of success in our previous campaign with a skilled free trapper (although he was eventually stabbed to death by a lawman on the balcony of a saloon in the town of Salem - see we remember these details from our previous games!)  My opponent Dave also had a posse of Texas Rangers, and both posses were upgraded after a few games.  My Free Trapper had managed to buy a buffalo gun, which is an amazing piece of kit being incredbly poweful, long ranged, and in melee counting as a two handed weapon!  Its only downside is its slow to reload, but i guess when you're deployed in a long range artillery role that isn't too much of a problem!    

We randomly determined the scenario to play, and it came out as "Jail Break".  It seems one of my posse had been up to no good in the saloon the night before and found himself in jail.  We'd turned up to bust him out of Dave's custody...

My Rangers with the free trapper in red.
We set out the battlefield with the sheriff's office in the centre.  We made most of the scenery years ago although i've spent some time adding a few bits and bobs to the pile this week, mainly scatter terrain, thunderboxes, and a couple of shacks.  Old West buildings are actually super-easy to make and all you really need is a bit of old card (a cereal box will do), some PVA glue, scissors and a bit of cheap paint and you're set.  A couple of buildings (including the jail here) are purchased models, but the rest is repurposed junk!


In the jail itself my hero (in the red waistcoat) is languishing in his cell, guarded by a single, obviously rogue, Ranger from Dave's posse.  Now then, Dave is new to all this and still on his learning curve in terms of wargaming and LotOW so we'll see how things go with him "flying solo".


I deployed to the west of the jail with my posse glaring out from the corral.  One of my riflemen and the free trapper crawled up onto the nearby roof to provide some longarm support and try to pin the enemy down.

Tactical notes: I put my riflemen on a roof to give them a good field of fire.  They were in place to try to pin down Dave's posse as it advanced.  The rest of my crew mobbed up and intended to steam into the jail en mass, bust their pal our and make a run for it.  In scenario play like this, its best to focus on achieving the goal as much as you can i think.


Dave deployed one of his Rangers in the jail and the rest to the east of the building ready to defend their prisoner.

Tactical notes: Dave had to split his posse in two here and I got to choose which half start near the jail and which starts off the board.  I'm not sure how he split them but I chose the smaller of the two groups.  Dave decided to only put a single fighter inside the jail.  Given that I lacked horses or dynamite, and therefore had to get someone into the jail to search for the keys to release our hero, this was possibly a tactical error on his part.  As will be seen...
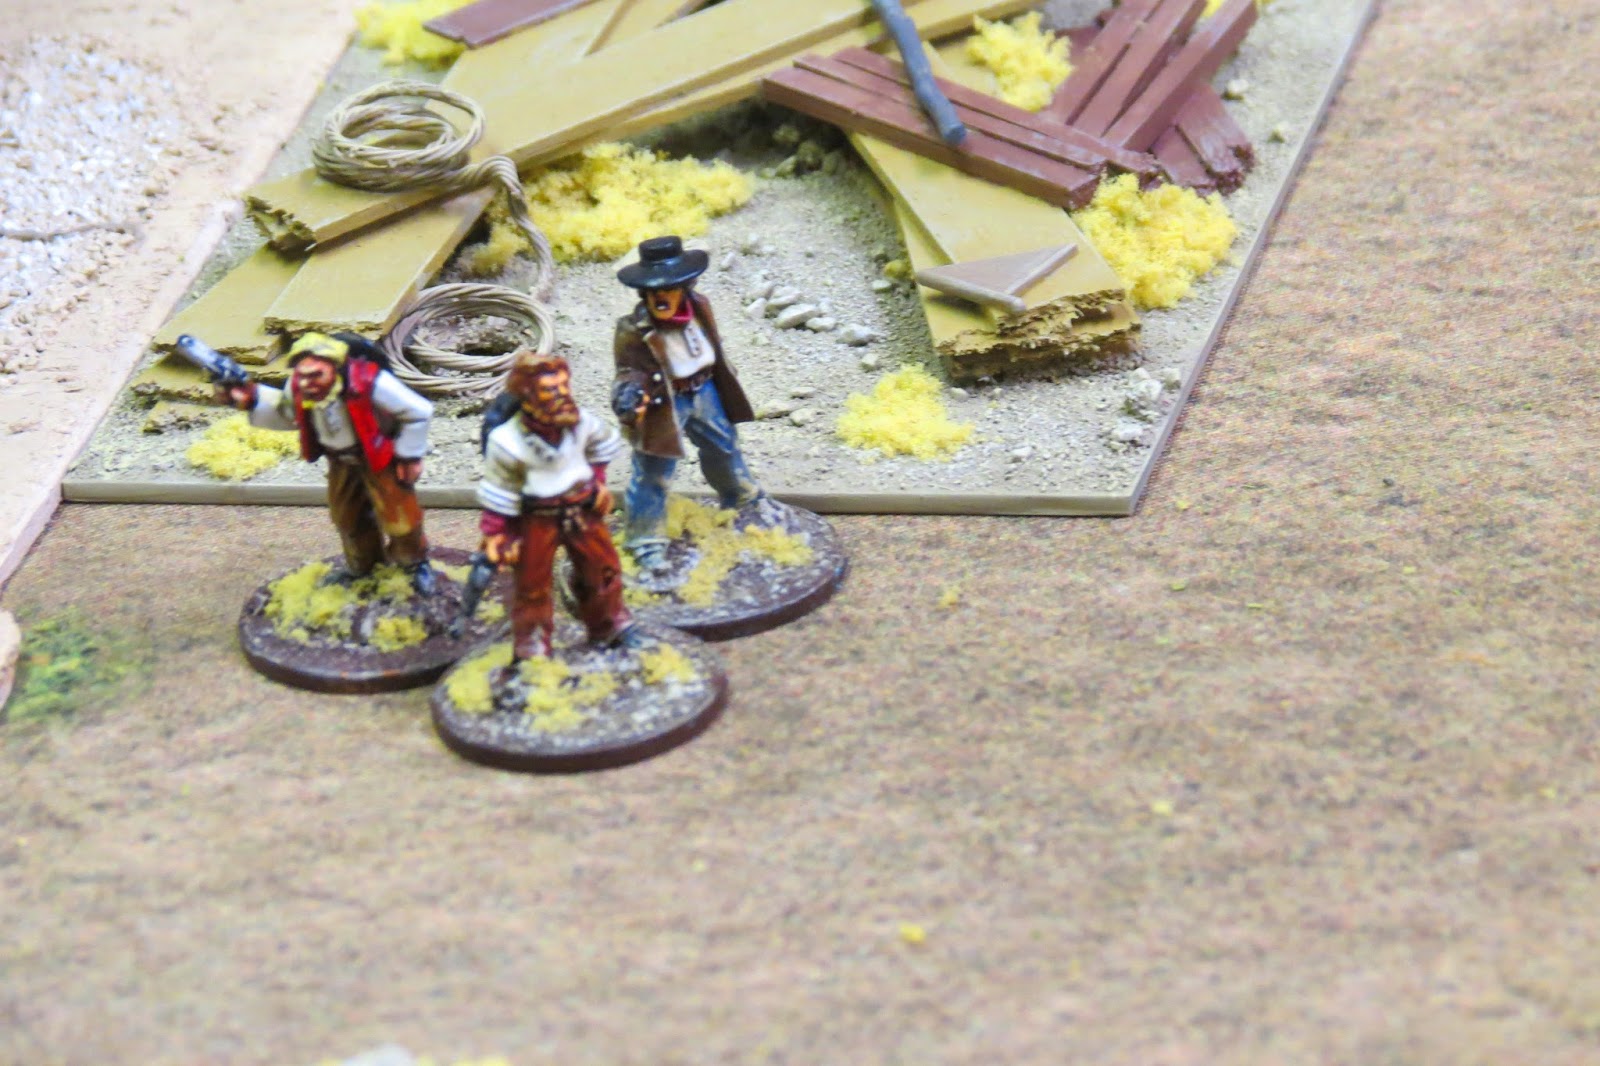
I think I would have put s couple inside, and more closely guarded the entrance doorway.


As the game kicked off, the rest of Dave's posse began to arrive in dribs and drabs.

Tactical notes: Dave seriously needed to push his fighters into the jail area to try to cut me off.  Many of his crew were equipped with weapons like rifles, and heavy pistols which can only be shot if the fighter makes a half move or no move at all!  Mobile troops with sixguns would have been better.  Instead of realising he needed to push in to try to cut me off, Dave crept his posse forwards carefully.


Meanwhile, my posse ran out of the corral and made a bee-line for the jail.


We reached the jail and exchanged pistol fire with the enemy riflemen.


More defenders arrived...


Mid-game, both posses are flooding in towards the jail and sporadic gunfire rang out across the sleepy town.


My brave fighters bust the door in and stormed into the jail


And in a hail of bullets we shot down the Ranger defending the cell and forced our way in.  My Rangers immediately set about searching for the jail key.

Tactical notes: With my posse at the jail, Daver didn't cover the door well enough, or create a "killing ground" for me to run through.  this mean that I was able to storm in with two fighters, gun down his defender inside, get the keys and free our unjustly imprisioned friend.  I think Dave's lack of experience told here and as we chatted afterwards and exchanged views and tactical tips he said he's OK at range, but hasn't yet figured out how to deal with the up-close actions!  this is certainly bourne out by the fact that on the way into the jail I lost three fighters to Dave's posse and their longarms fire.  Things were, at that stage, looking bleak for me!


Dave's Rangers crowded in from the east.


But armed with slow and heavy weapons, they gave us an opportunity to get out, and my Rangers swiftly skedaddled, hiding behind the west wall to check that none of them were shot.


As he continued to fail to push forwards, hampered by a lack of mobile firearms (lots of long arms and heavy pistols limiting his movement to "half" or "none") my rescued hero ran away together with his pals.

Tactical notes: Here Dave's cautious approach (no bad thing generally in Legends games, where every fighter lost is a huge blow!) really hampered him.  I'd released the prisoner, and he had very few guns now in a position to try to take me down.  I on the other hand, under my rifles had a clear route of escape.

Hey boss, we done got away clean!
 One Ranger covered the retreat, but his sixgun jammed!


And he fell back into the timber pile as we fell back to the corral amid a crackling desperate cloud of angry enemy gunfire.


And finally, we got away and won a daring victory!


Tactical notes: As a final thought, i think I won, despite taking a lot of early losses, because I focussed on the scenario objective and did what needed to be done to get the prisoner out.  Dave was probably doing the right thing overall, but was doing it too cautiously.  I won because he didn't push enough guns forwads to be able to stop me doing what I as doing.

From a rules perspective, while LotOW is seemingly (and actually) a very simple set of rules to learn and play, like all the best games it is difficult and highly tactical in how you achieve victory.  Turn phasing and sequences mesh together with decision making on immdiate priorities, etc. so that each game is never quite the same.  and of course, throw in the dice and random chaos will scupper the best laid plans!

LotOw really goes beyond a good skirmish game though when you bring in the campaign system.  Its a joy to see your fighters develop, gain new skills, buy new equipment, struggle with injurys and so on.

Over in the other game, Graeme and Bob were playing High Noon!


Next week I think we'll be beginning the tournament for real with a new set of posses "for real".  I've not decided yet what I'll take, but I like the Texas Rangers for their raw capabilities; great shots, tough as nails, and with nerves of steel under fire they're a solid choice.  But I do like the idea of one of the more unusual posses; native Americans, commancheros, etc.  Choices, choices!

Legends of the Old West is a really fun set of rules that give a great game with simple but tactical game play.  If you have a chance to play them I recommend them.